
| Ford Model A |
![]()
![]()

Roller foot conversion for Singer HD6335 sewing machine
A roller foot on a sewing machine is ideal for sewing tight curves and for thick materials such as leather. In contrast to normal presser feet, a roller foot does not glide but rolls. When sewing, you always have a clear view of the needle, which enables precise sewing with beautiful stitches. I was also looking for a roller foot for my Singer HD6335, but couldn't find anything suitable anywhere. Finally, I found something that I could use as a base and modify.
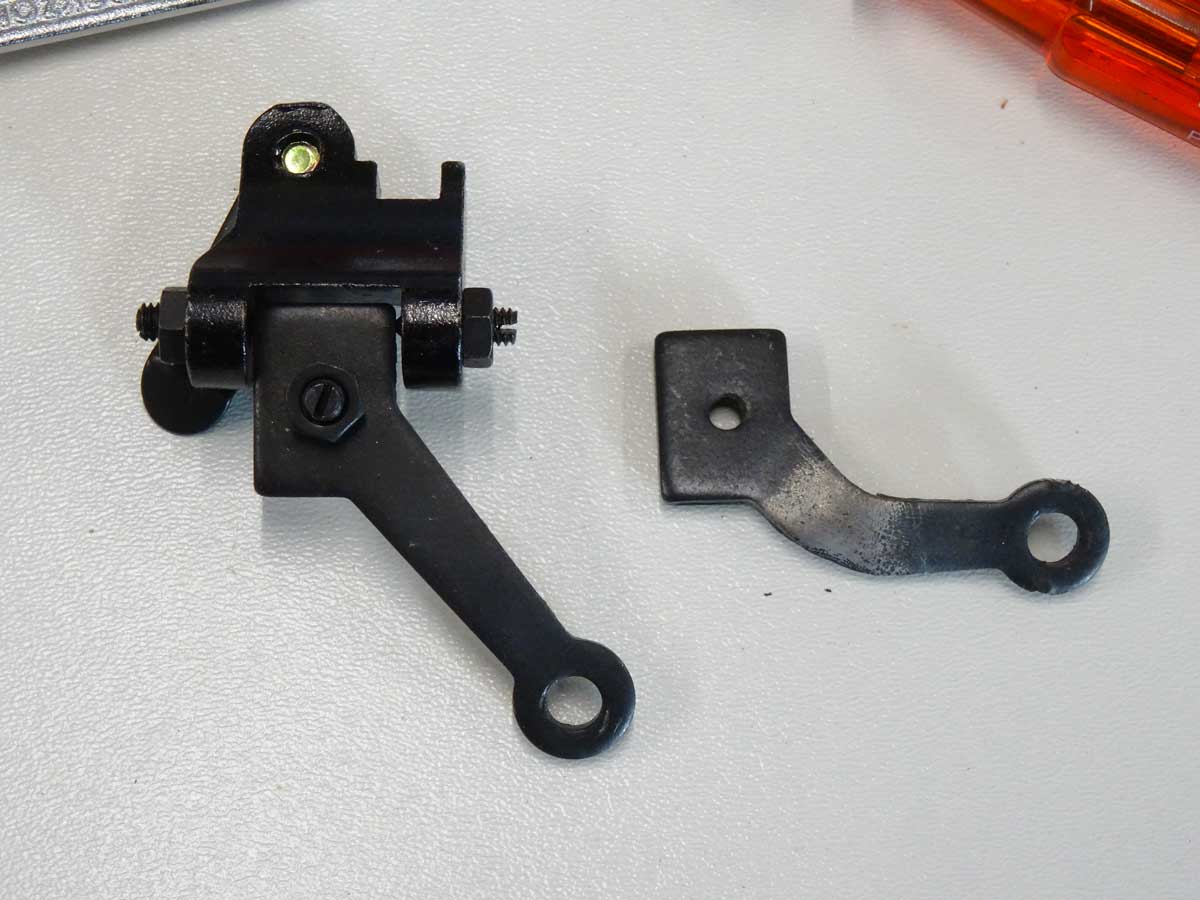
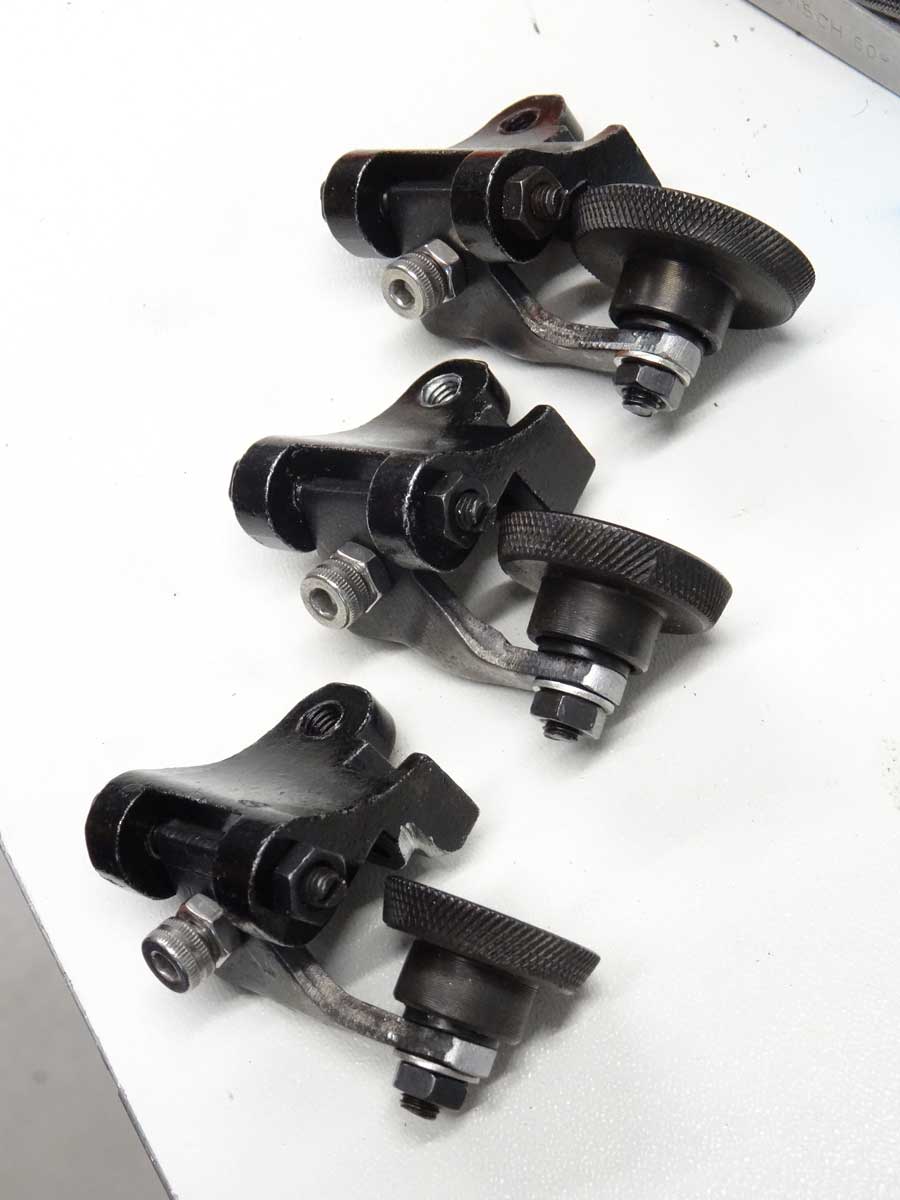
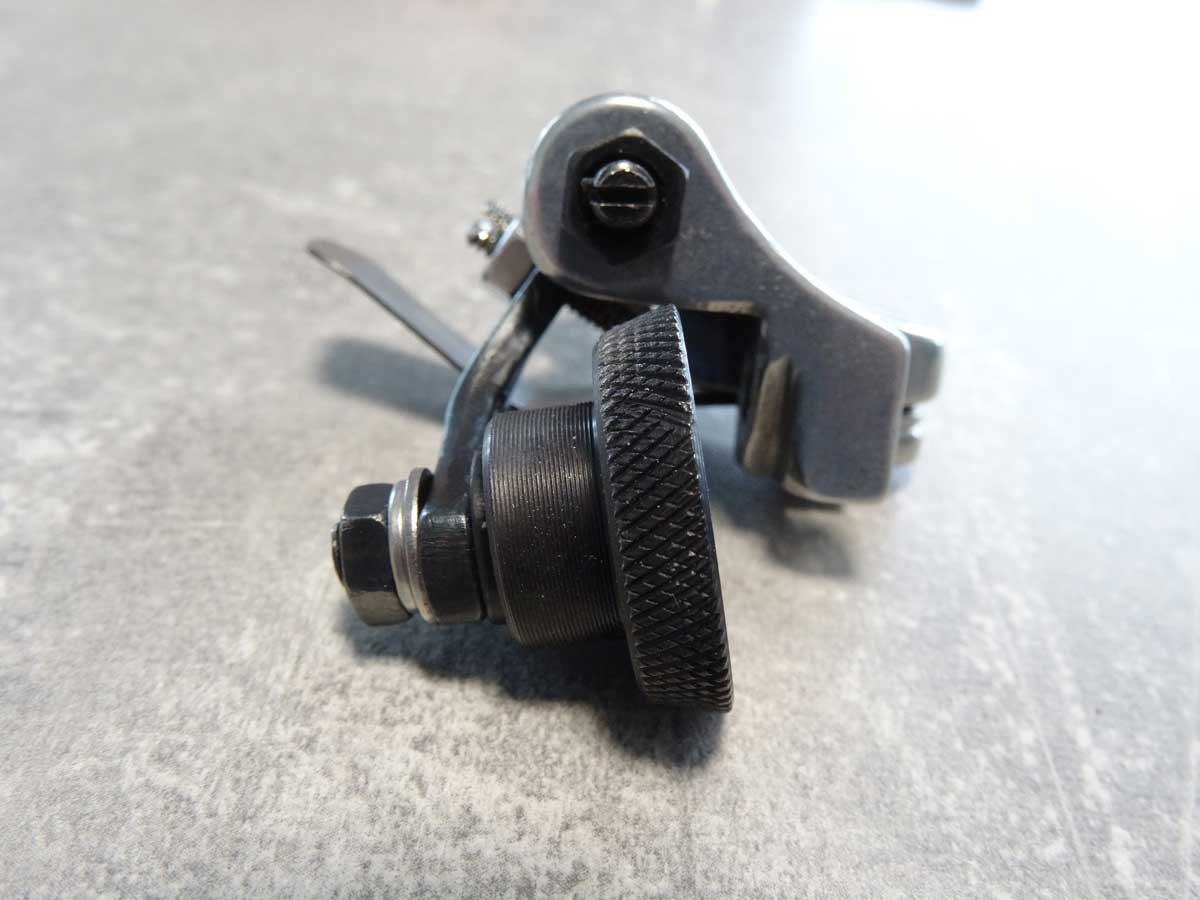
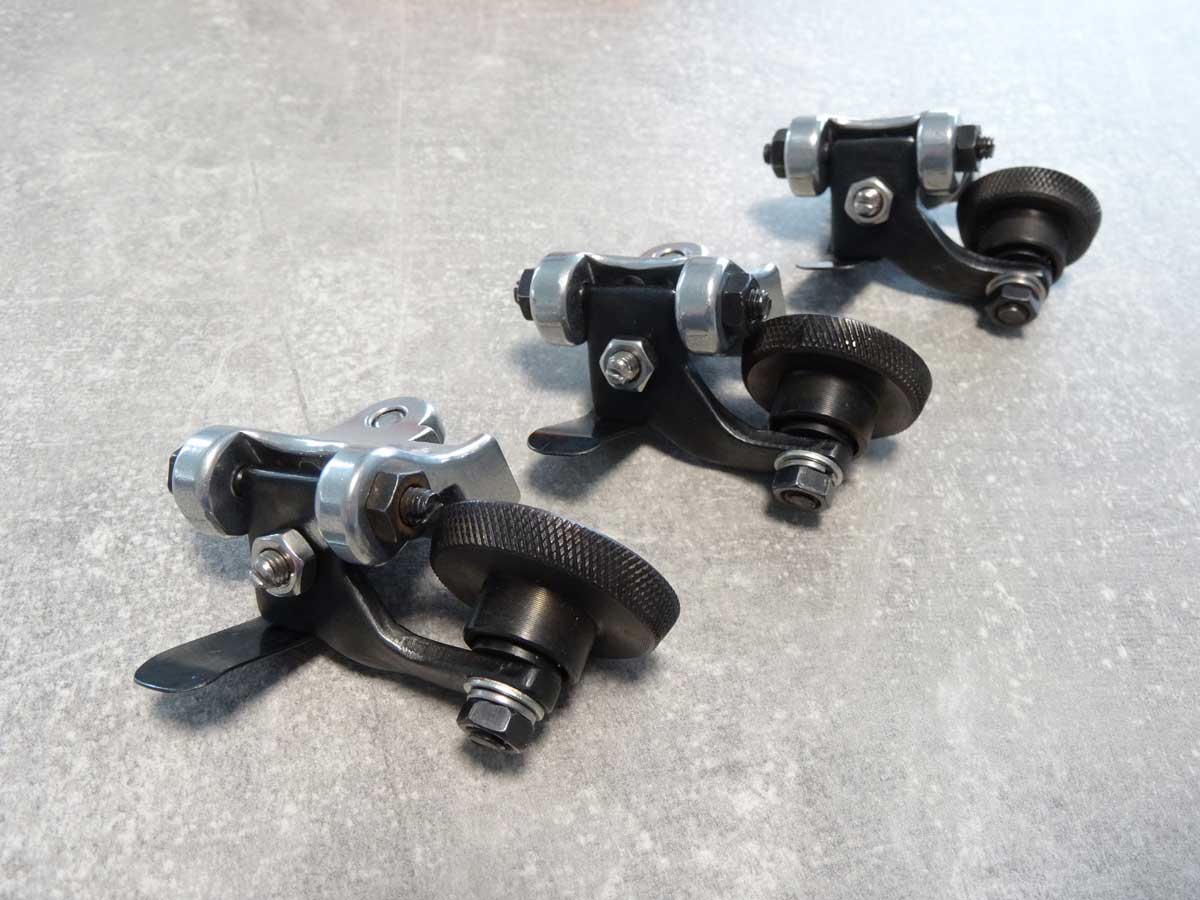
I didn't want to buy anything expensive, as I didn't know whether a conversion would be possible at all with my limited space on my machine. So I decided on this roller foot, which has ball-bearing rollers and normally fits a Singer 17u or a similar industrial sewing machine. I bought 3 roller feet in different sizes (roller diameter: 22, 25, 28 mm) for little money and now want to make them fit my Singer HD6350 sewing machine.
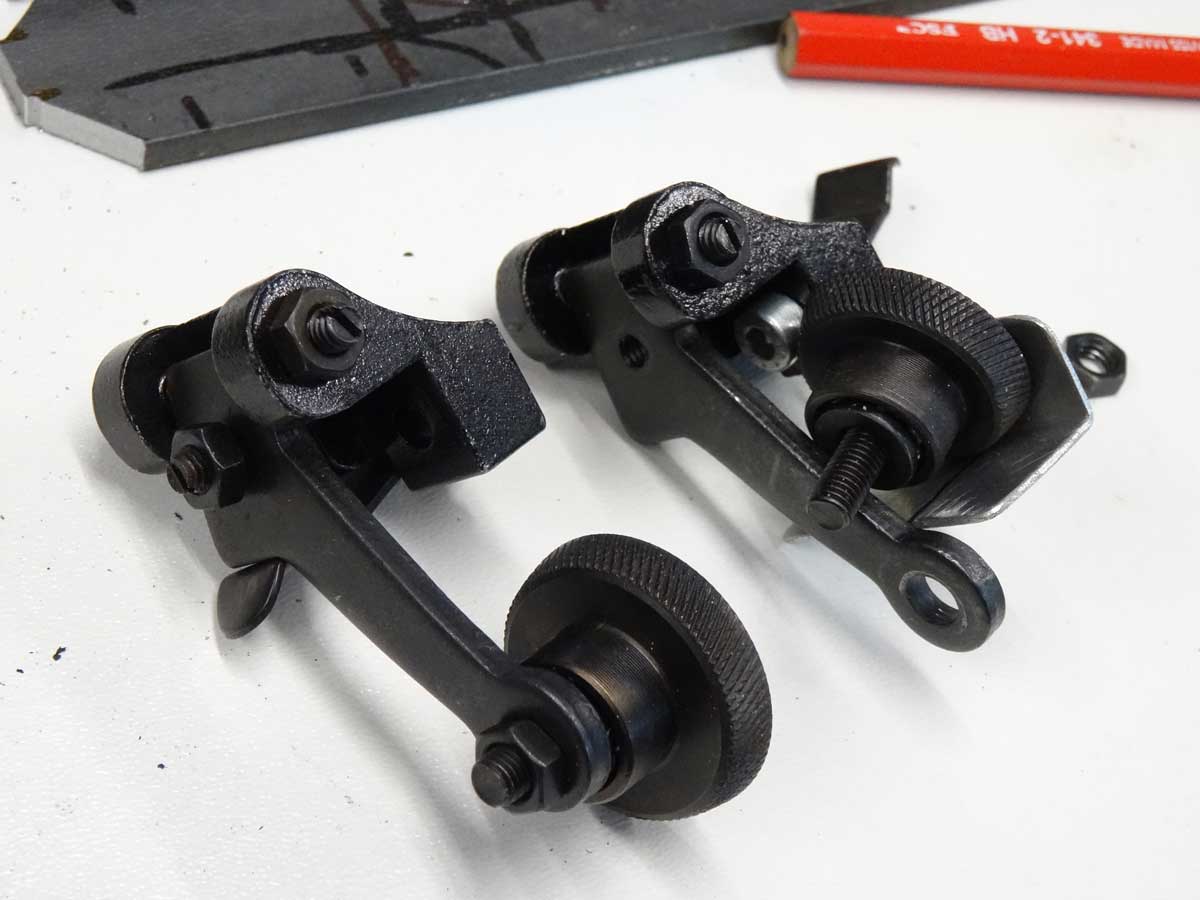
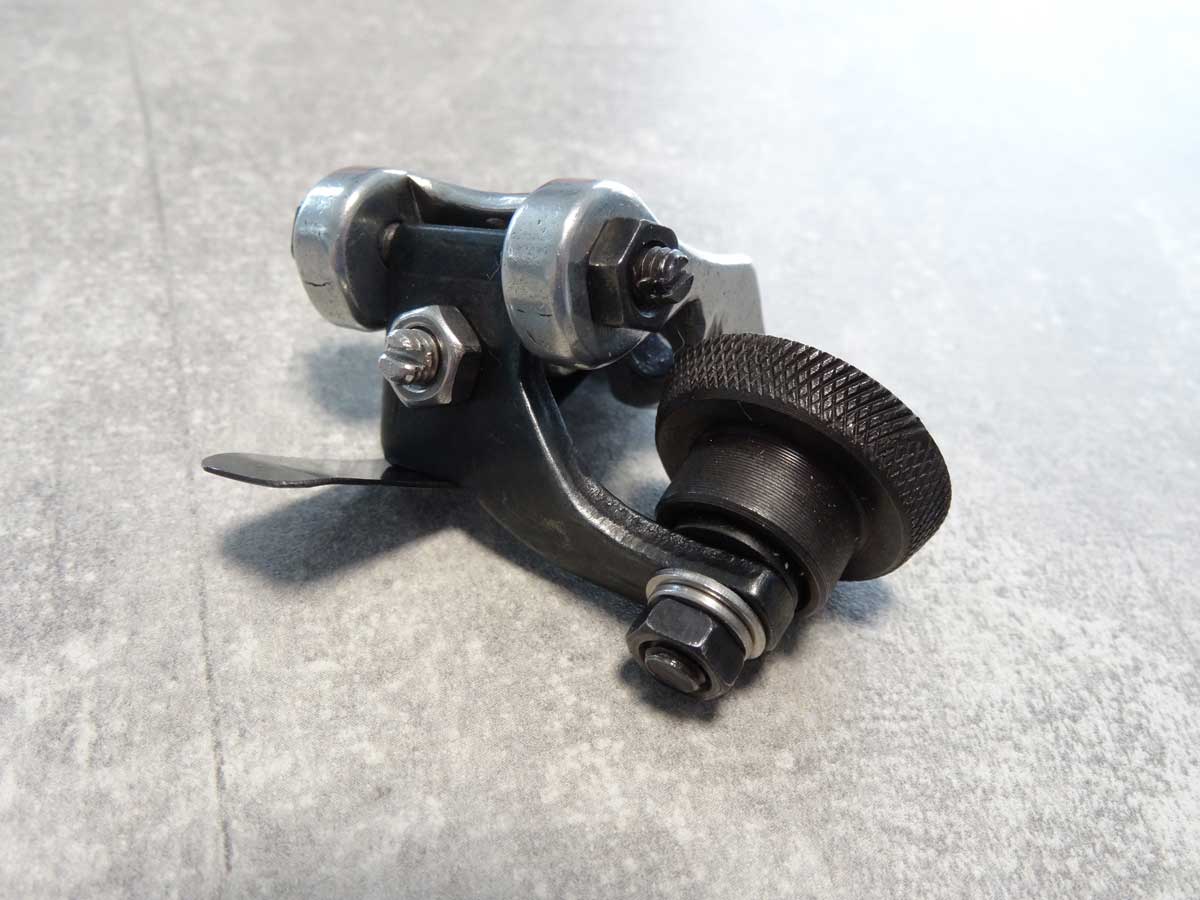
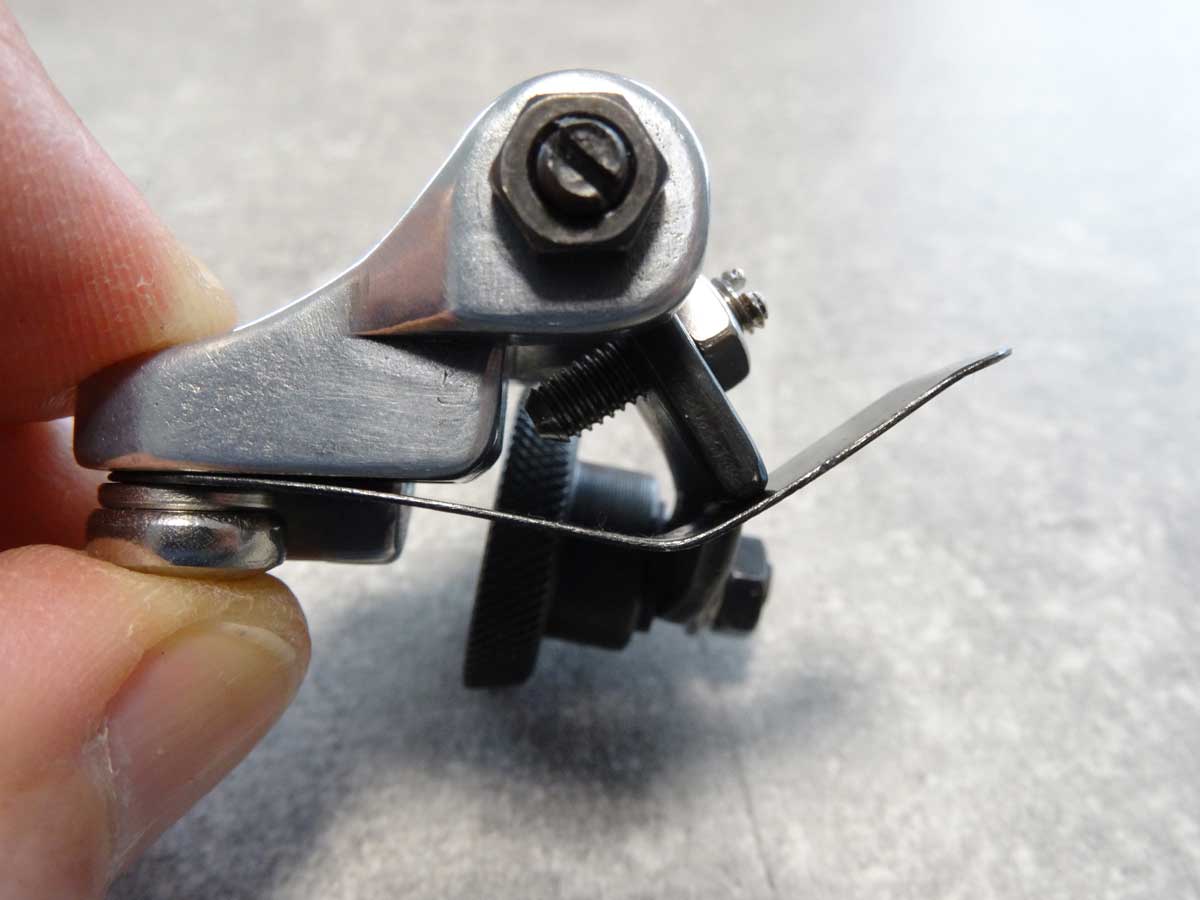
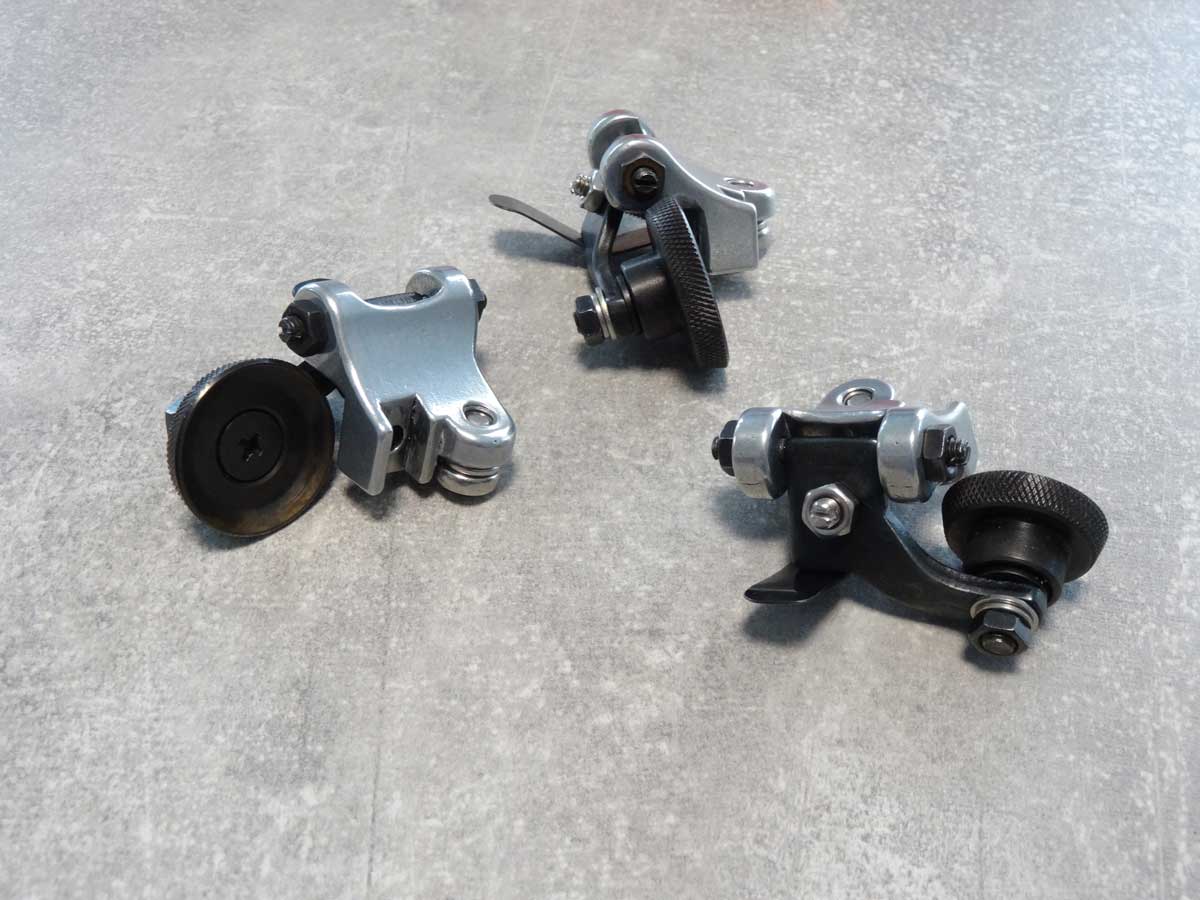
On the left you can see the original roller foot as I bought it and on the right the position of the roller where it should be for my Singer sewing machine.
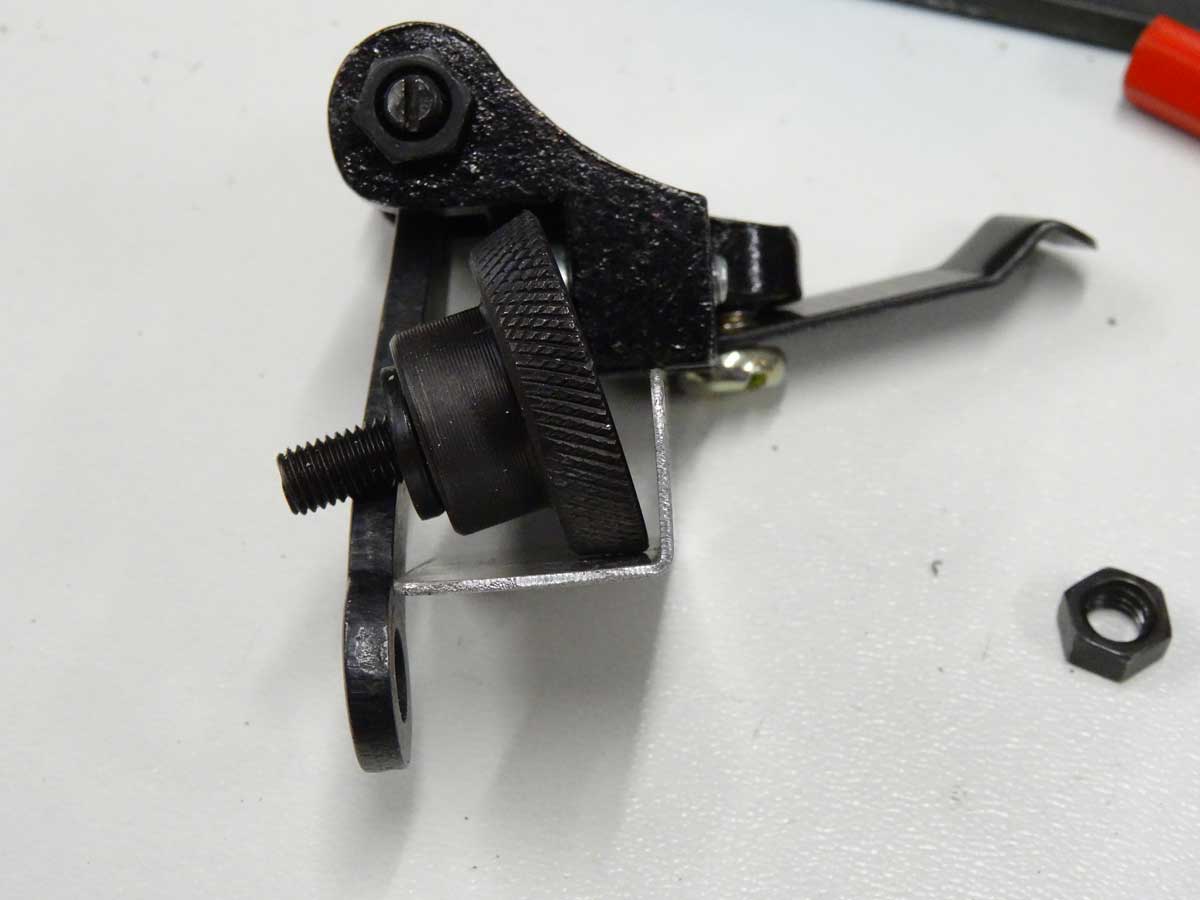
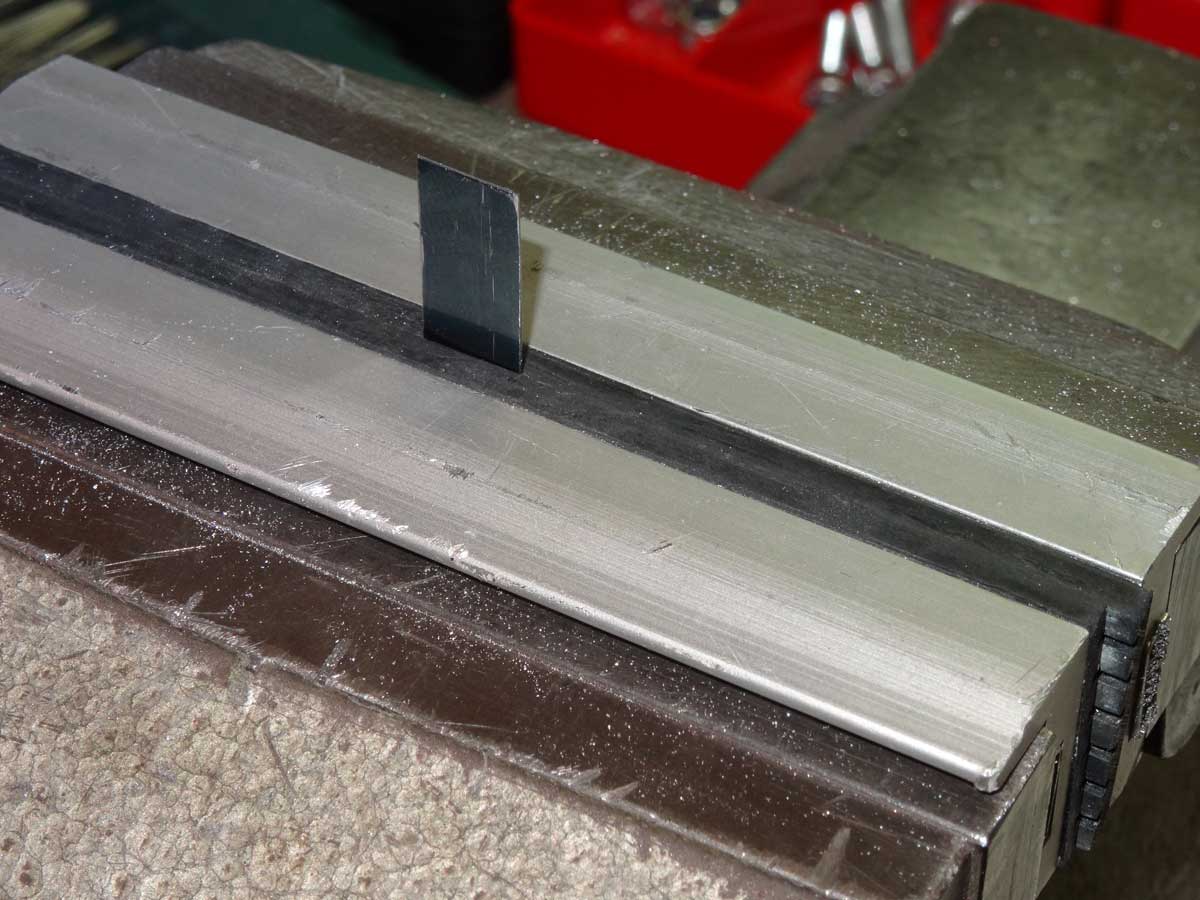
To make bending easier for me, I made this angled jig out of sheet aluminum to get the wheel into the desired position more easily.
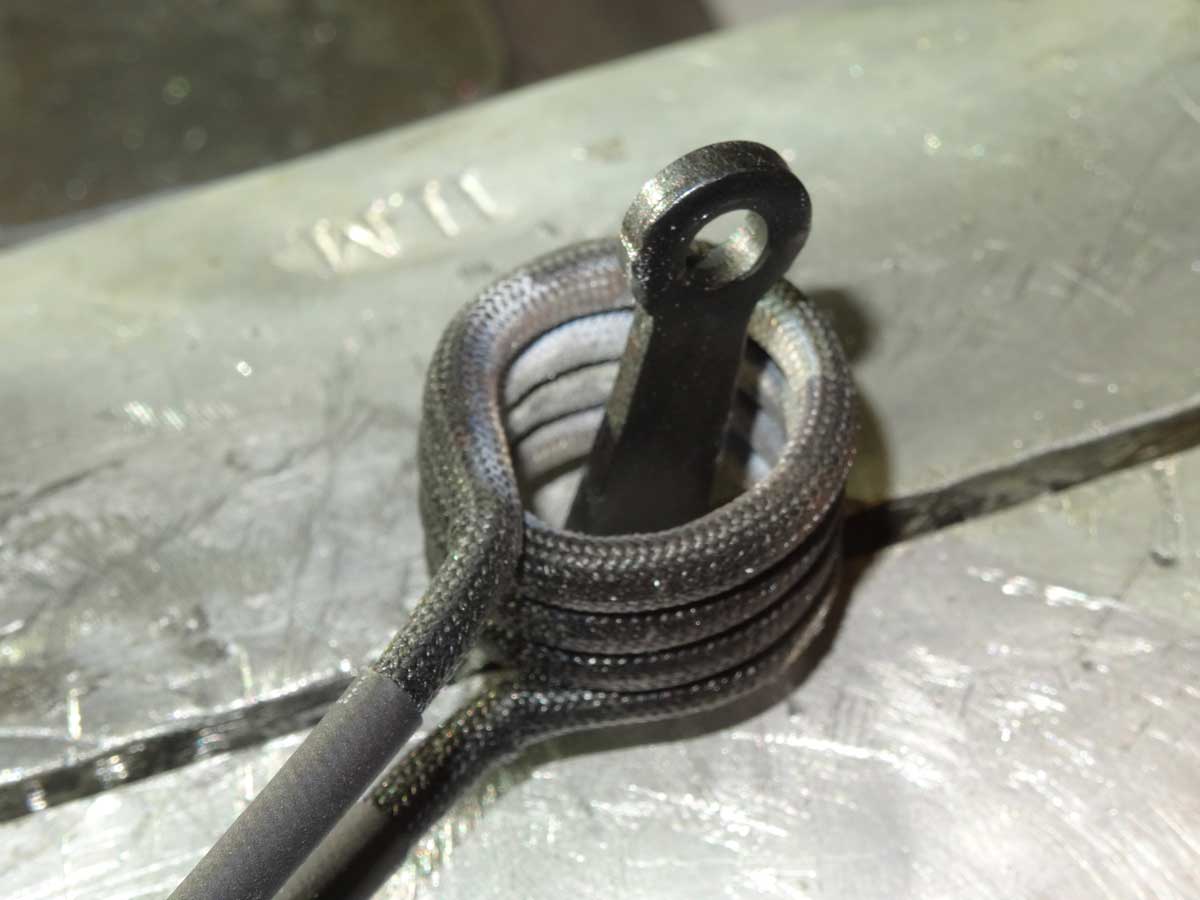
An induction heater is the right choice for bending such small steel parts. It only heats the area where I want to bend with a red-hot glow and doesn't burn the rest of the bracket.
The bracket is bent and I can drill the hole in the new position.
During the first test on the sewing machine, the angle was not quite right and I had to heat the bracket again and make slight corrections.
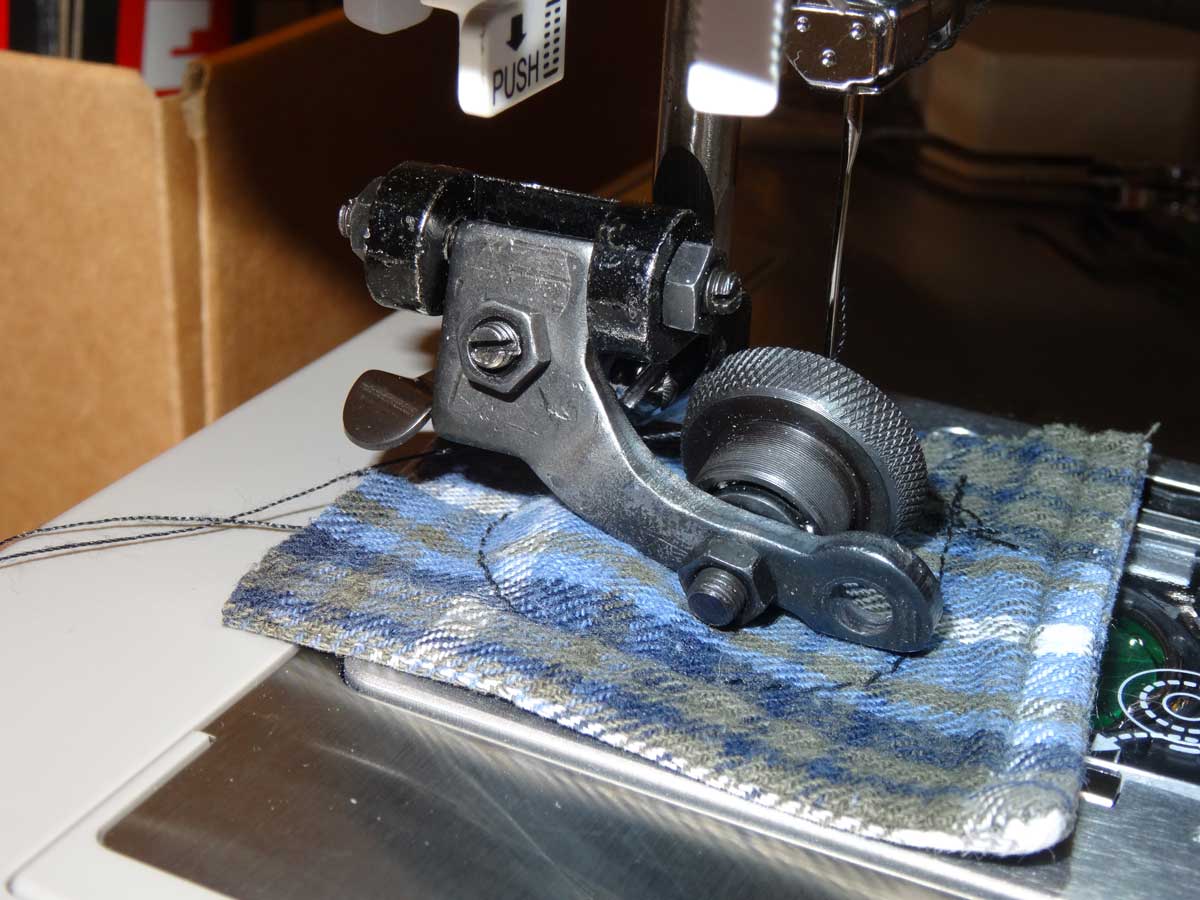
Now everything fits and the roll doesn't rub anywhere.
I also have enough air underneath when lifting the foot.
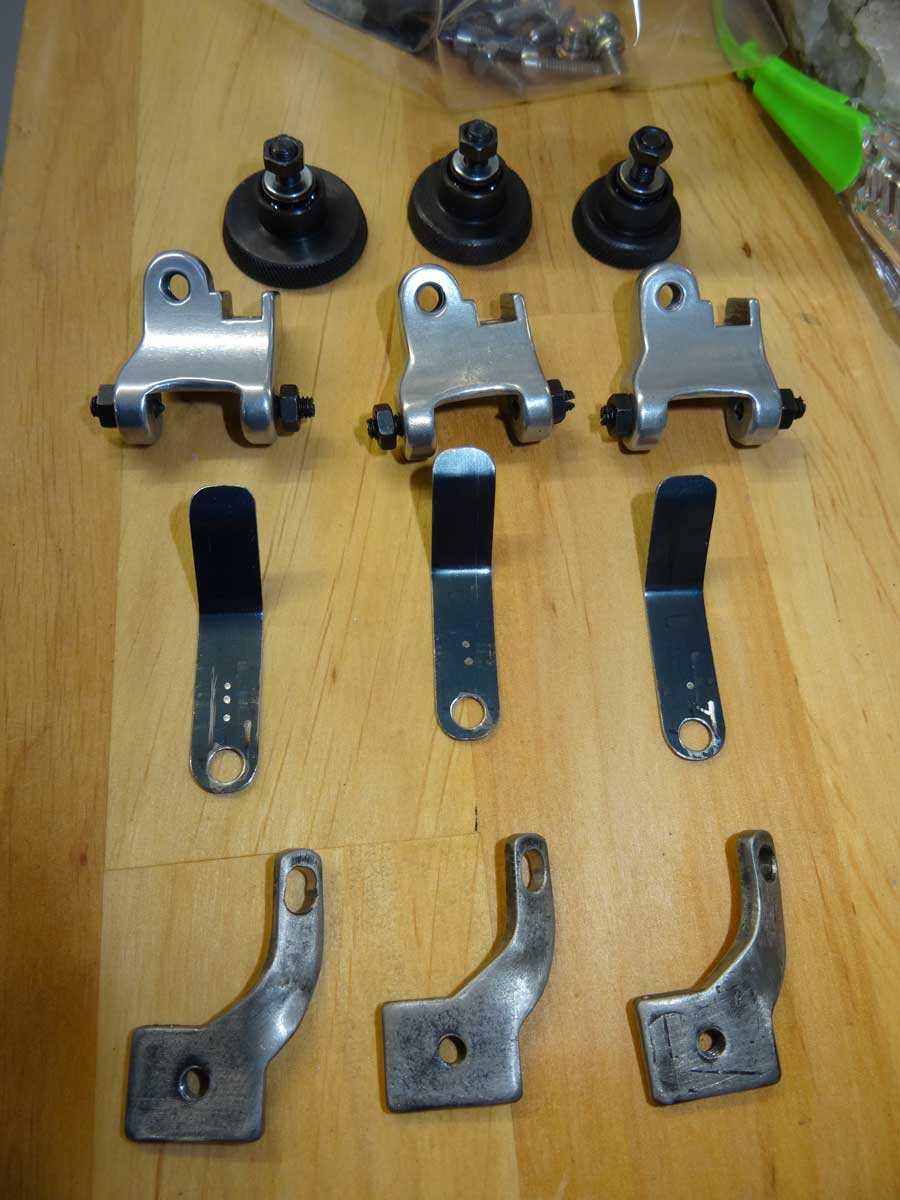
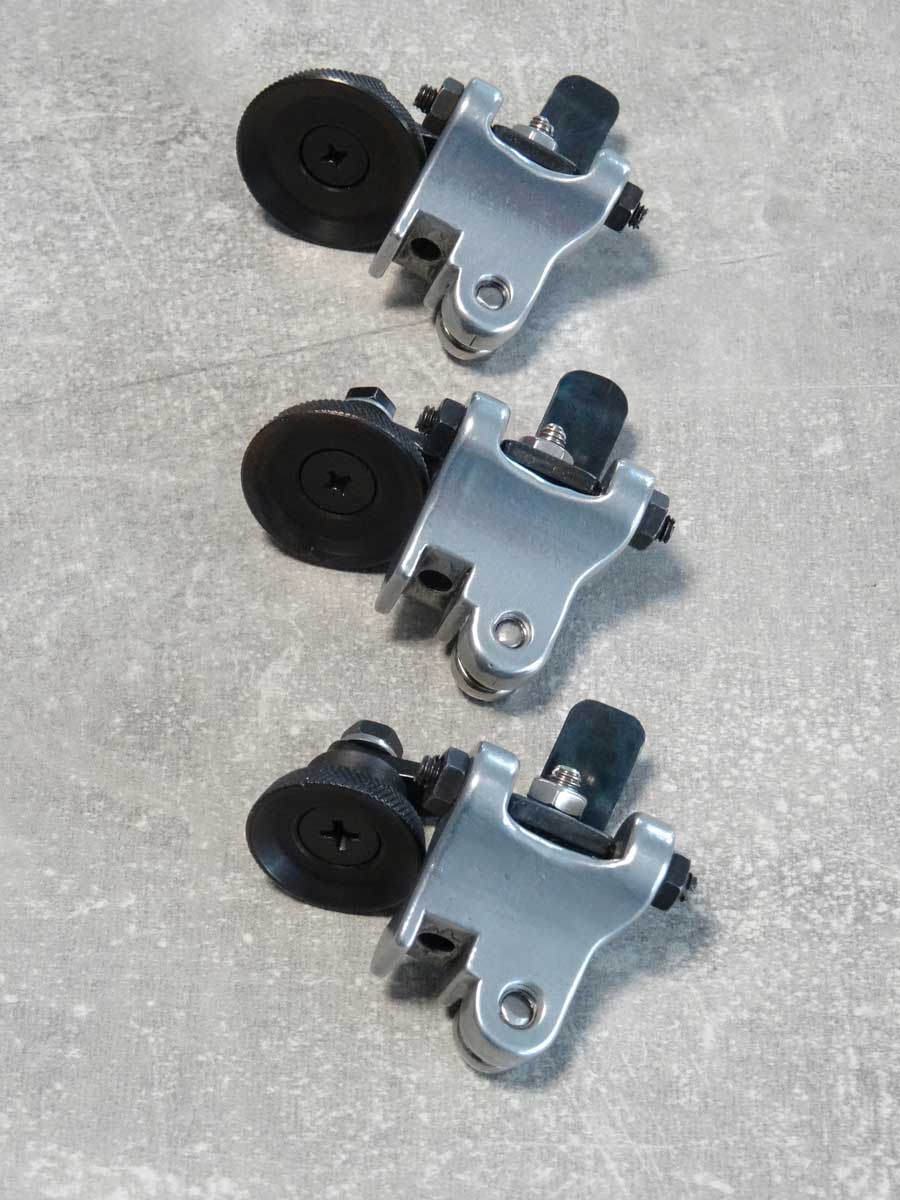
After this test, I can also bend the remaining roller feet and shorten the front part of the bracket.
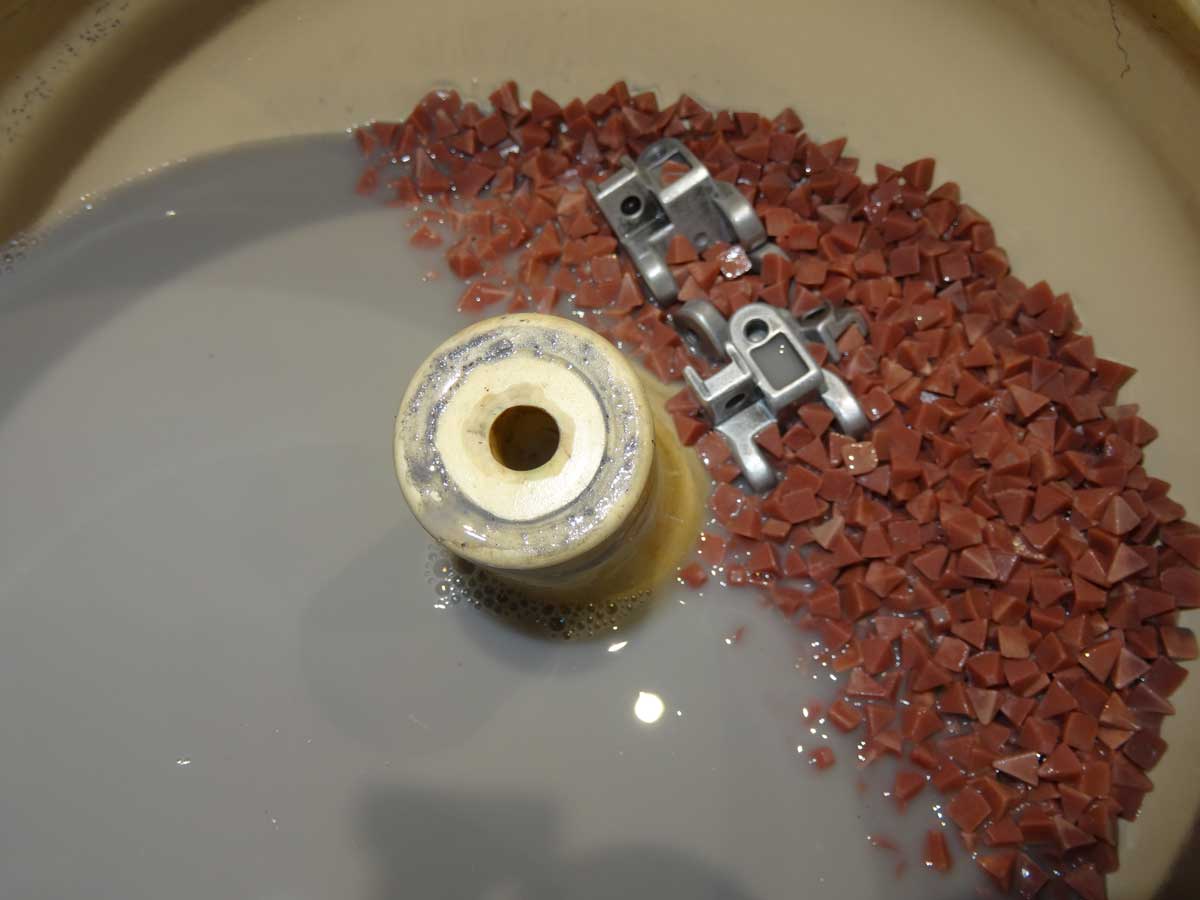
In principle, everything works, but there are still a few small things to do. The first thing is to make the roller base look a bit nicer. To do this, I rounded the sharp edges of the aluminum block and then threw the parts into the vibration tumbler for 24 hours.
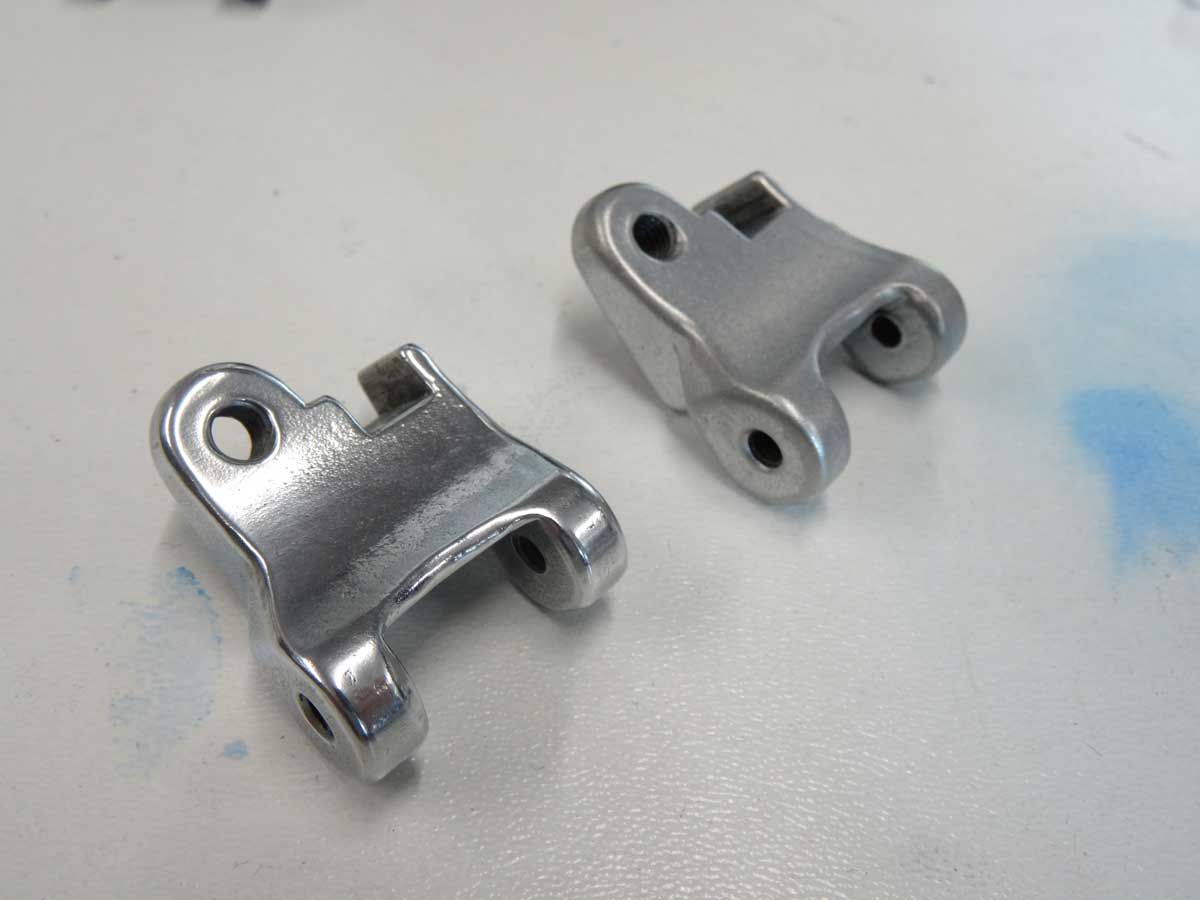
In the background you can see the part as it left the vibration tumbler (slightly dull surface). In the foreground is the version after additional polishing by hand.
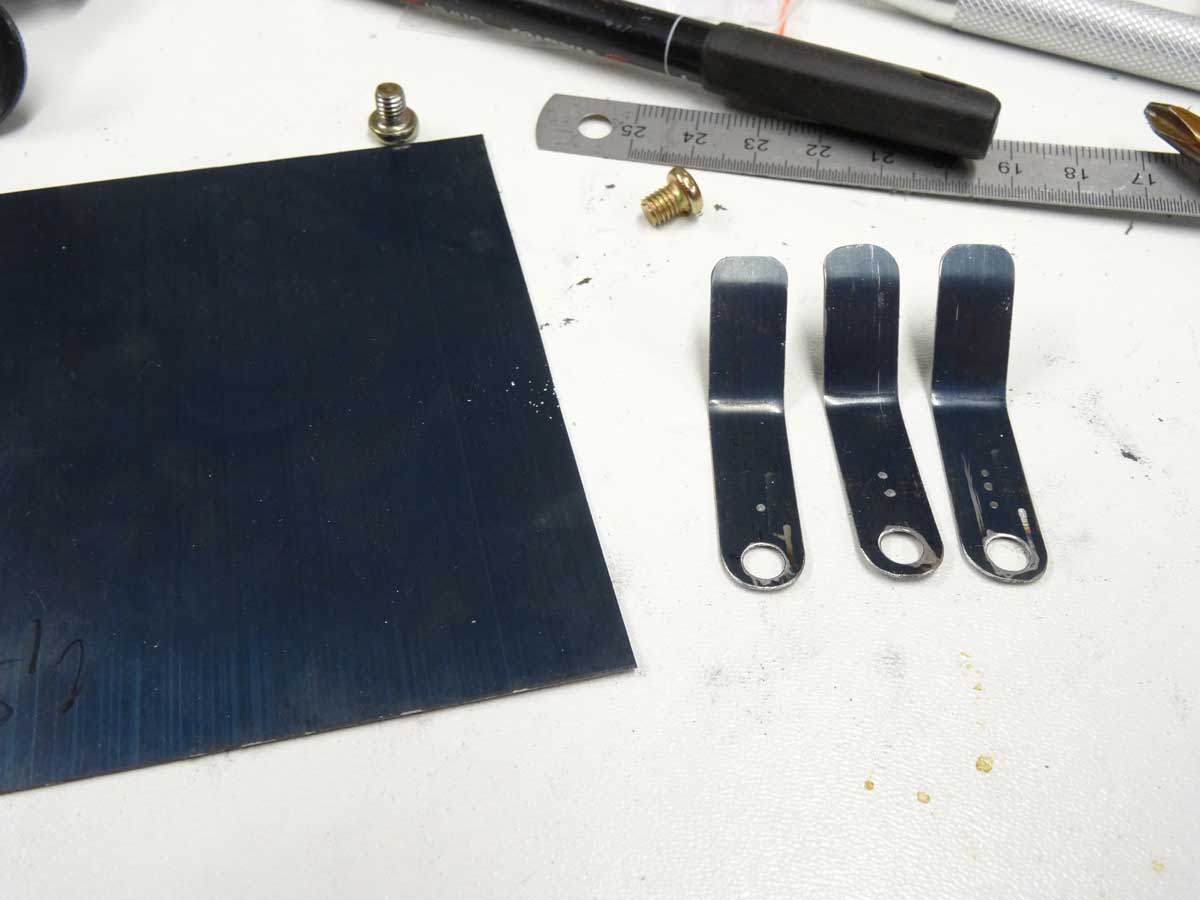
What is also missing are new springs. The old ones no longer fit the shape and are far too thick at 1 mm. I have decided to use 0.5 mm spring steel sheet.
I bent the sheet in a vice using rubber jaws, as the spring steel sheet can easily break if the edges are too sharp.
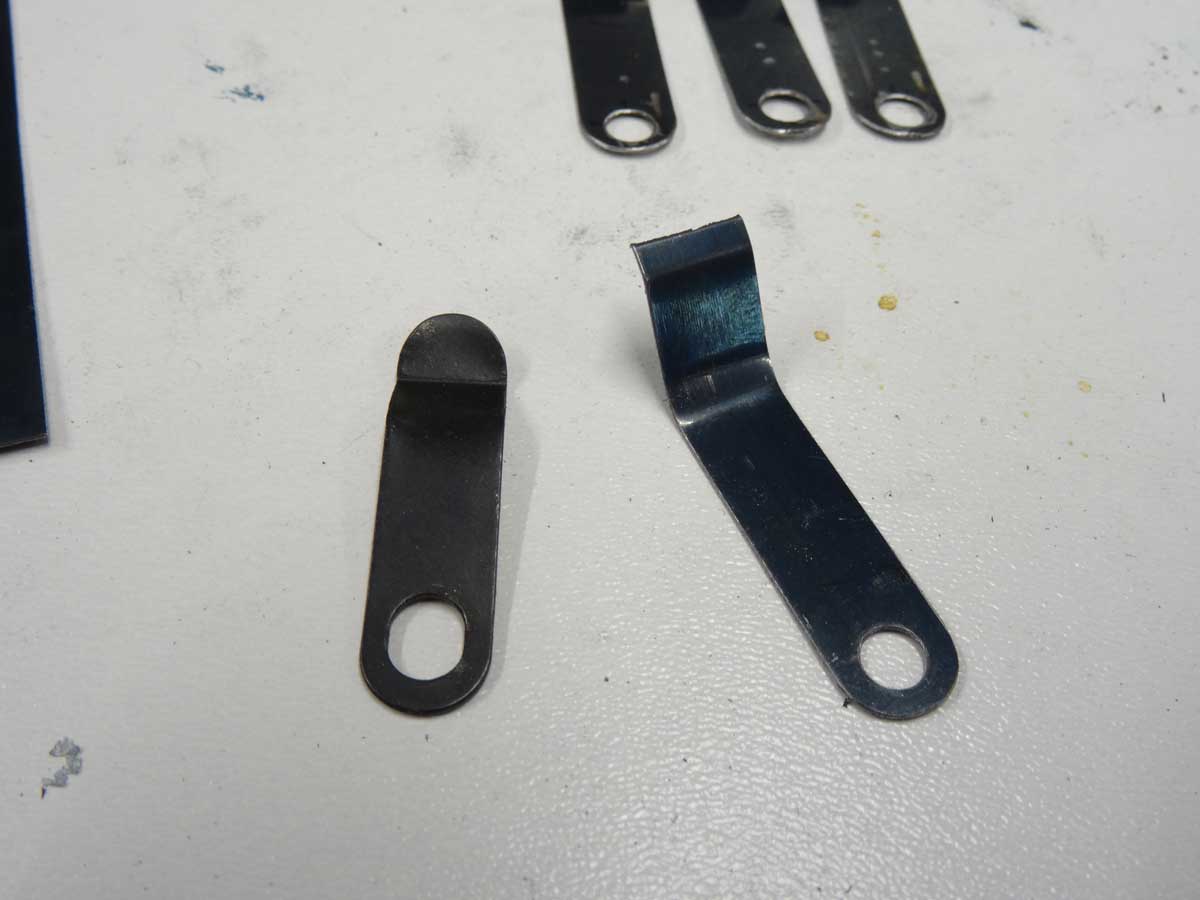
On the left is the original spring and on the right a new one, which I broke. This was the first attempt without rubber jaws and I initially wanted to bend it too much …
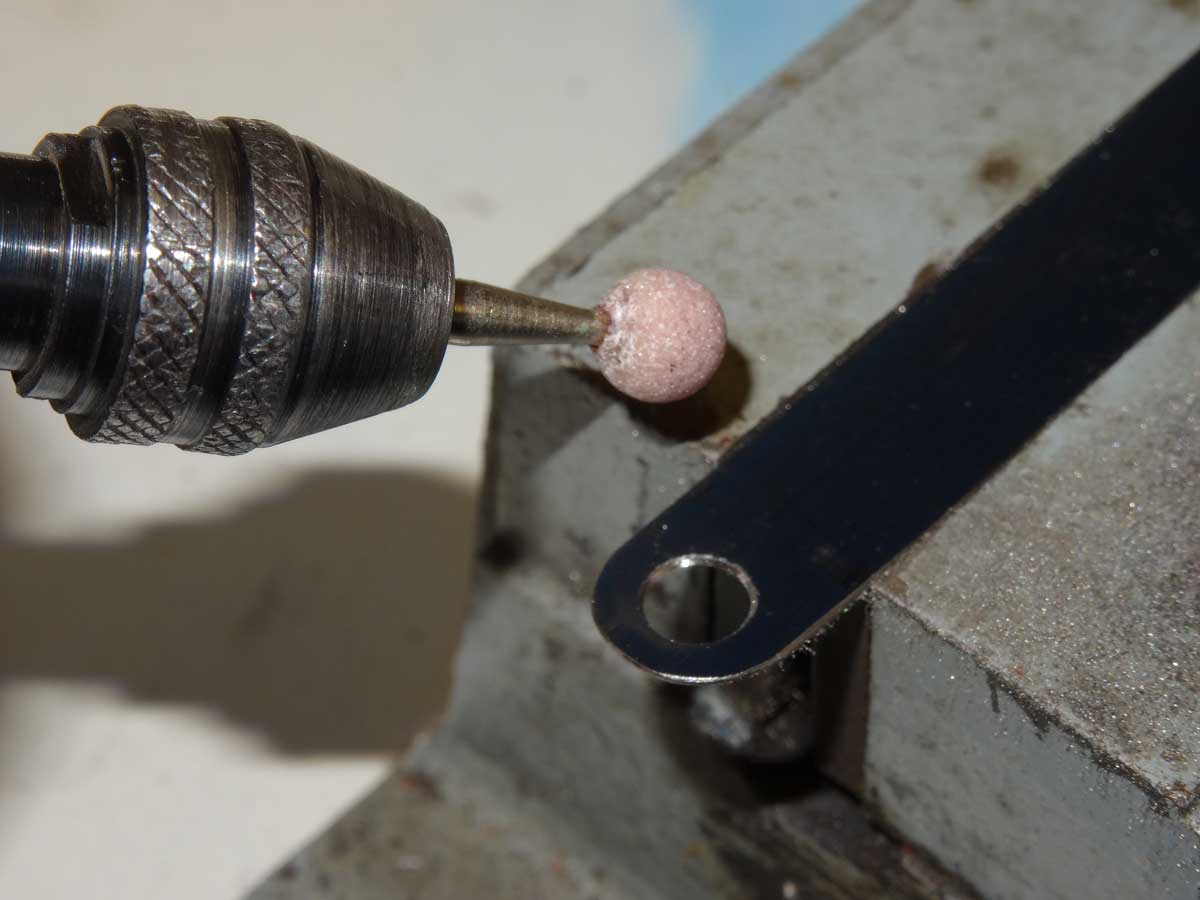
You can't just make a hole in a sheet of spring steel with an HSS drill. I made the holes with the Dremel and this round grinding stone, which worked very well.
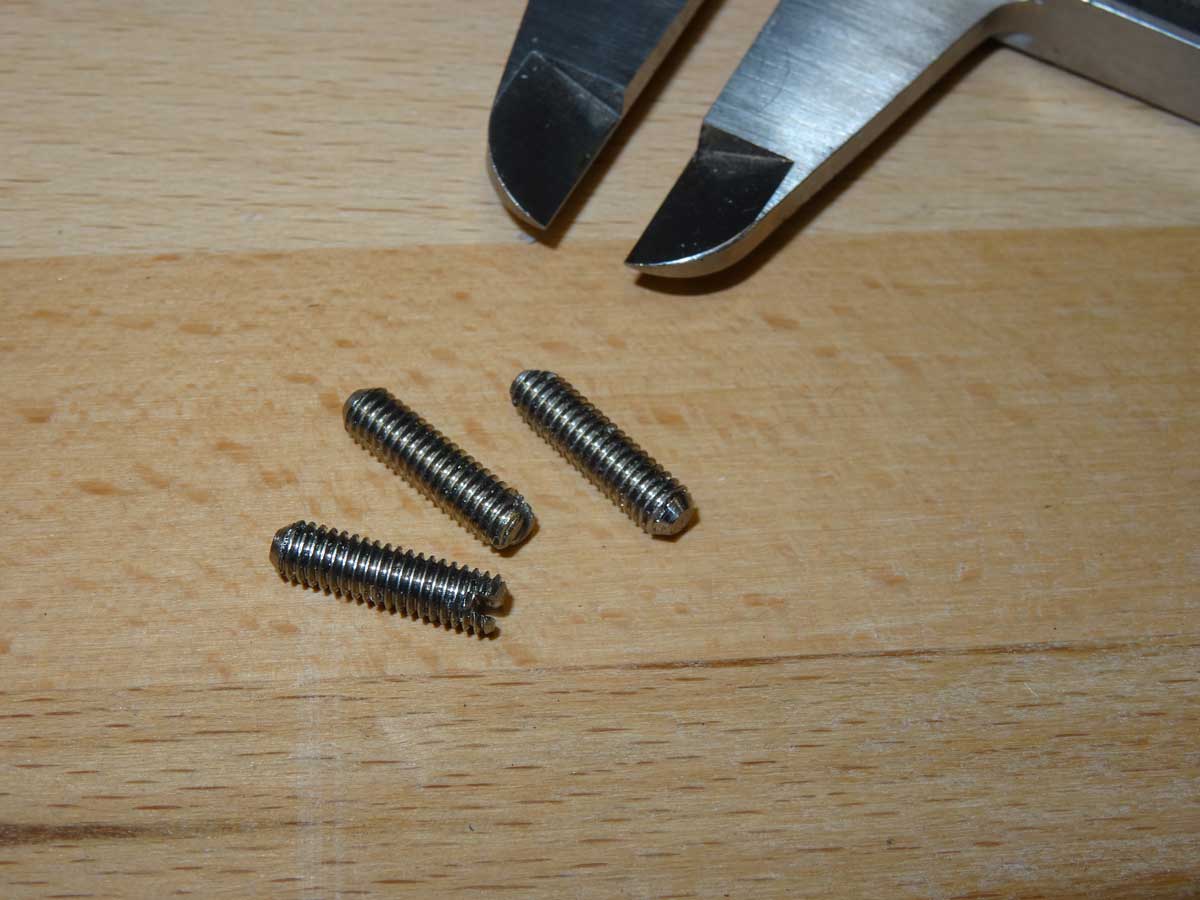
I made the longer stop screws from a threaded rod.
All the parts are now ready and I can re-blue the spring and bracket, as many parts are bare again after machining.
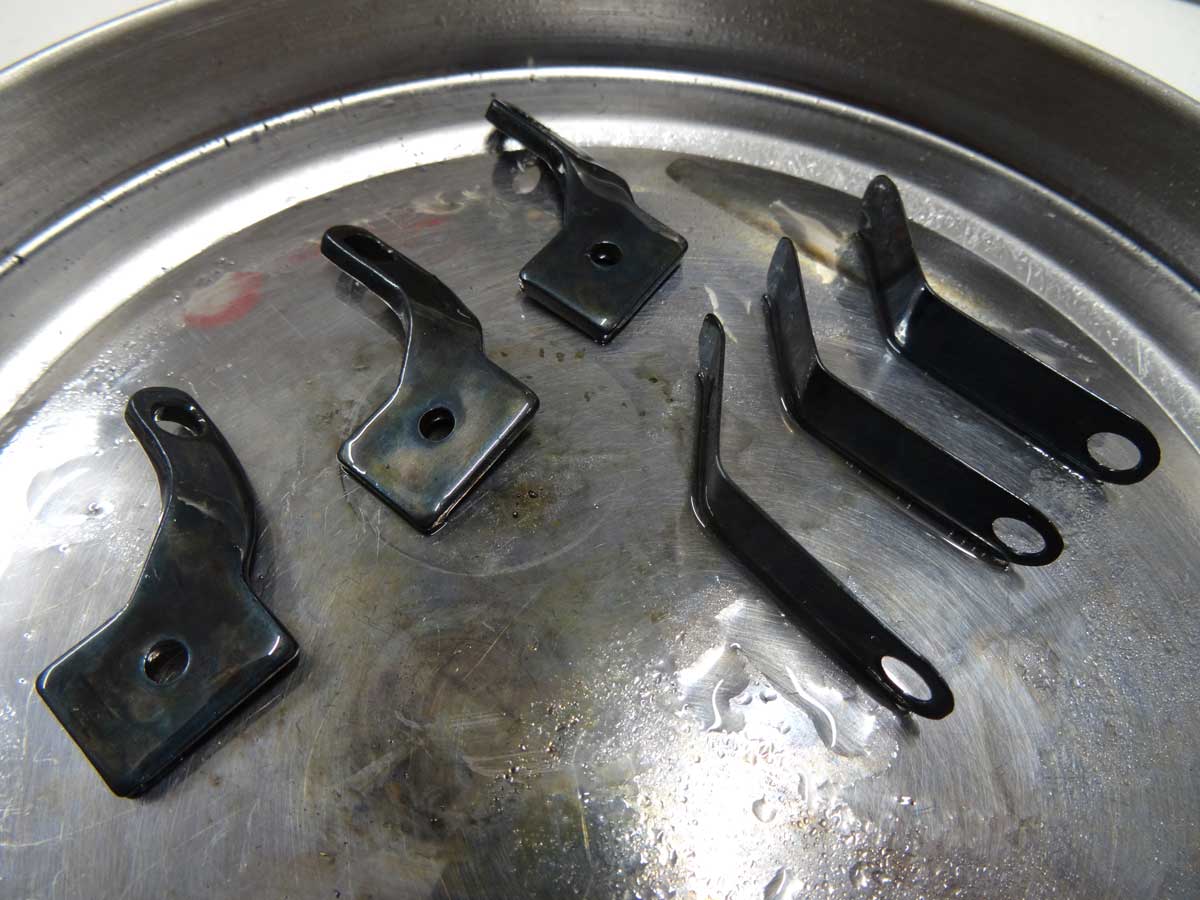
Here are all the parts after burnished and oiled. I burnished the brackets black and the springs in a bluish tone (not so clearly visible on the photo).
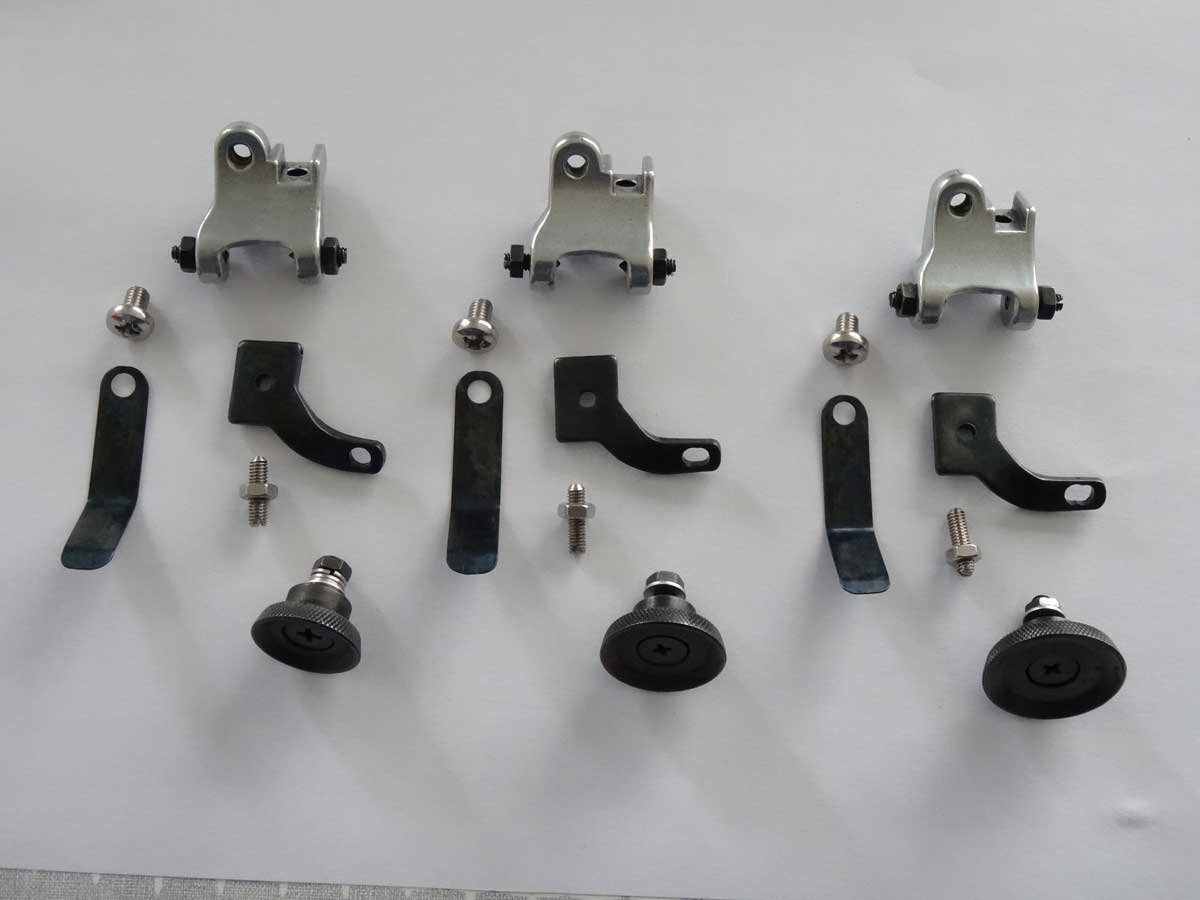
Now everything is ready.
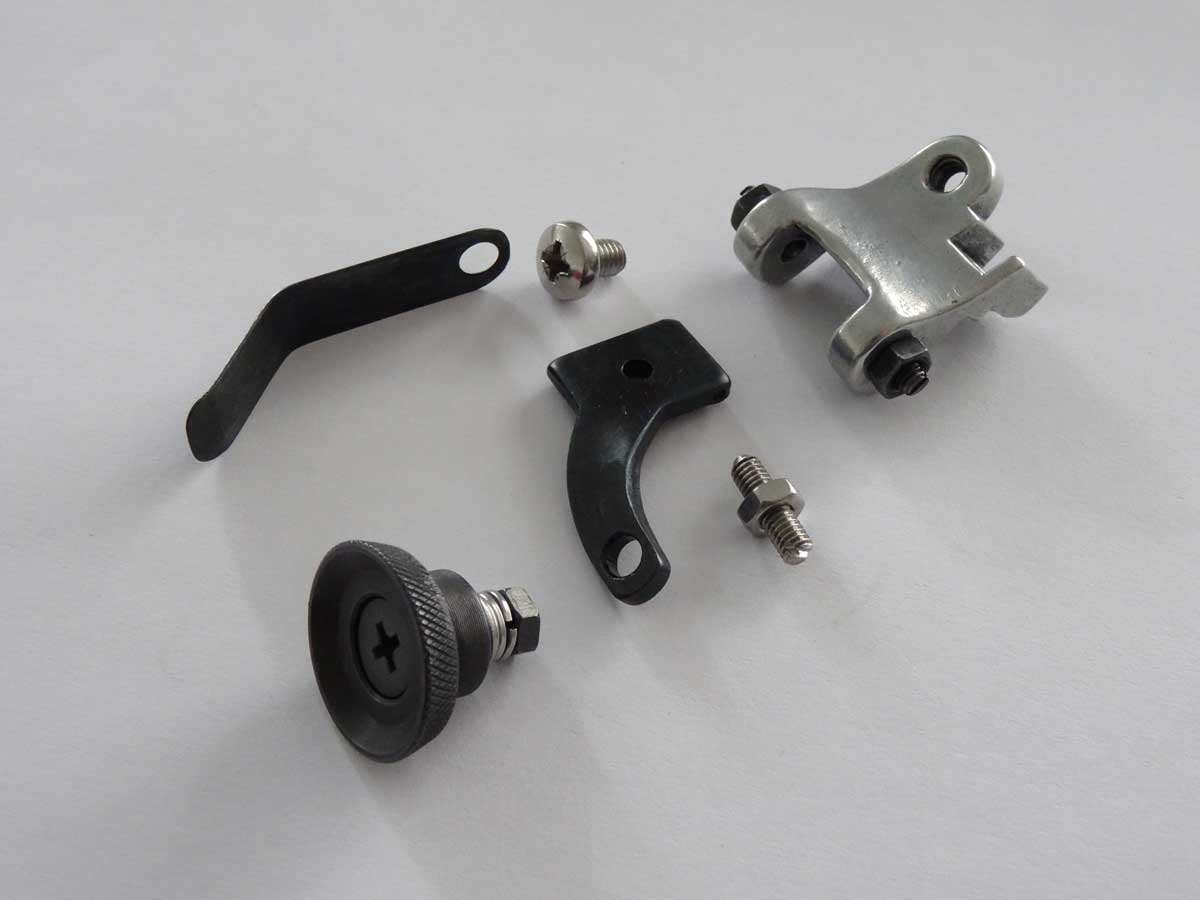
The assembly can begin.
Here are a few photos from different angles.


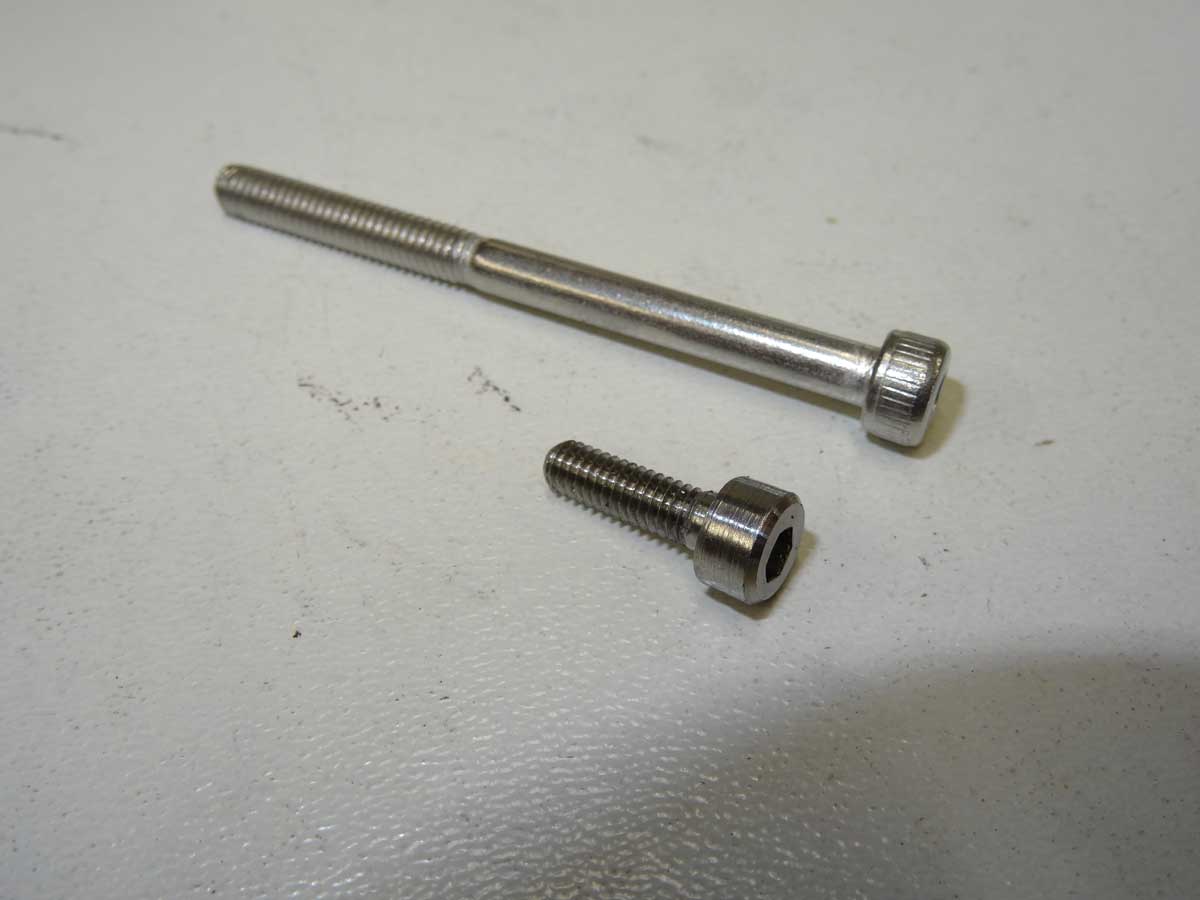
I could now mount the feet, but I realized that the original slotted screw is a bit too short and a slotted screw is the worst option in this case, as it has to be held with one hand and I use the screwdriver with the other … A better solution had to be found in the form of an Allen screw, which I can put on the Allen key and then work with one hand. Unfortunately, the Singer is a US product with US threads. In this case it is a UNF No. 6-40 thread and I could not find such a suitable Allen screw anywhere. That means I had to make it myself. I took an M4 Allen screw with a long shank, overturned it to 3.5 mm diameter and cut the UNF No. 6-40 thread. Then overturned the head and I got the screw I needed.
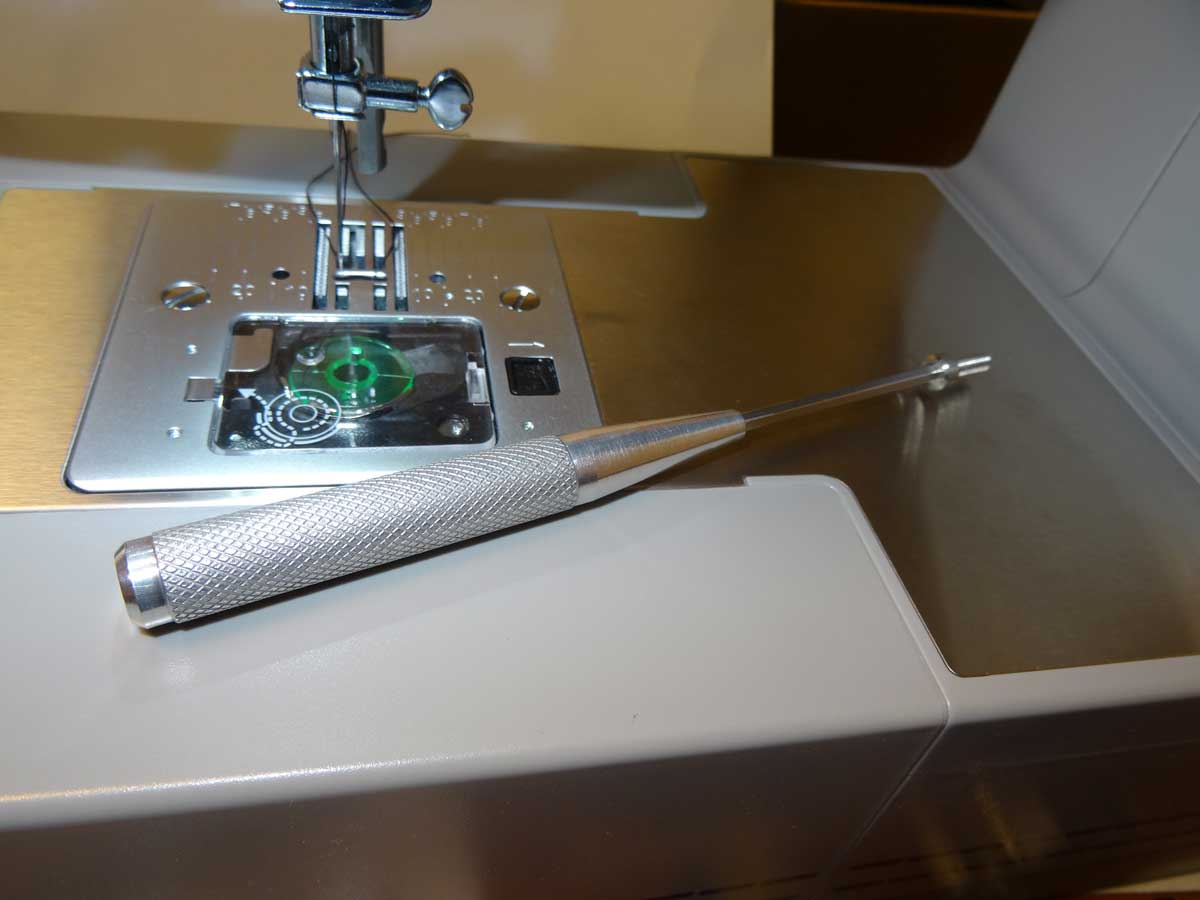
Now I still need the right tool with an aluminum handle to fit this screw. I knurled the handle and then overturned it with the lathe. I then drilled a hole at the tip and pressed the part of an Allen key into it.
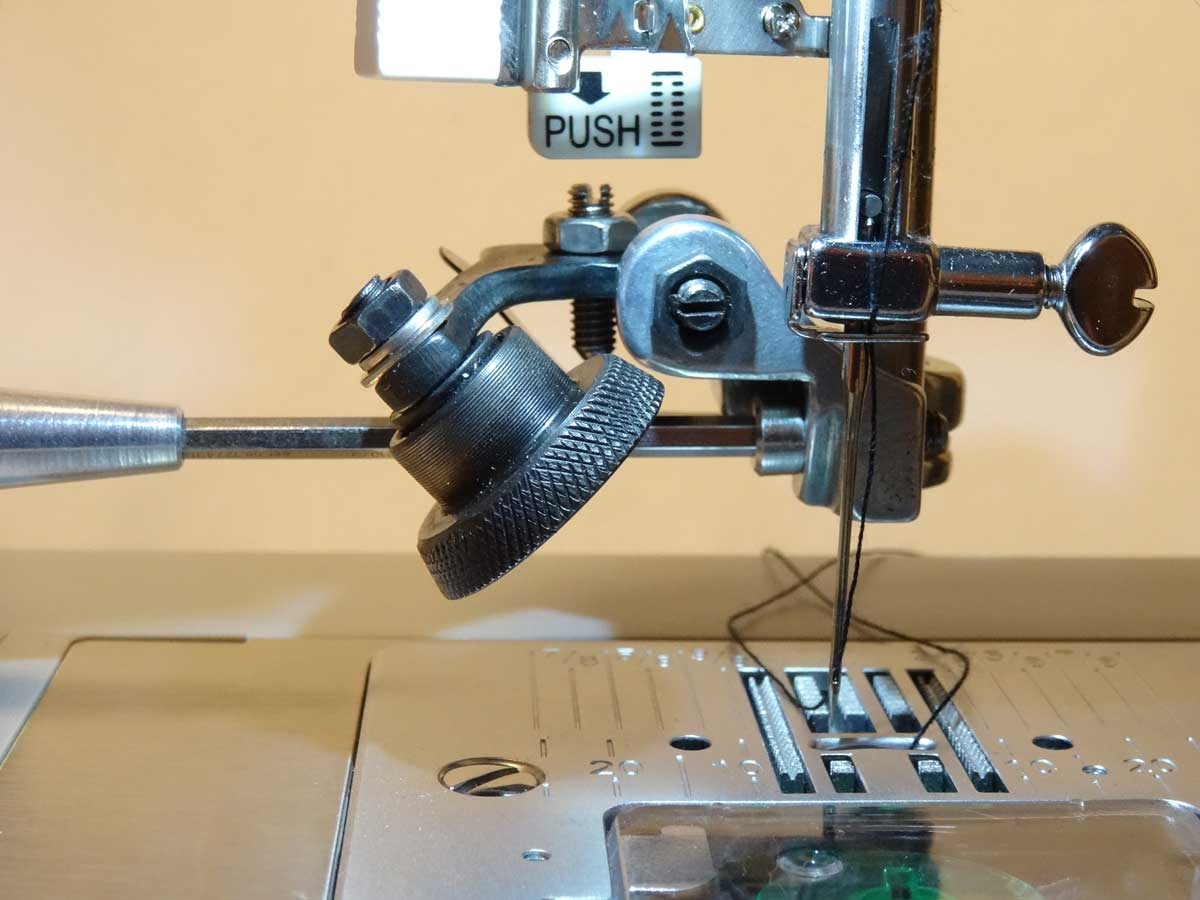
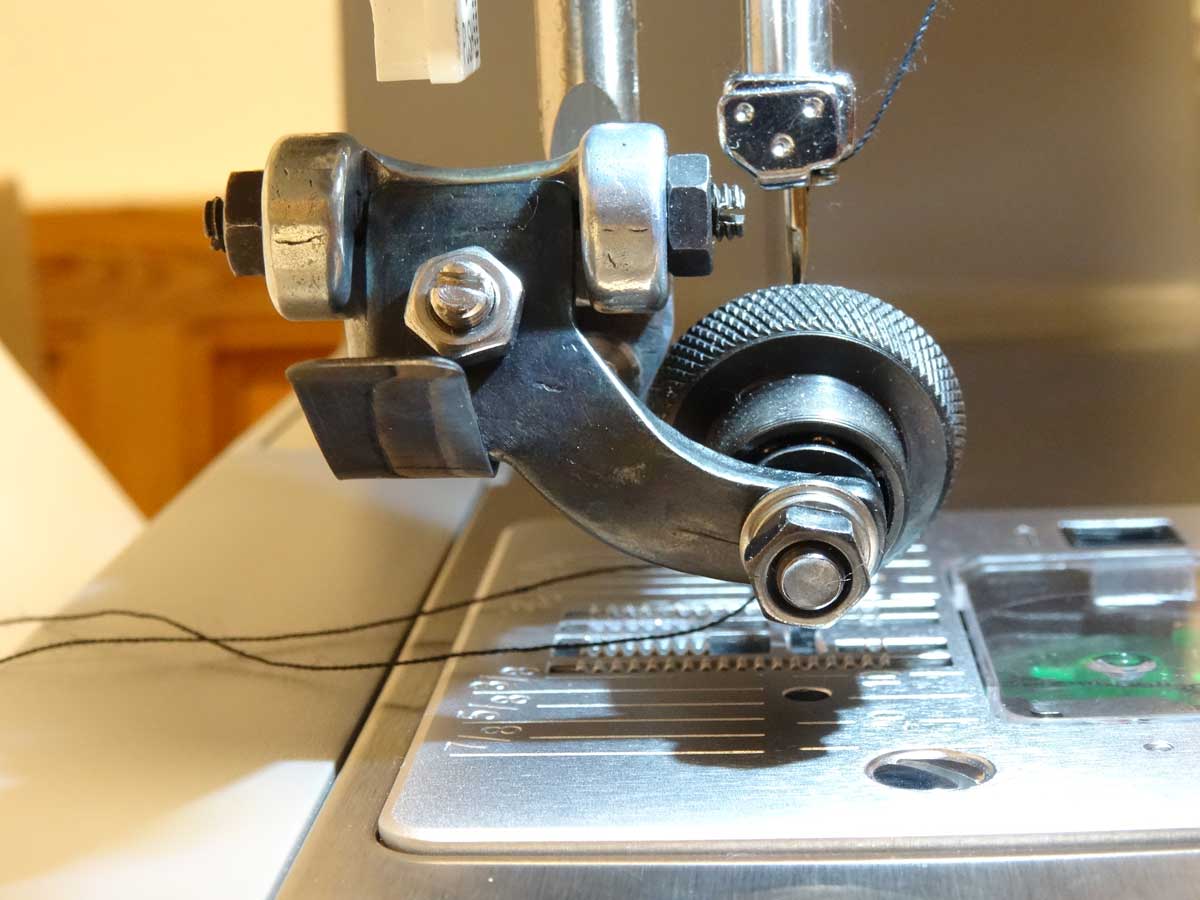
Now I can put the Allen screw on my tool without having to hold the screw and mount the roller base with it. To do this, the roller must be folded away to the side as shown in the picture. The feed wheel must also be folded away when the thread is threaded.
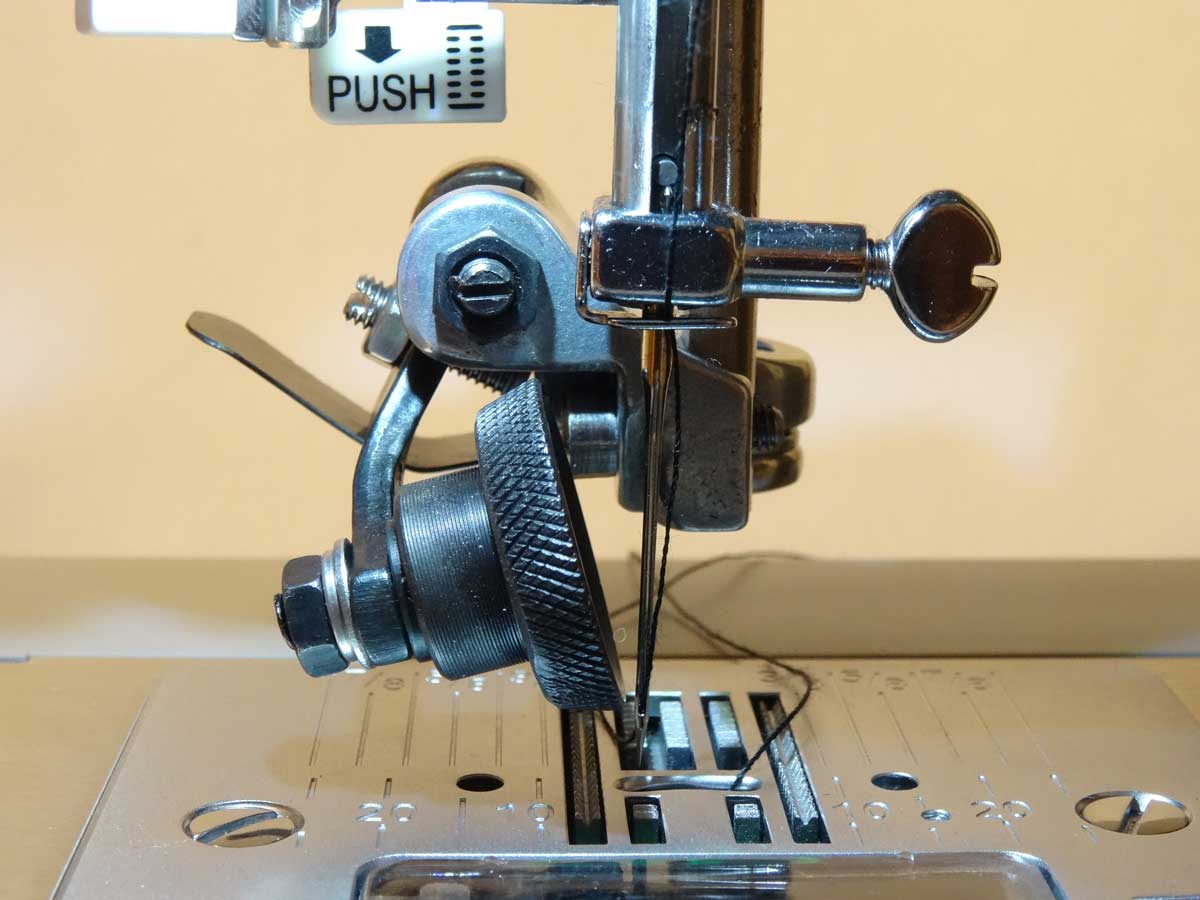
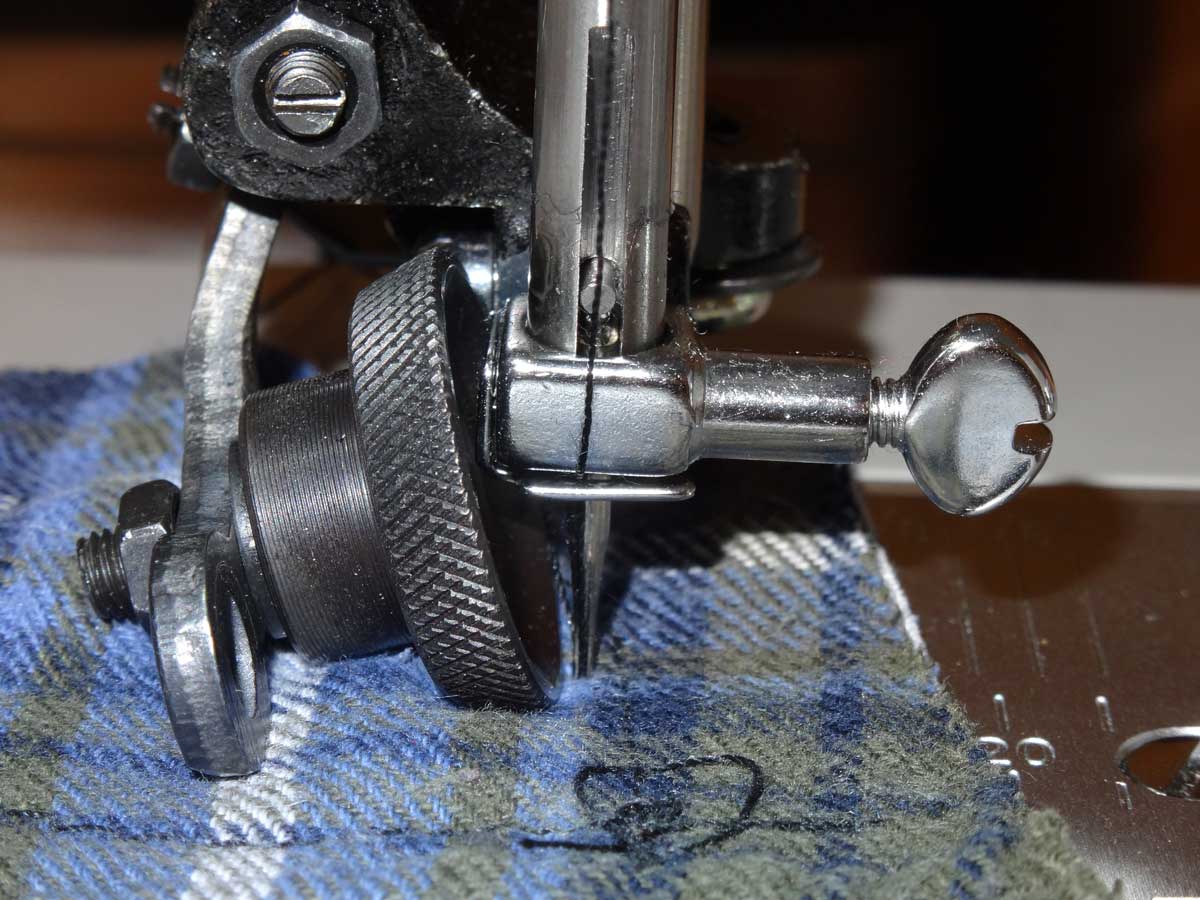
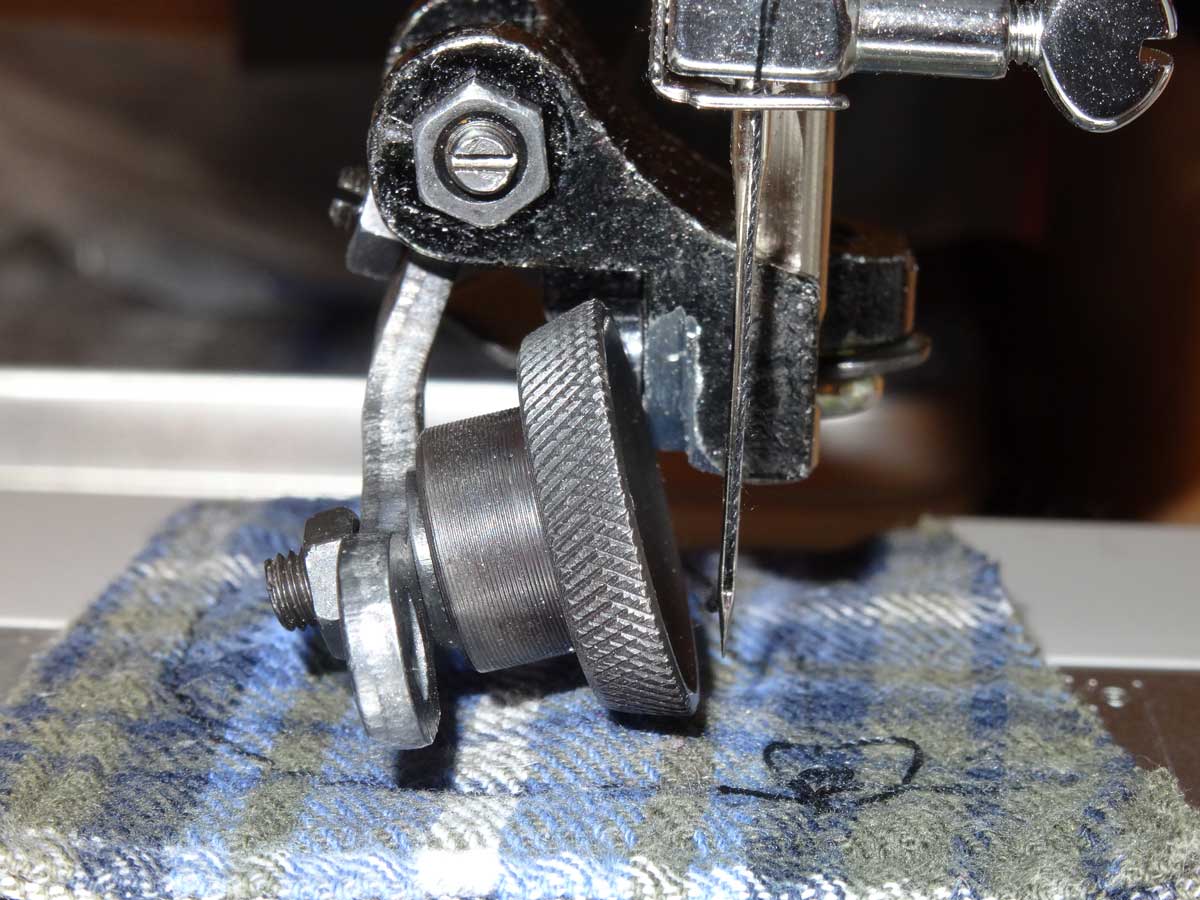
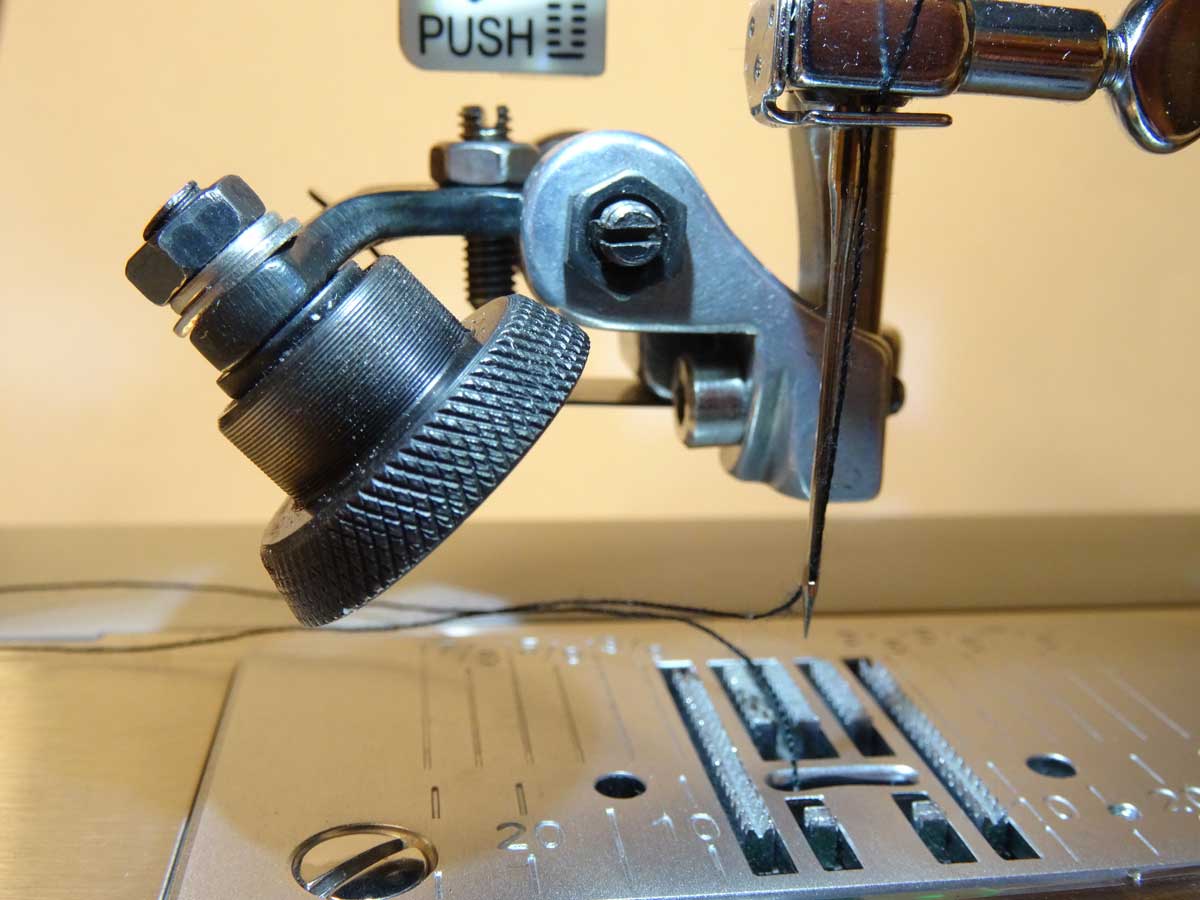
The roller must run directly on the left long row of teeth of the feed dog. The needle should be as close as possible to the wheel, but must not touch it.
The roller axis is in line with the needle.
Now I can use my new roller feet productively.
Copyright © 2001-2024 Markus Maurer - all rights reserved
 Creation Date: 24.04.2024
![]()
![]()
![]()
