
| Ford Model A |
![]()
![]()

Tank interior coating / sealing with 'Tank Cure' (Ford Model A Tank)
My gas tank was in a good condition, nearly no rust inside, but since modern gas is more aggressive than 70 years ago, I decided to seal it with a tank sealer. I have used the product 'Tank Cure' which is available through Restotechnic.
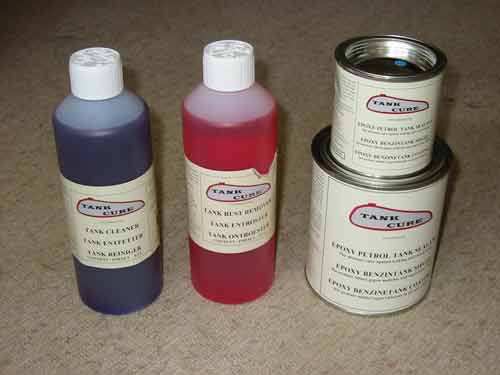
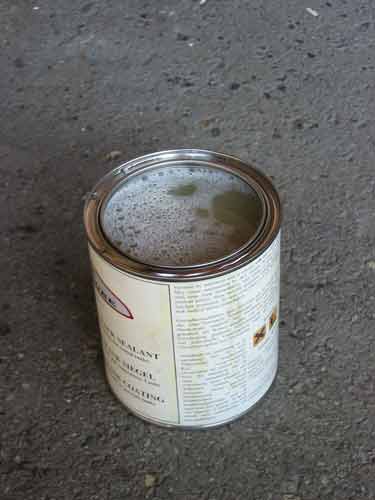
These are the needed components like de greaser, rust remover and the 2 component Epoxy with hardener. Since I have 2 vertical sheet metals inside the tank it is necessary to use double the amount like you would need normally for a 40 Liter tank.
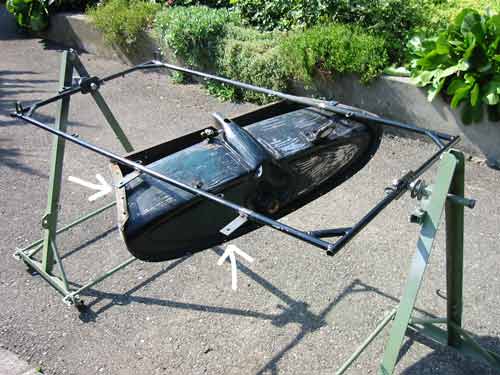
Take enough time for the preparation and think about how you want to turn the tank. A small tank from a motorbike is easy to handle but a bigger one is quite heavy. I have used my rack which was in use for the engine and the frame before. On the sides of the tube frame I have welded 3 mounting points totally. Now I was able to fix the tank with 2 bolts. I used 2 mounting points on one side (marked with arrows) in order to reach every corner of the tank with the liquid when I'm rotating it.
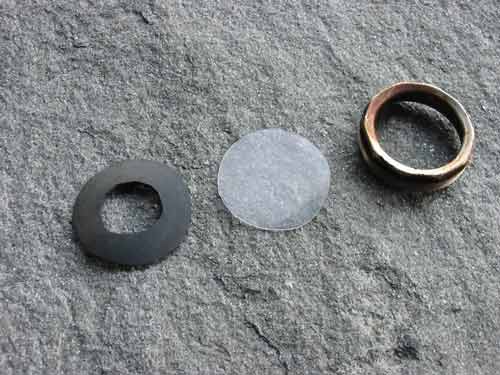
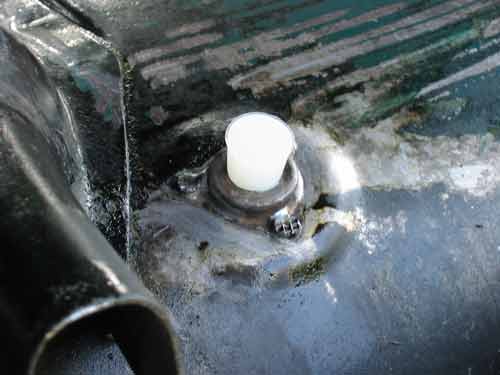
When everything is prepared, all the openings have to be closed. I have used the following items for the tank gauge opening.
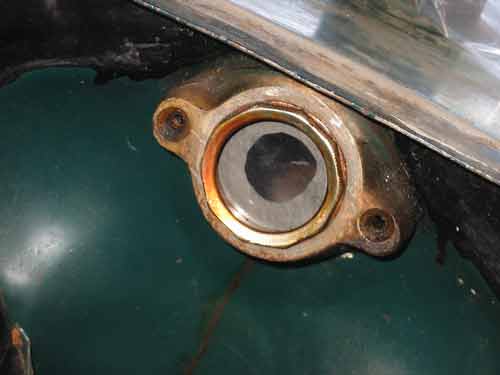
The hole is closed and I can still have a look inside.
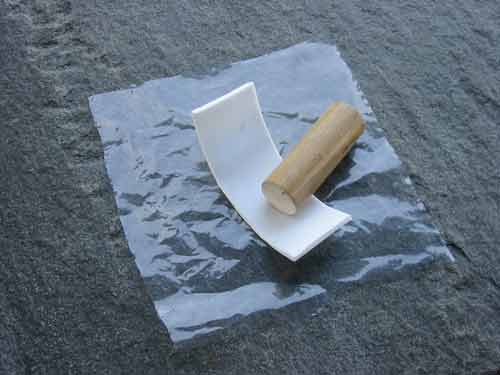
For the top hole I have used a wooden stick, plastic foil and foam plastic.
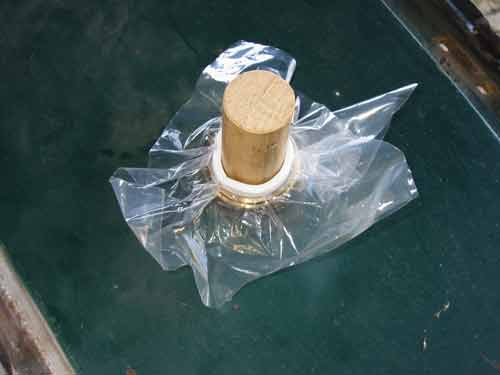
The hole is closed and this way also the thread 3 cm below is protected.
The last hole is closed by a silicon plug.
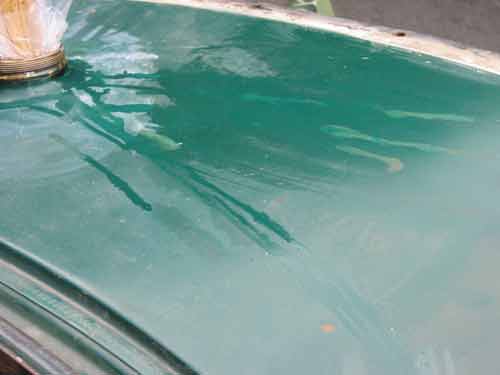
Since my tank will be sandblasted and painted afterwards, I had not to take care about any leaks when some rust remover runs over the paint.
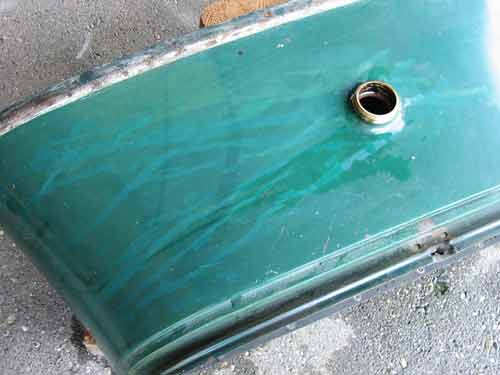
The color is damaged and anyone trying to seal a painted tank should protect it very good. Also the holes must be 100% close.
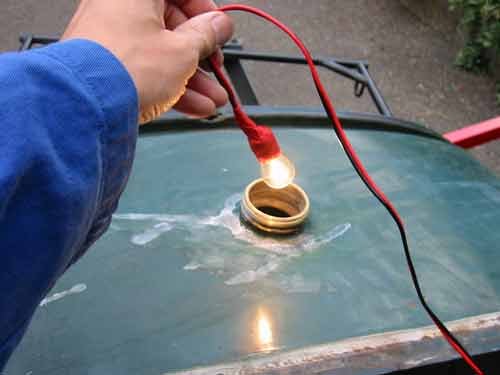
This is my 12 V light to get a better view from inside the tank.
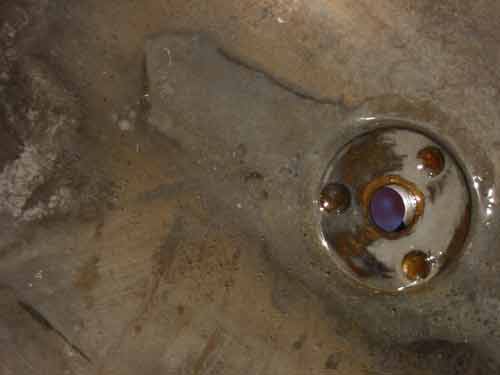
The application of 'Tank Cure' is very easily. First use the de greaser for some hours, it depends how much dirt is in the tank. Then fill in the rust remover for about 4-6 hours. Always rotate the tank regularly to get a better result. Then remove the rust remover and clean the tank with plenty of water. A very critical point comes now, the tank must be 100% dry before you can apply the sealer. I have used the sun for 6 hours but also a hair dryer and compressed air. Then move the tank into the shade mix the Epoxy with the hardener and fill in the so prepared sealer. Turn the tank for 15 minutes open the hole and drop the needles remover. Before it becomes hard, clean all the openings. On this picture you can see the droped sealer, the can became extremely hot because of the hardening process and if you have a closer look you can see the smoke.
It was not easy to get a picture from inside the tank but as you can see, the result is perfect.
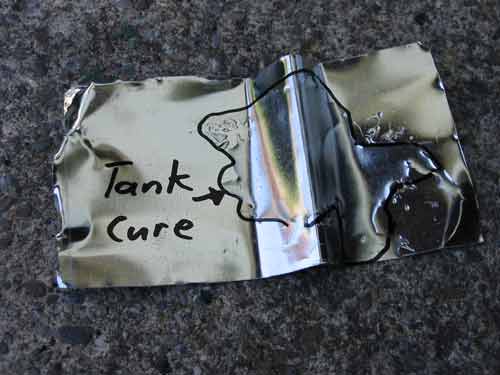
Of course I have to know where the limitations of a product are. In this case you see some 'Tank Cure' on a sheet metal surface surrounded with a black marker. After 10 days I have bended the sheet metal as you can see on the picture and it does not break, test passed!
Copyright © 2001-2024 Markus Maurer - all rights reserved
 Creation Date: 01.08.2006
![]()
![]()
![]()
