
| Ford Model A |
![]()
![]()

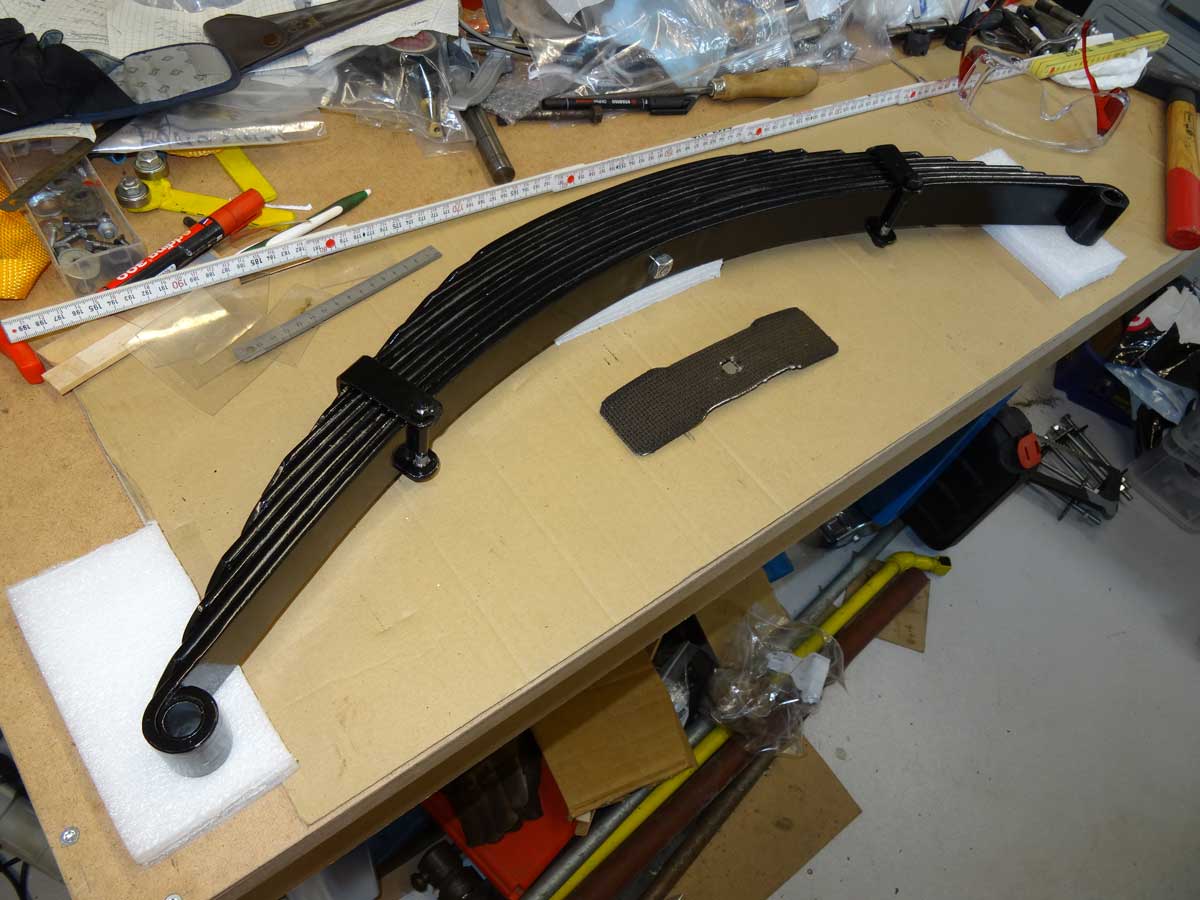
Restore front leaf spring Ford Model AA (Ford Model A truck)
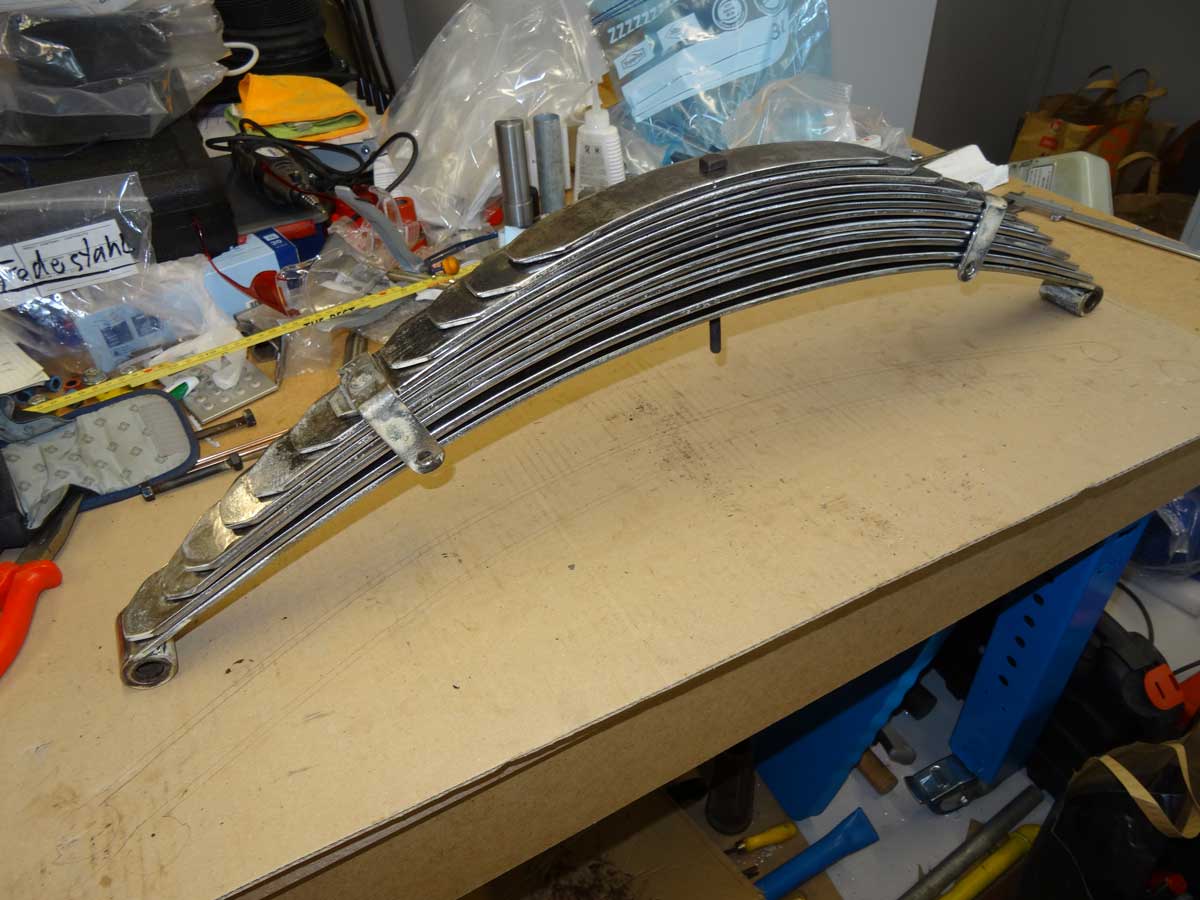
In October I restored the front leaf spring of a Ford Model AA (Ford Model A truck). It was quite rusty and didn't move much at all, as the connections to the axle were also firmly rusted. In contrast to the Ford Model A, the Ford Model AA has two more leaves, i.e. a total of 12 leaves like this one. But there are also versions with even more spring leaves.
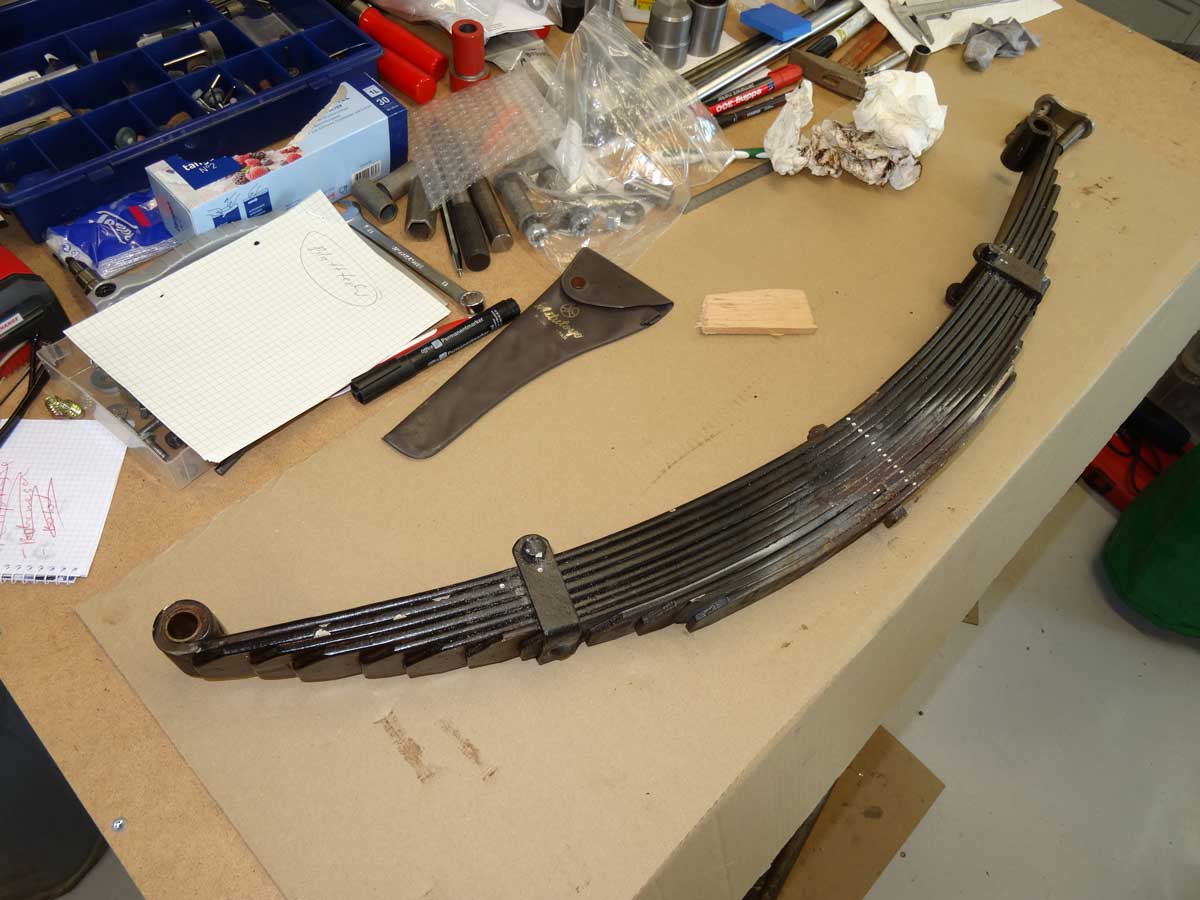
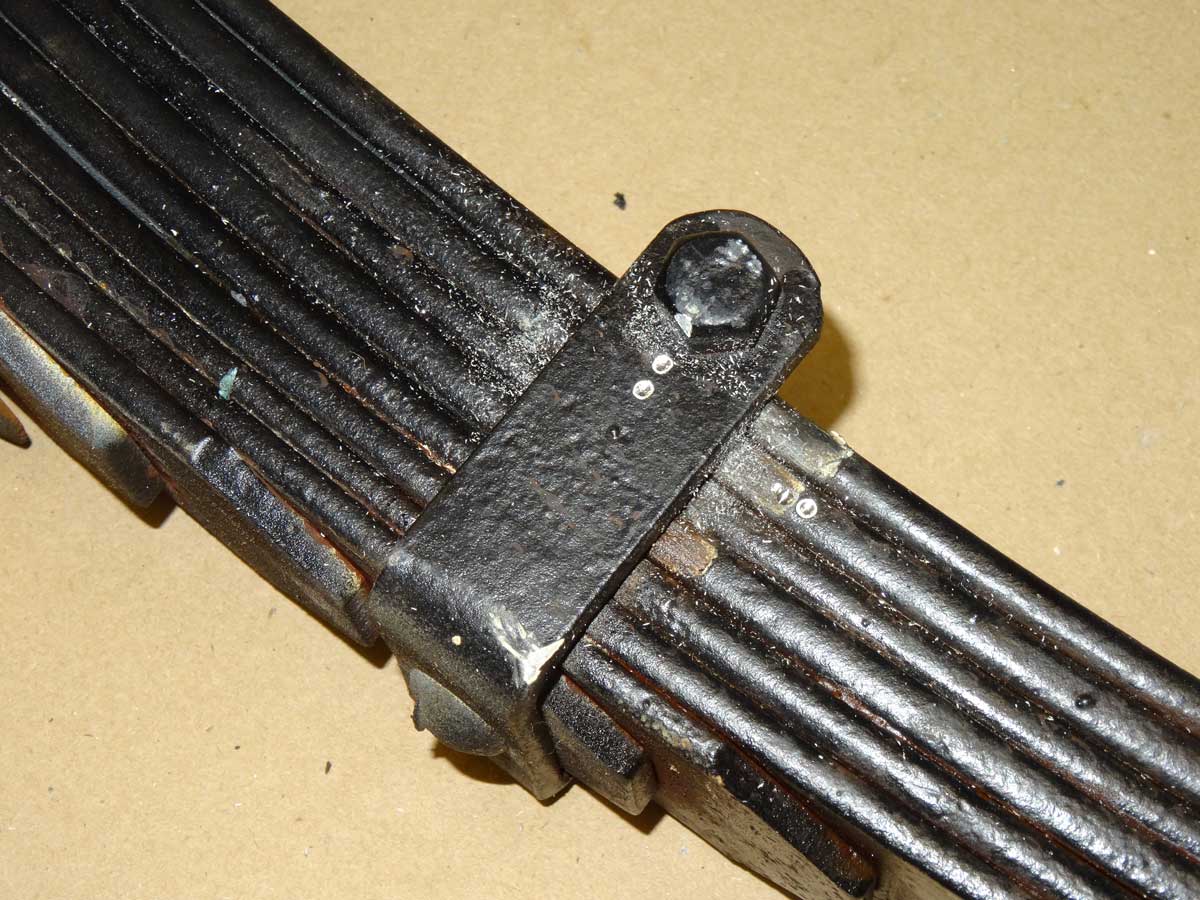
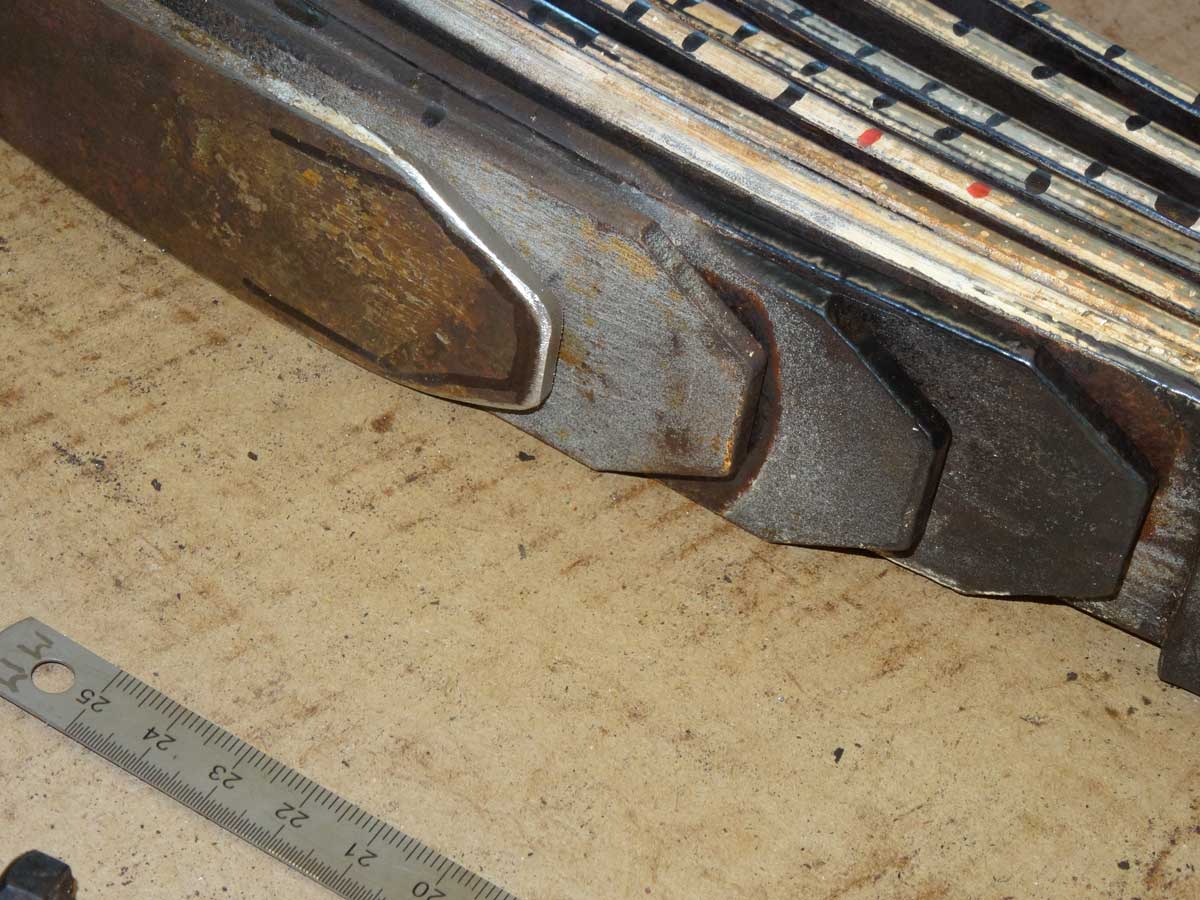
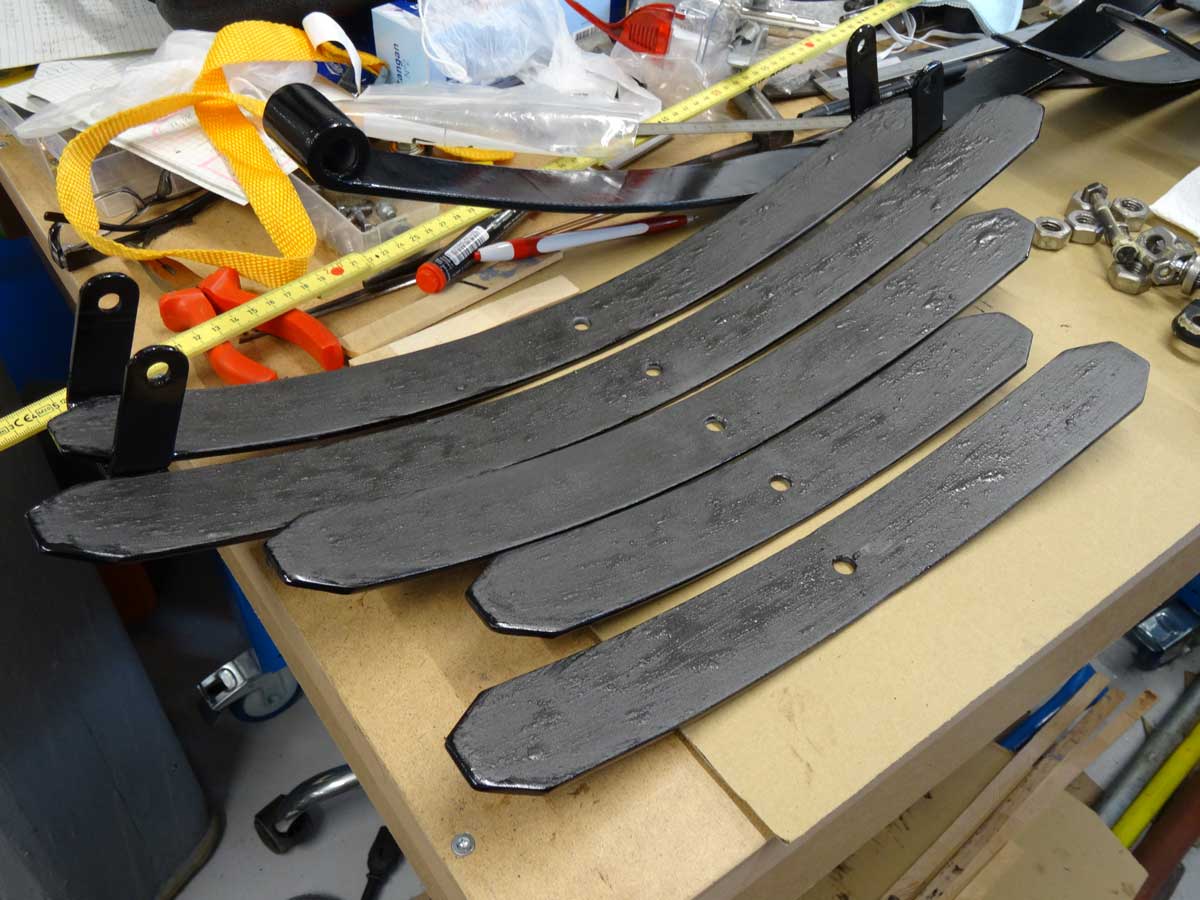
First of all I marked each single leaf, so that I can see later how the whole package was mounted.
Besides the rust, there was thick paint everywhere, so movement was only possible with a lot of force.

The second uppermost blade was inserted at some point and doesn't belong here, but more on that later.
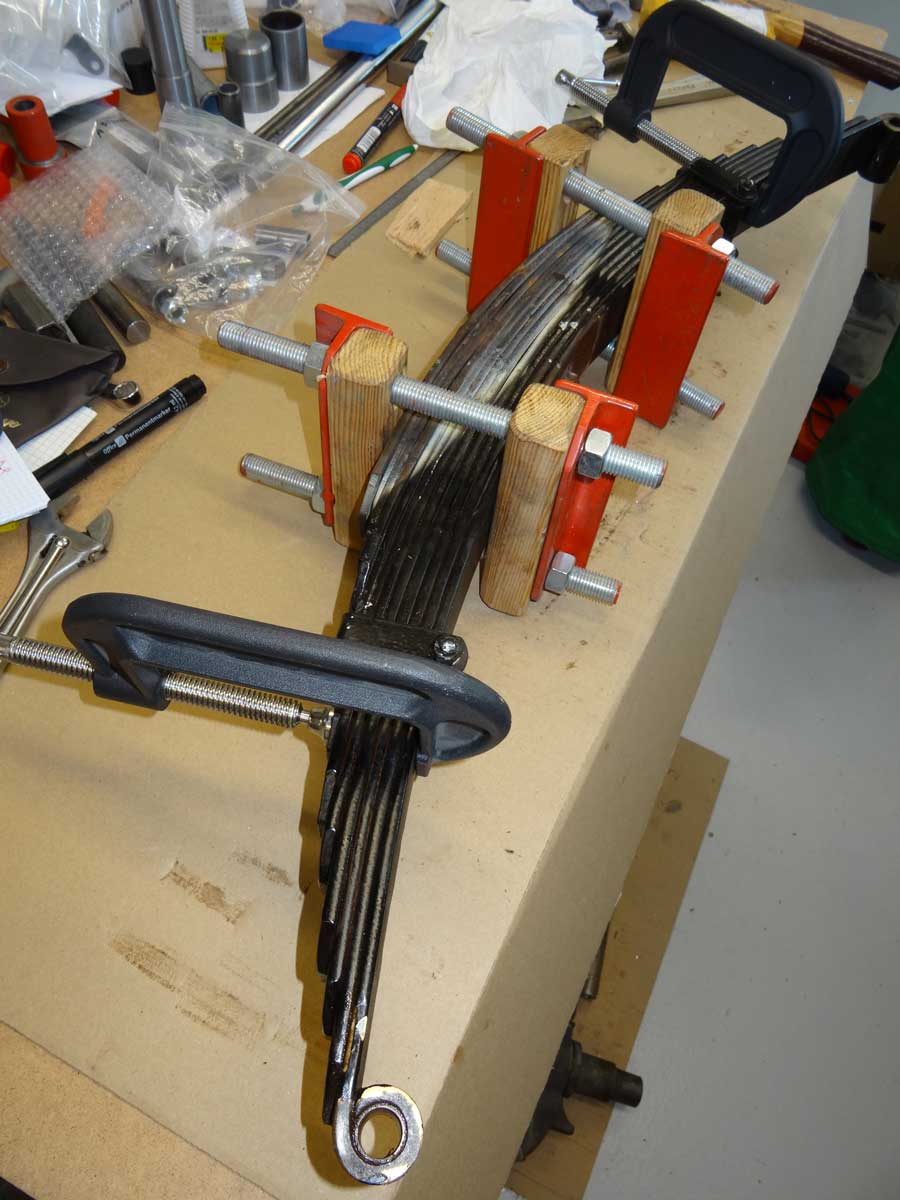
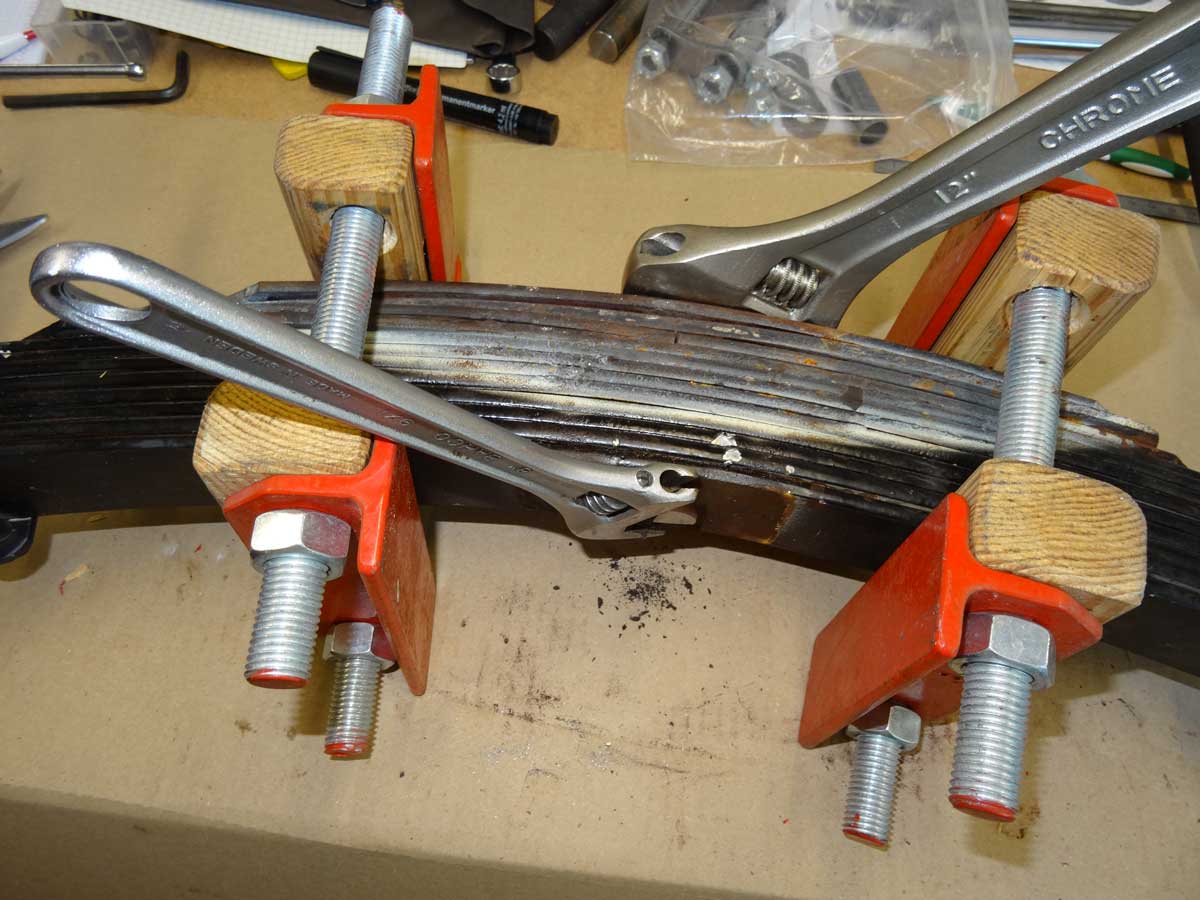
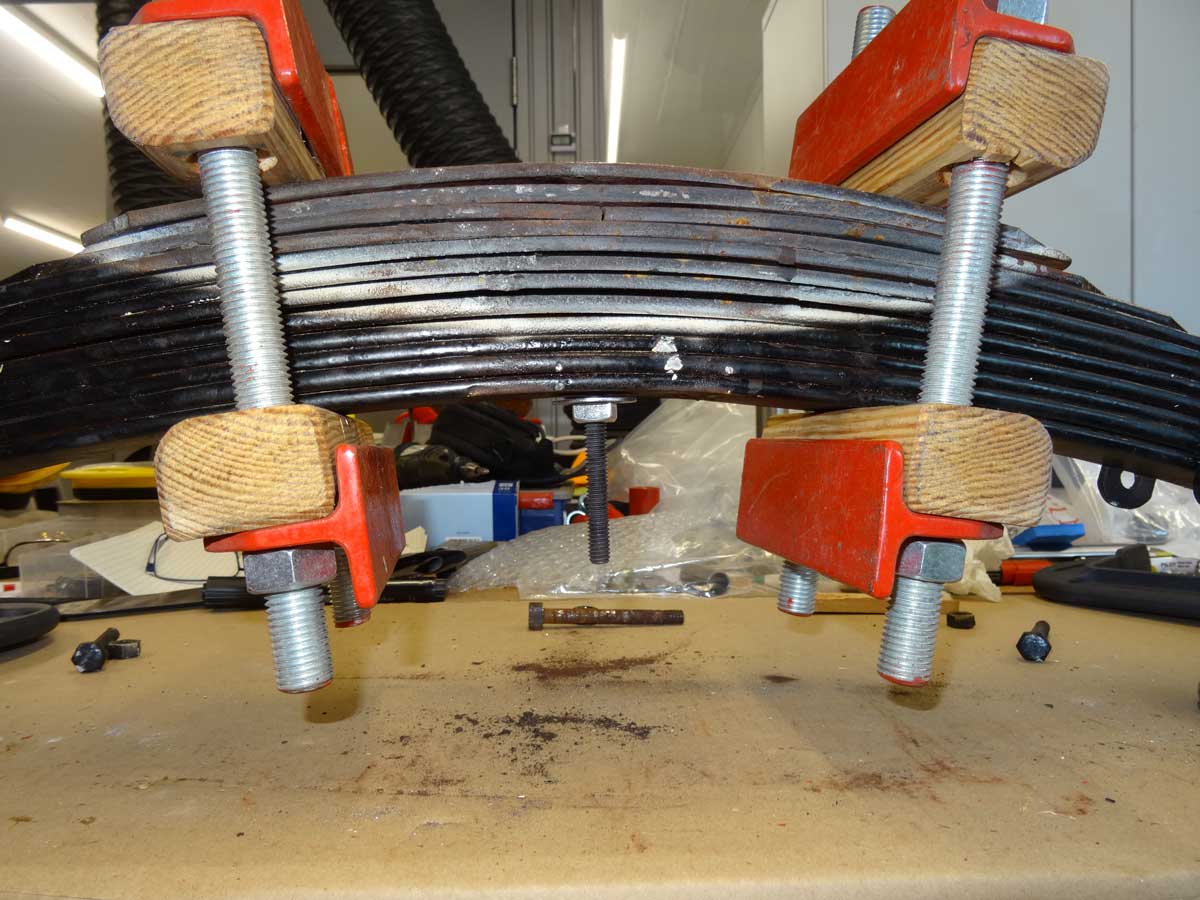
The front leaf spring is less critical than the rear spring, but I still take care and secure the whole thing with 4 screw clamps (the 2 in the middle are self-made by me).
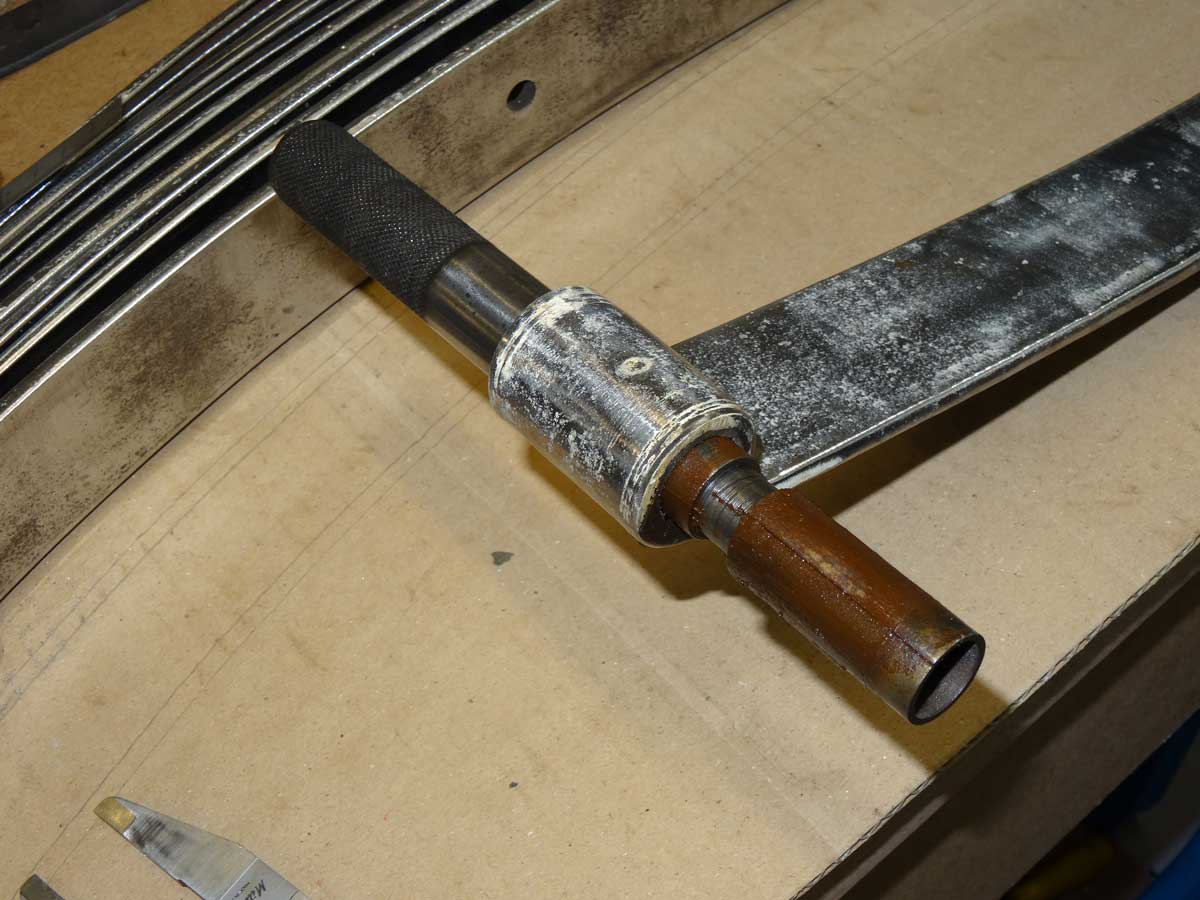
Now I can remove the old screw in the middle, which holds the whole package together.
Then I insert the new screw to secure the spring and loosen the screw clamps step by step.

Some of the leaves are crooked and need to be straightened, and the third leaf in the middle is broken.
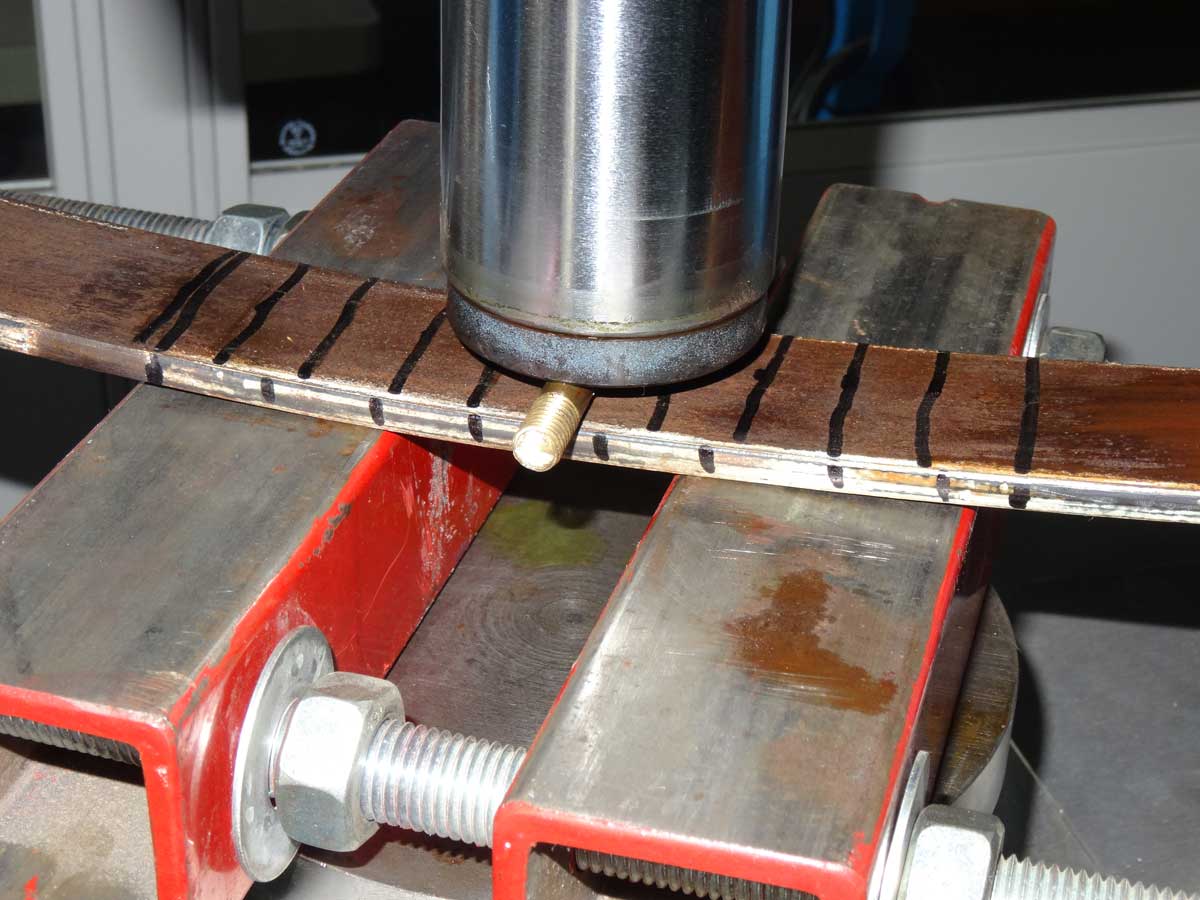
Now I straighten all the blades in the area to the left and right of the centre. I do this on the hydraulic press by applying pressure to the spring at intervals of 1.5 cm. It only takes a little pressure, so the spring doesn't break. Actually, you straighten springs with a hammer, but I have a better grip on the force this way than if I did it with a hammer. But it takes a lot more time my way …
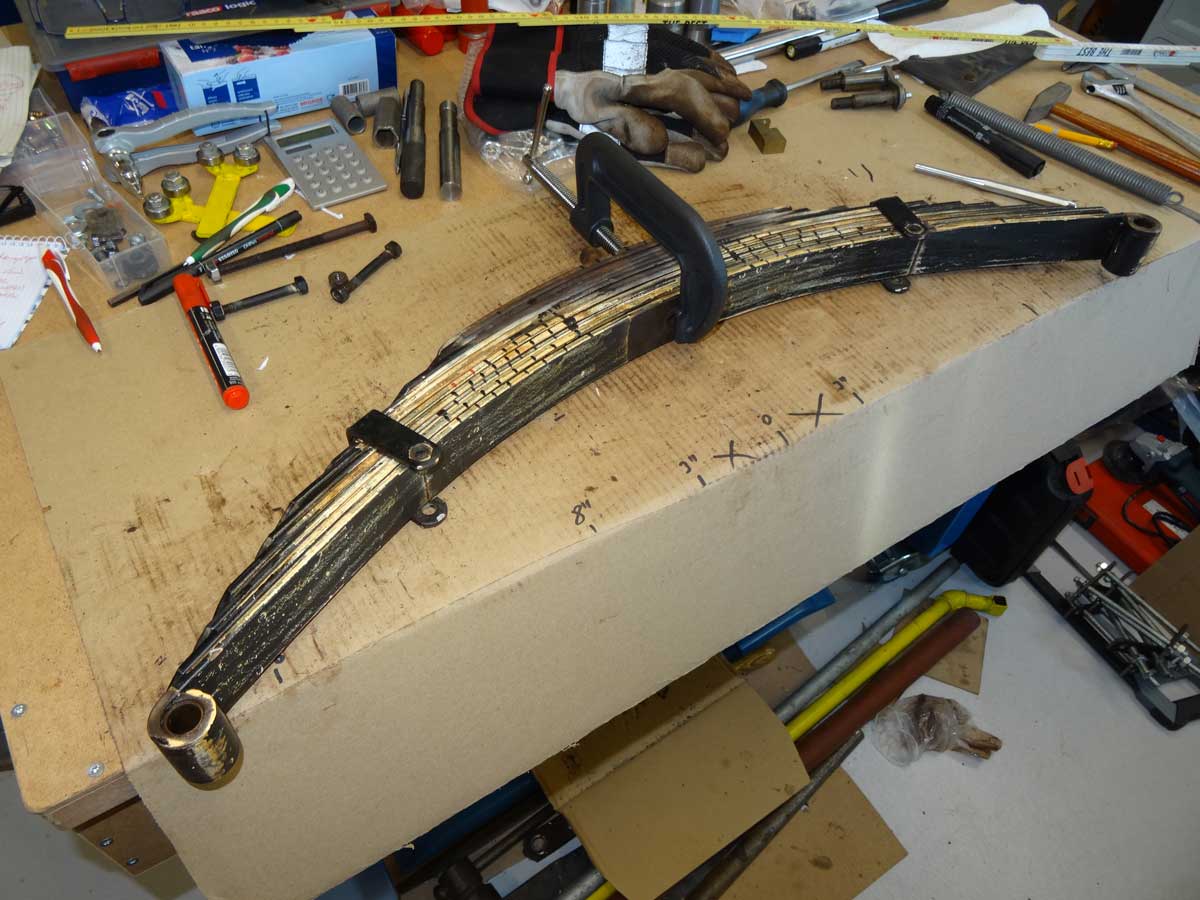
After each pass, I put the spring leaves on top of each other and see where I still need to touch up. Here you can see the strokes, where I worked on each leaf.
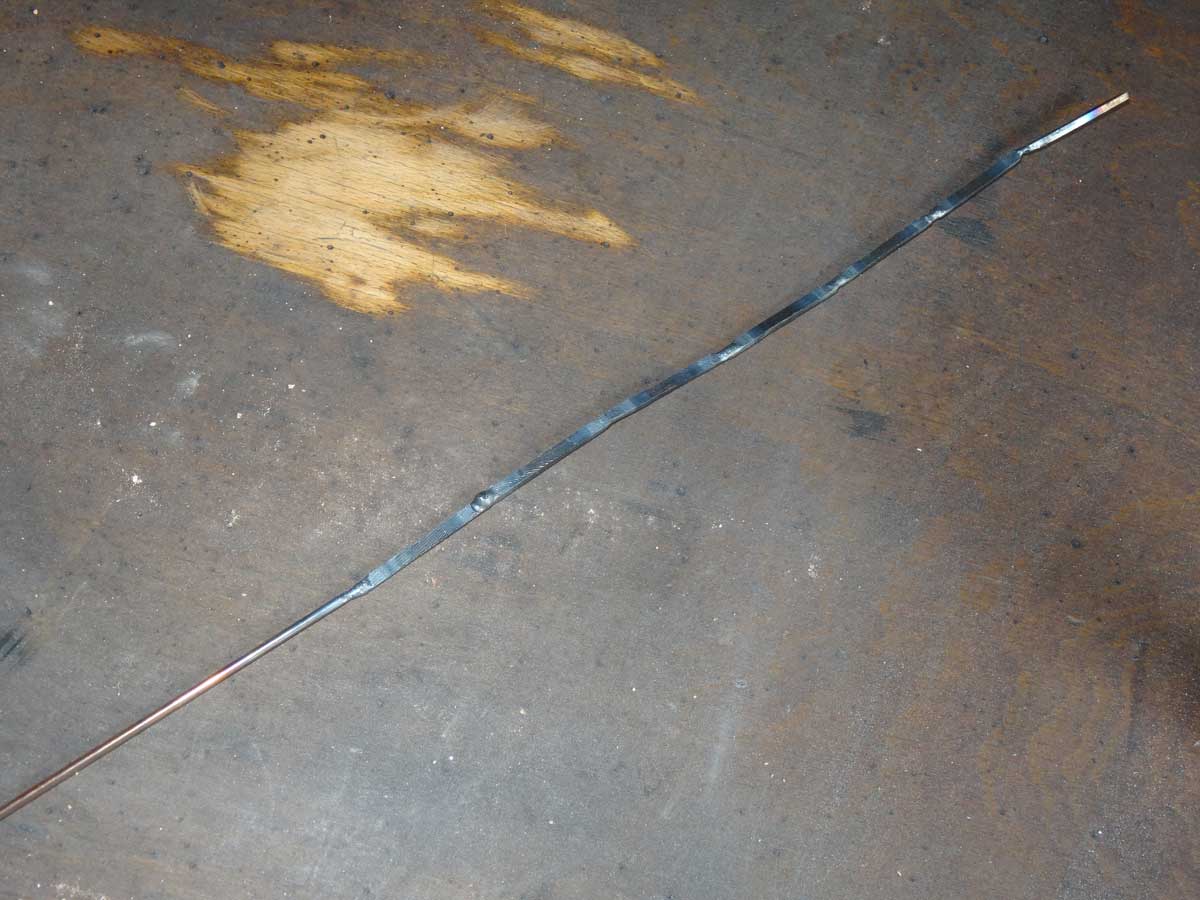
Now back to the mismatched spring leaf. In terms of length, the top spring is missing from this spring set. I will take the second leaf and place it on top. I just have to adjust the length of the leaf a little.

The new spring leaf is ready. Spring steel is easy to shape with a hacksaw and a file.
It is a bit narrower than the other leaves, but it will also fit better into the U-profile of the frame.
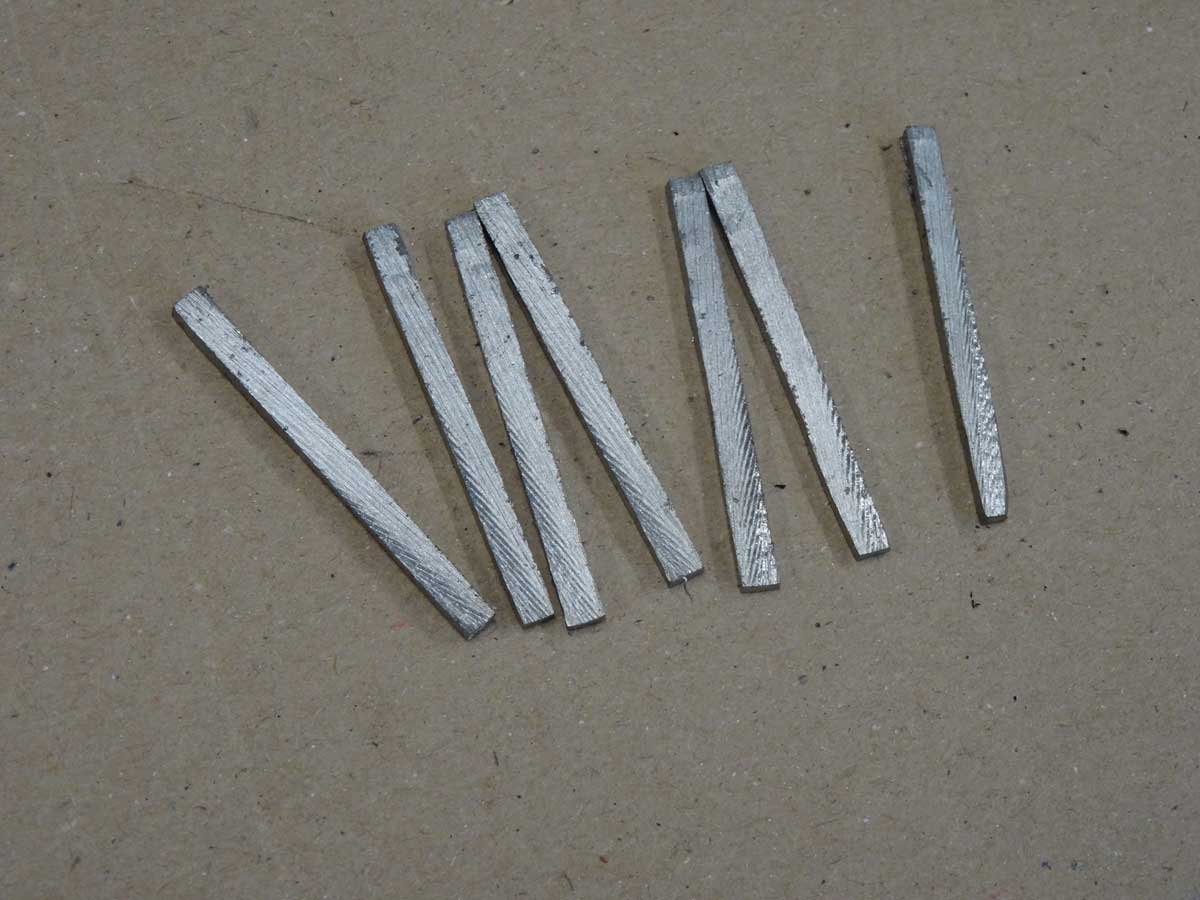
One of the spring leaves is torn and I cut these narrow strips when shortening one of the leaves. Now I can use oxyacetylene welding with the same material, namely spring steel.
So that I don't burn my fingers when welding, I welded the individual pieces together and put them together with a normal welding wire.
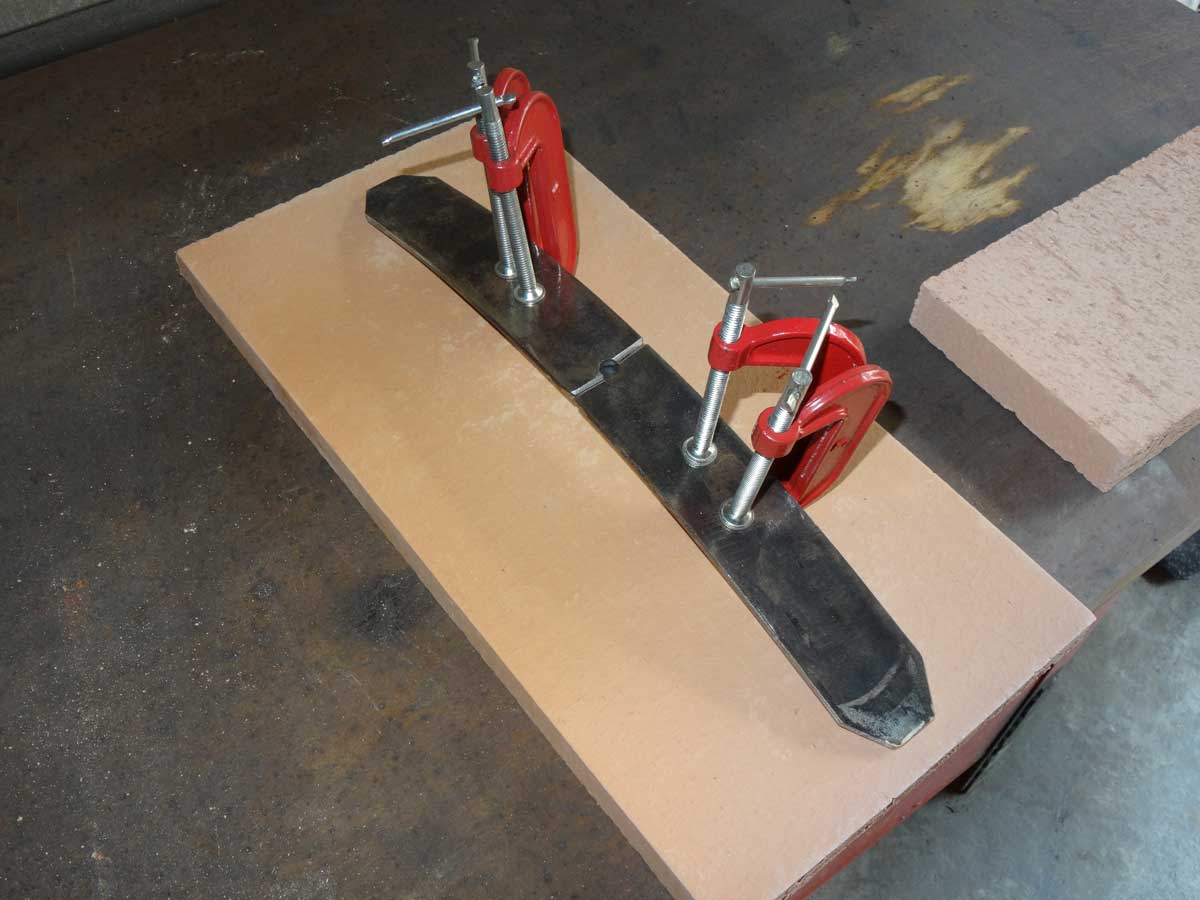
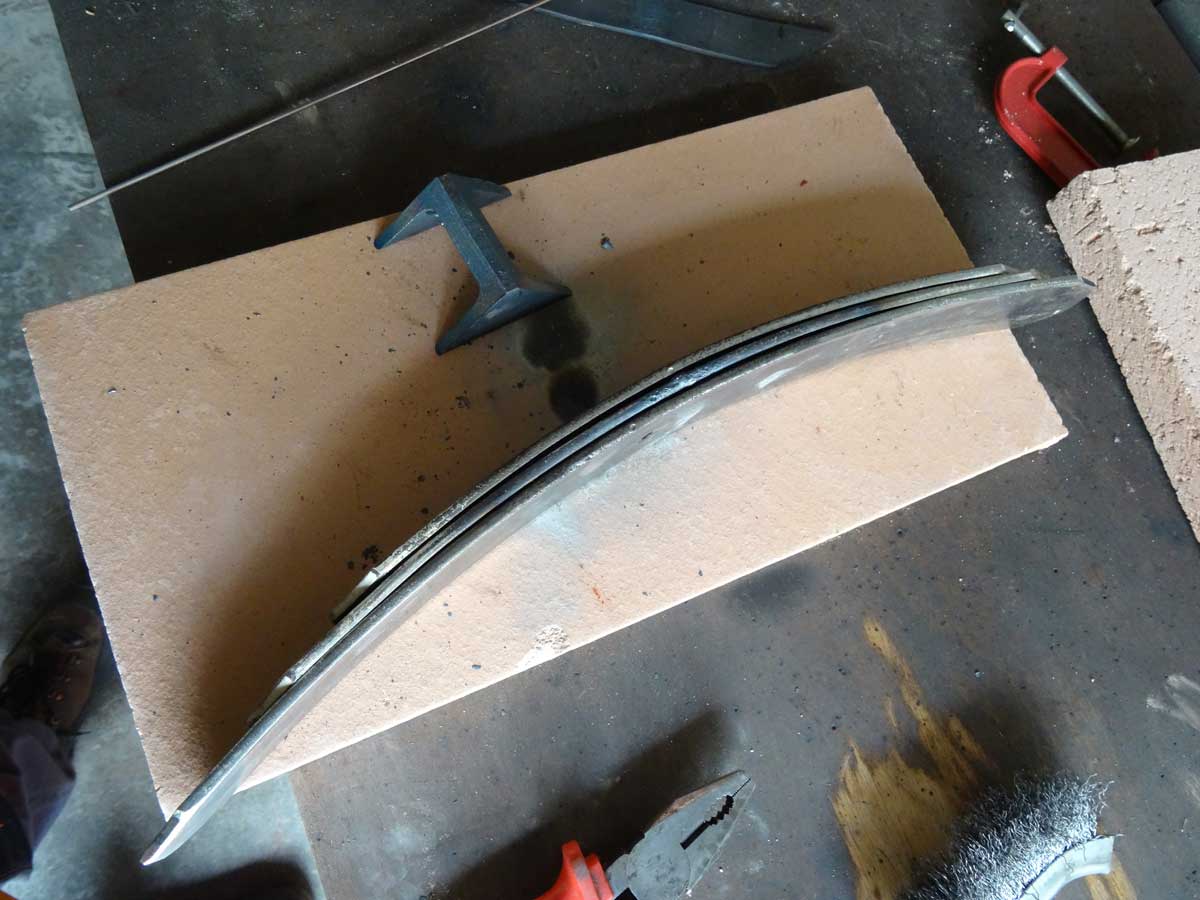
Then I clamped the 2 pieces of the spring leaf on a bent piece of flat steel.
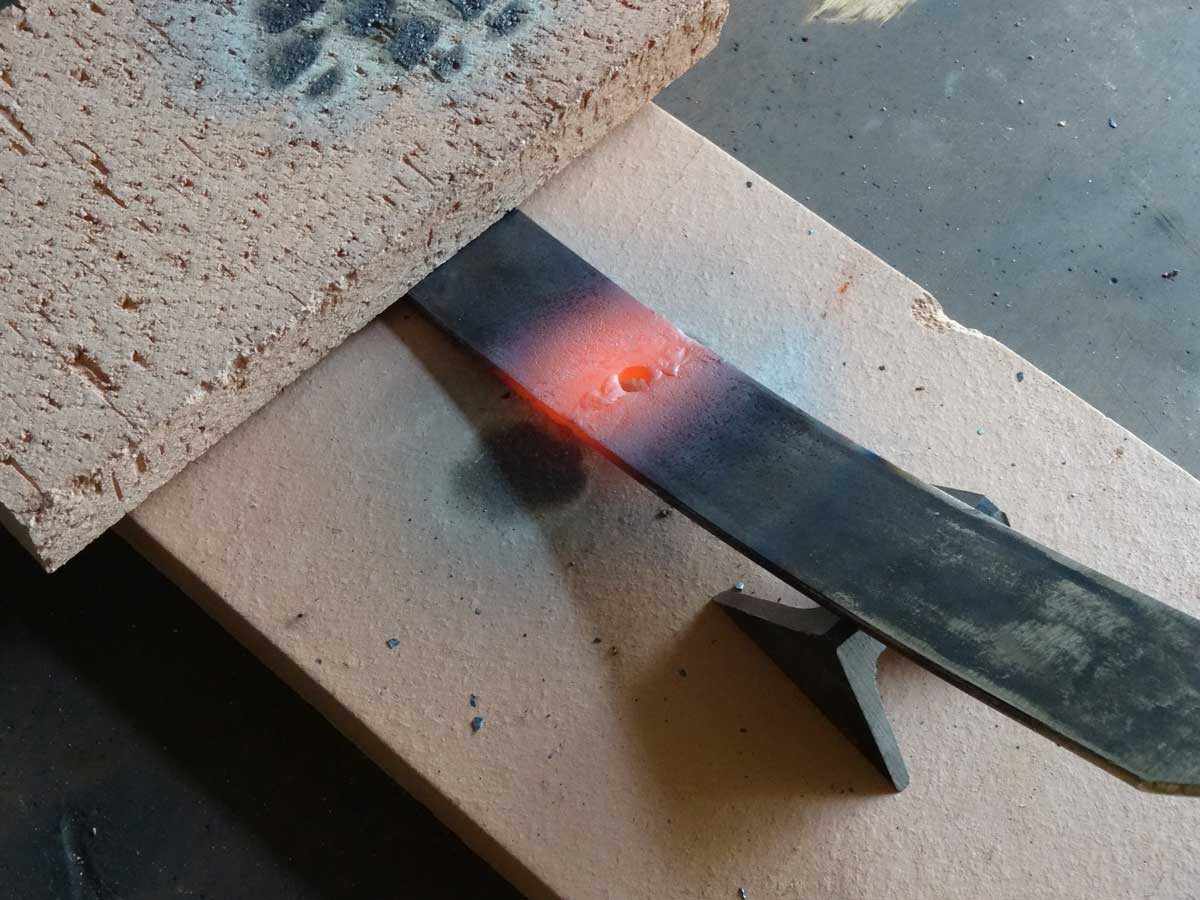
I heated the broken spring blade well in the area of the welding seam and then drew the seam with oxyacetylene welding (on both sides). Then I forged the area of the seam on the anvil while it was still red-hot, heated it again and let it cool down. This should hold the spring and no stress cracks will appear.
Finally I ground the seam and the repair is finished.
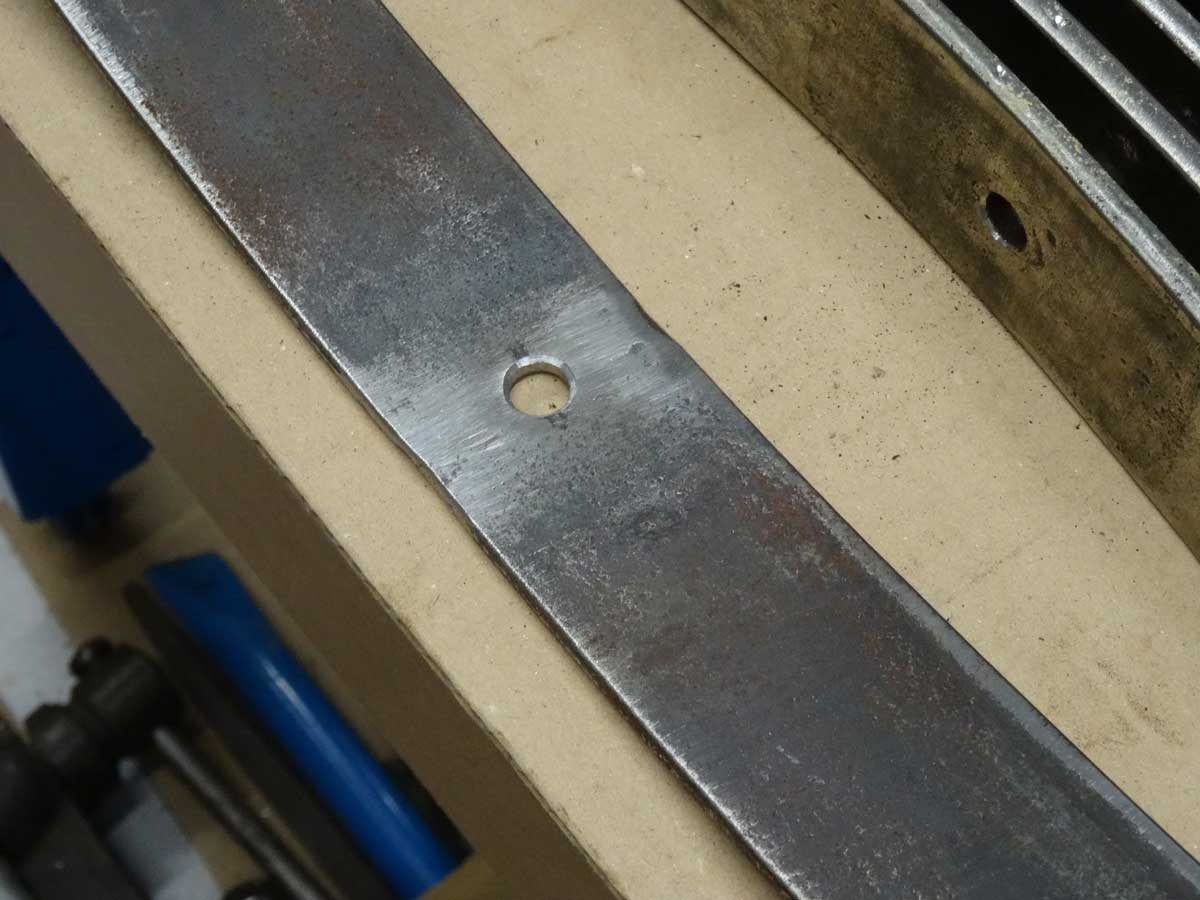
I only had to slightly straighten the repaired spring leaf and now it fits perfectly between the first and third leaf.
I pressed out the 2 bearing bushes at the ends of the leaf spring, but mounted them again afterwards. The reason was that they were still in good condition and the new ones had a slightly smaller diameter and therefore did not hold in the eye.
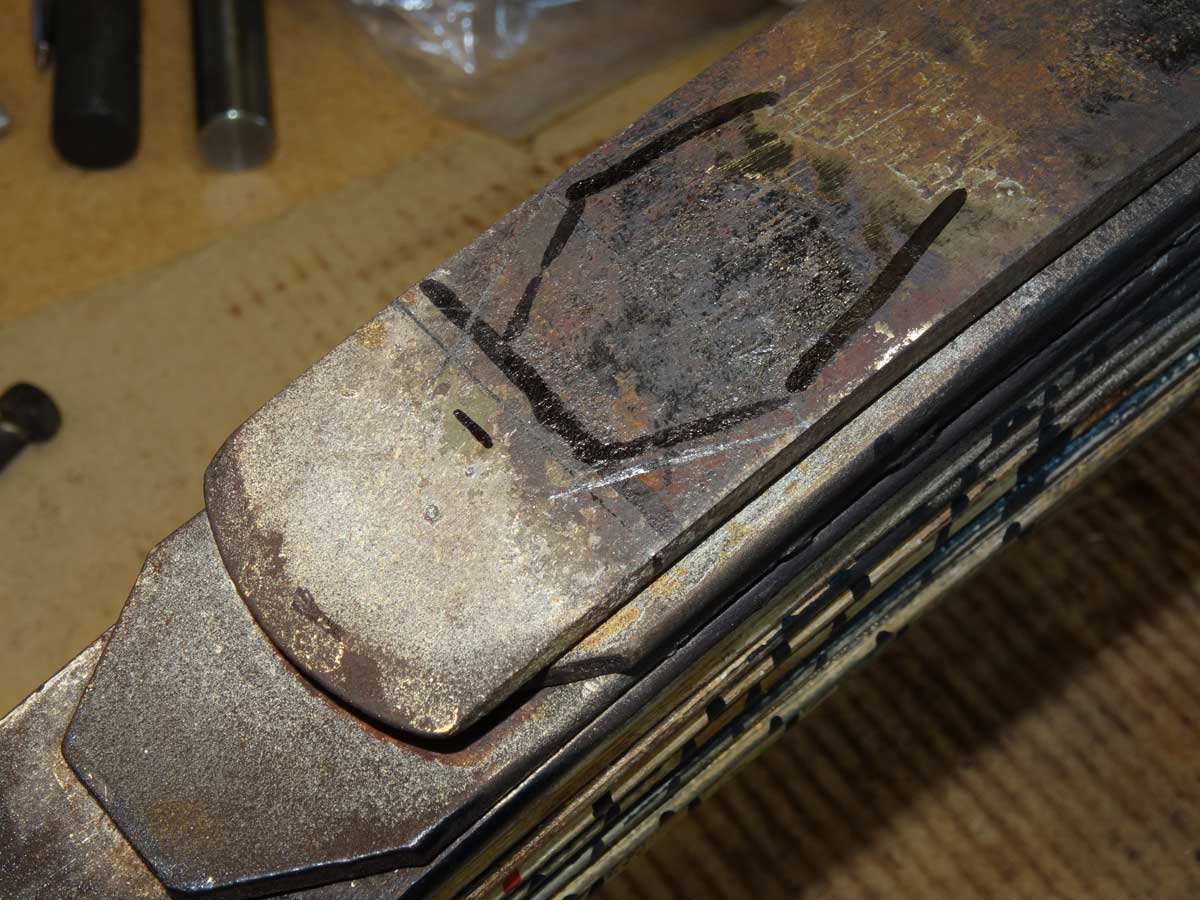
I grounded each spring leaf, broke the sharp edges and machined the areas at the ends so that the upper leaf can no longer dig into the lower one.
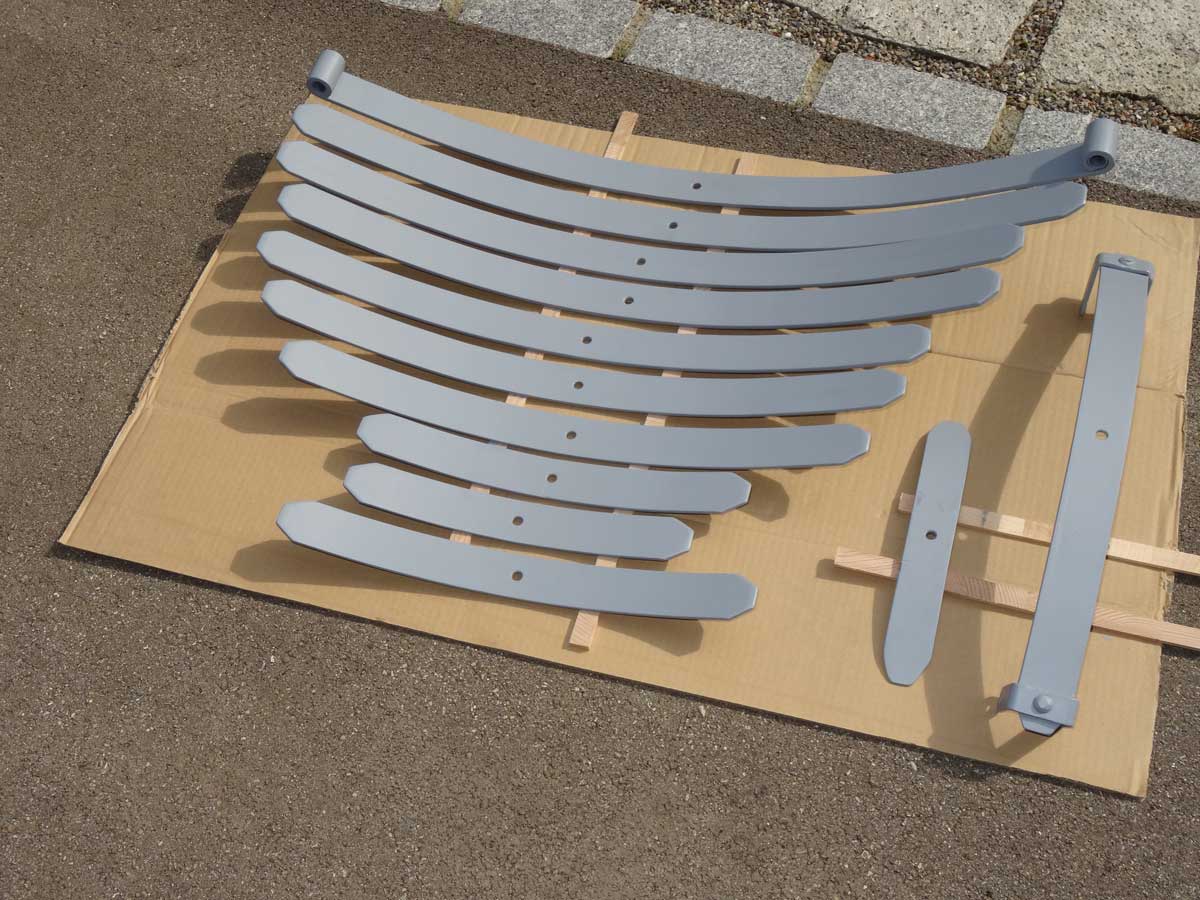
Now I finish by priming all the parts.
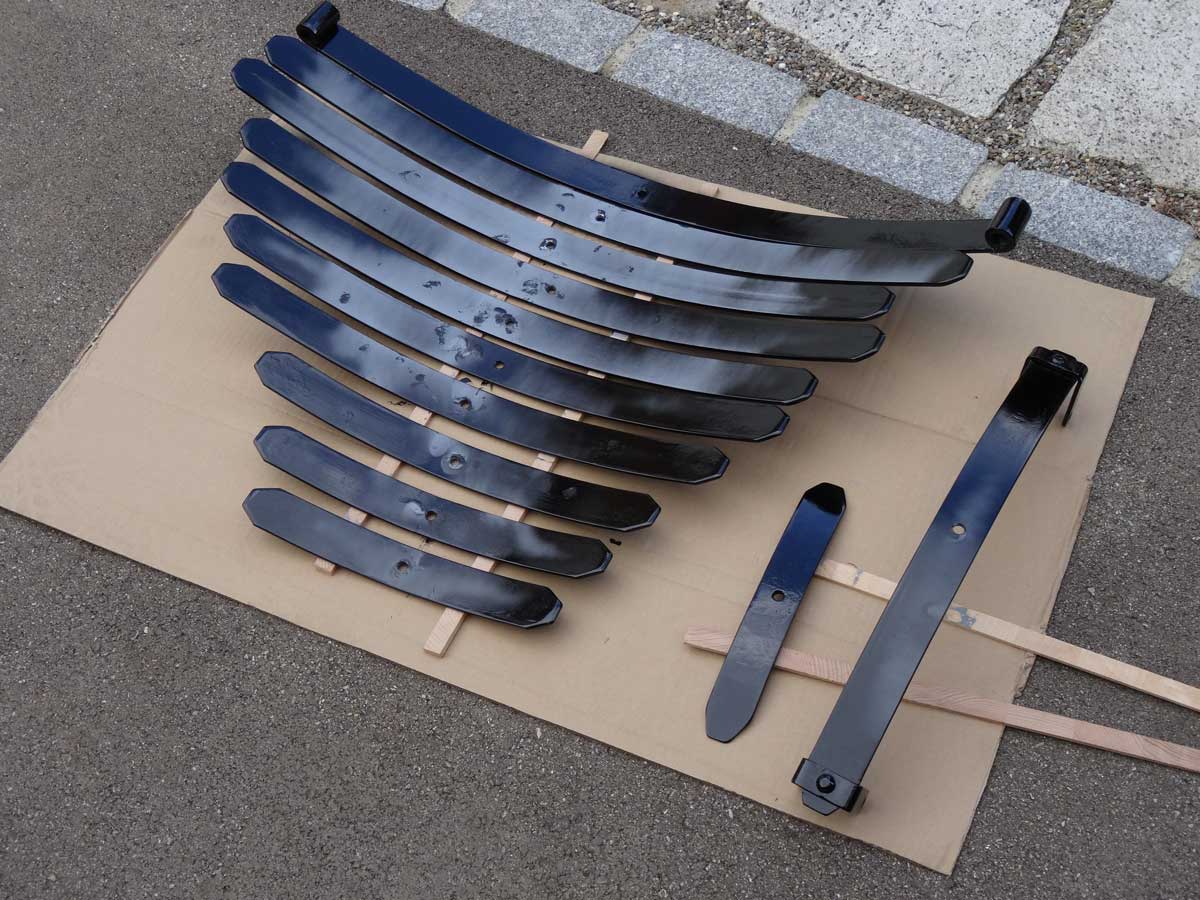
Then I apply black paint, but only to the visible areas.
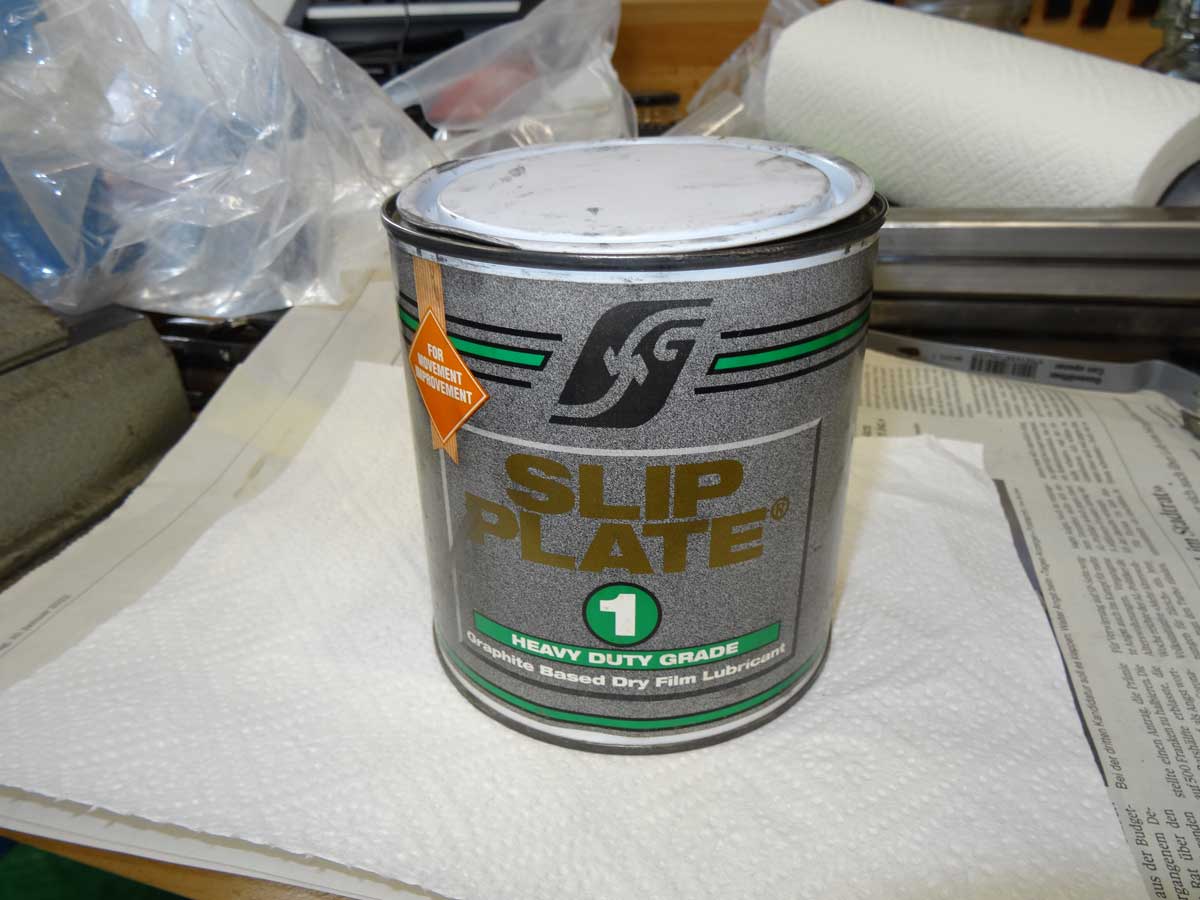
Now the graphite colour is added, namely Slip Plate No 1.
Slip Plate No 1 is applied to the underside of each spring leaf. The paint is already older and has formed small grains, but these are not tragic and will be smoothed out after the first feathering.
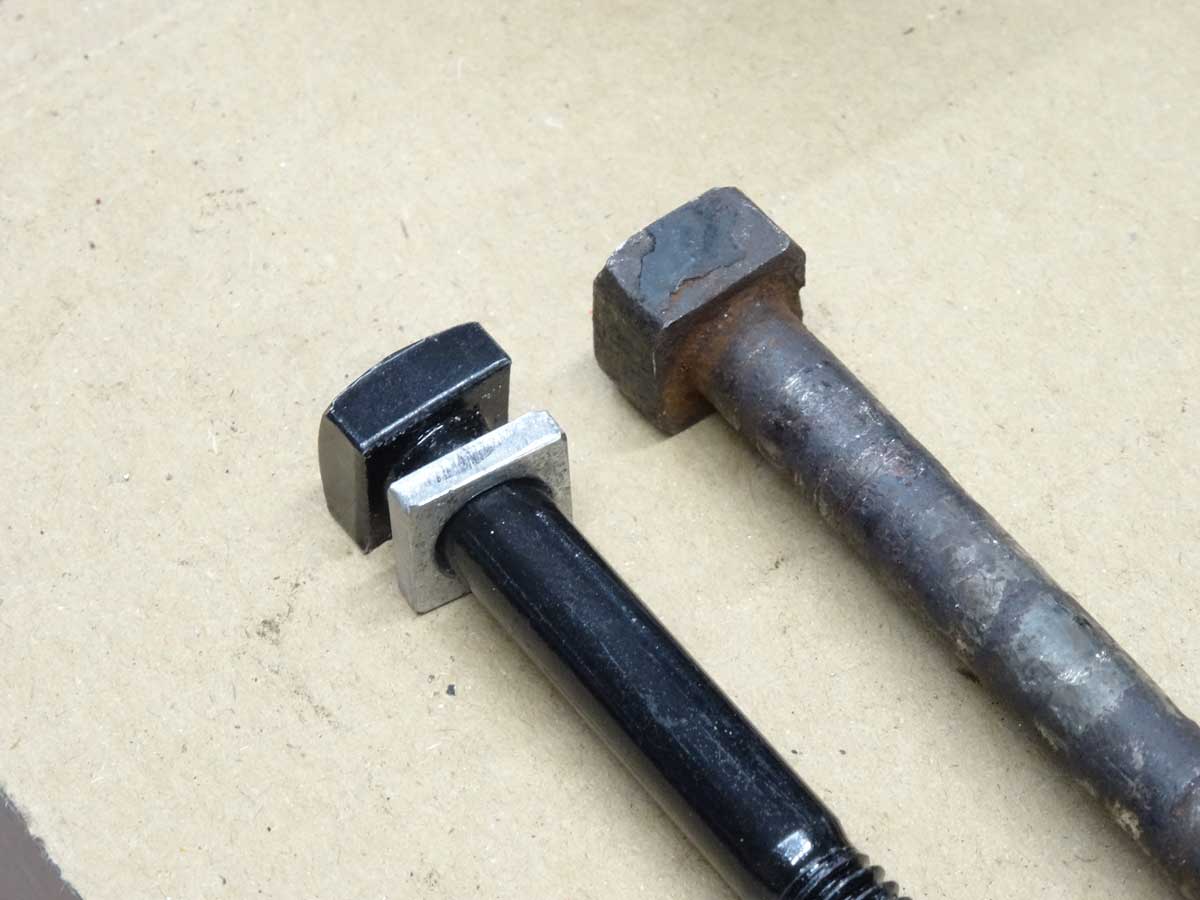
At the central bolt that holds the spring together, the new part unfortunately does not have the correct high of the bolt head. The bolt head will later go into a square hole at the front cross member. If the head is too low, there is a risk that it will pop out of the holder. For this reason, I filed a square part out of a 3 mm thick washer to get the screw head back to its original height.
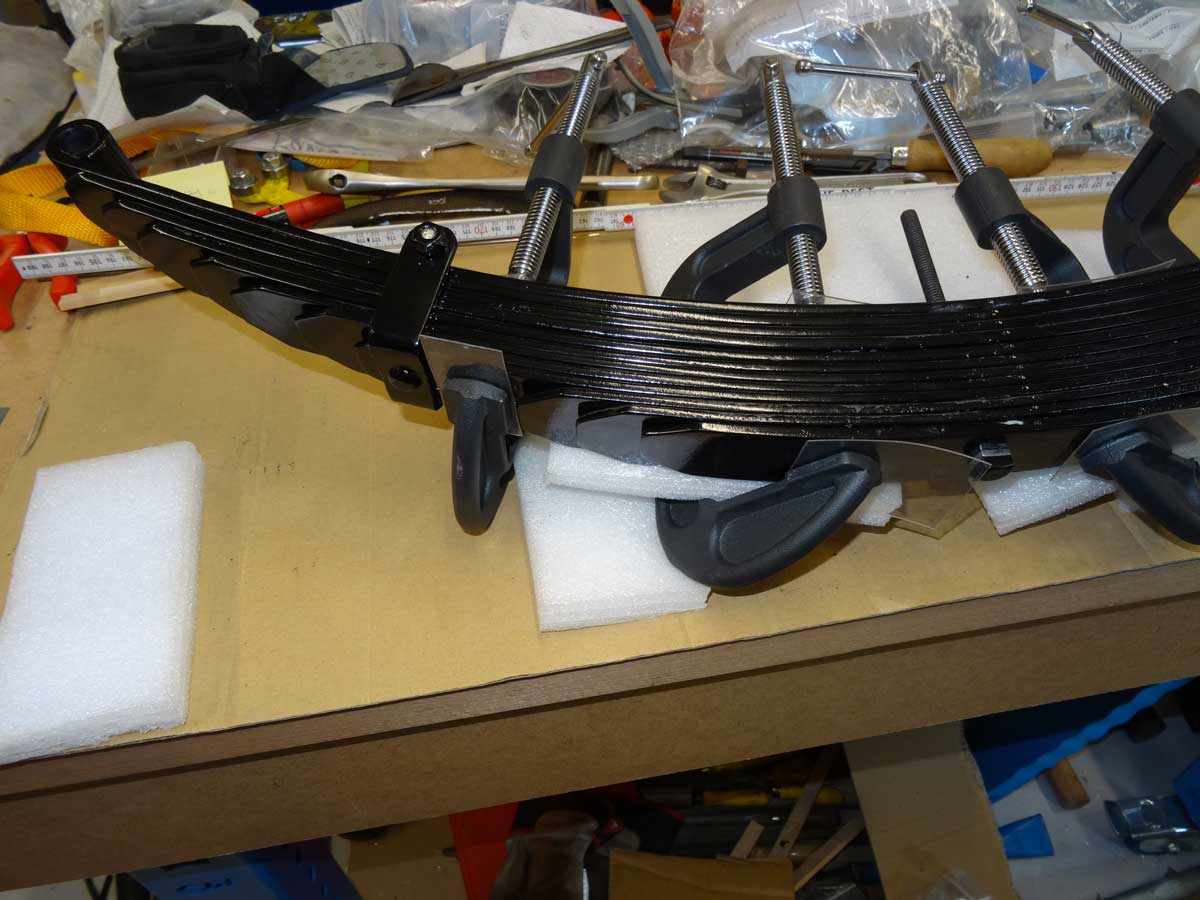
Now I can tighten the spring with screw clamps and mount the central screw as well as the screws of the 2 holding brackets on each side. I use PET foil to protect the paint.
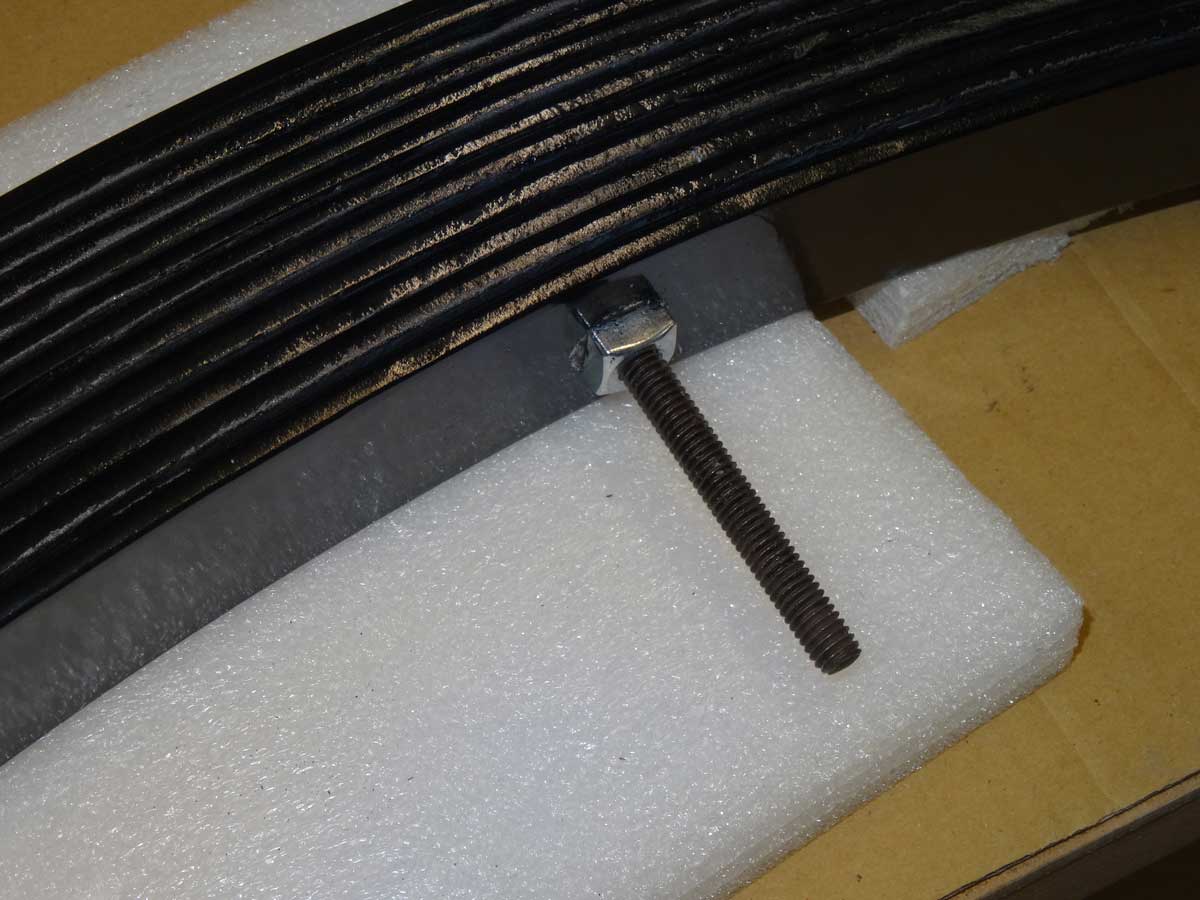
Now I just have to saw off the protruding end of the screw and secure the screw nut with 2-3 centre punches against loosening.
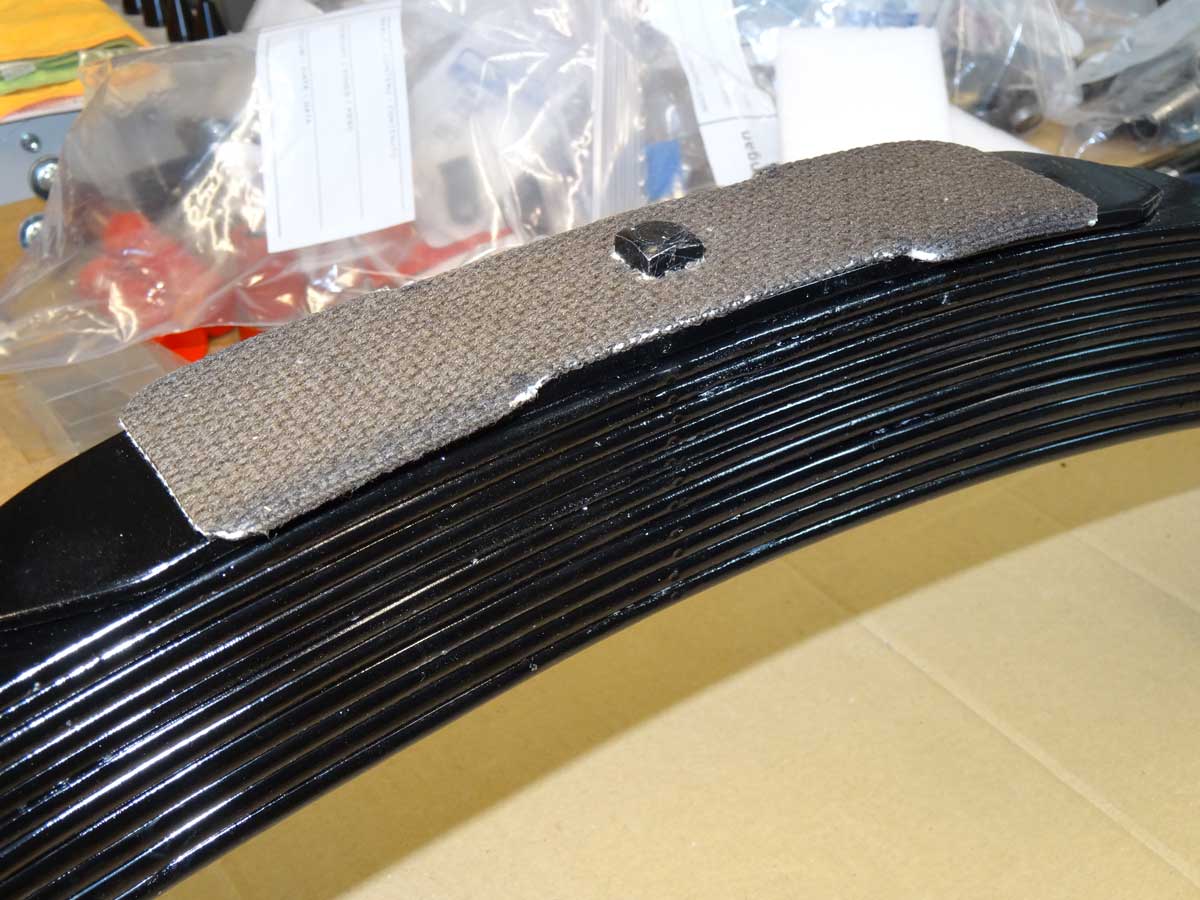
Now all that is missing is the woven tape that is glued to the top of the spring. The same tape is also placed between the frame and the body and distributes the forces on the spring over a larger area and dampens the whole thing, as if the spring were resting directly on the frame.
This 12-layer Ford Model AA leaf spring is now fully restored and can be reinstalled.
Copyright © 2001-2024 Markus Maurer - all rights reserved
 Creation Date: 02.11.2023
![]()
![]()
![]()
