
| Ford Model A |
![]()
![]()

Welding of a chassis for an old Oerlikon lathe
My lathe, an old Oerlikon machine from Zurich with about 1.5 tons I still have to move to its definitive place and to get it into the workshop, I must first build a trolley so that I can move the whole thing easily with a tractor. After I had sketched the construction, I calculated the load of the parts to be able to dimension them accordingly … no, that's a joke I just built it based on my experience ;-)
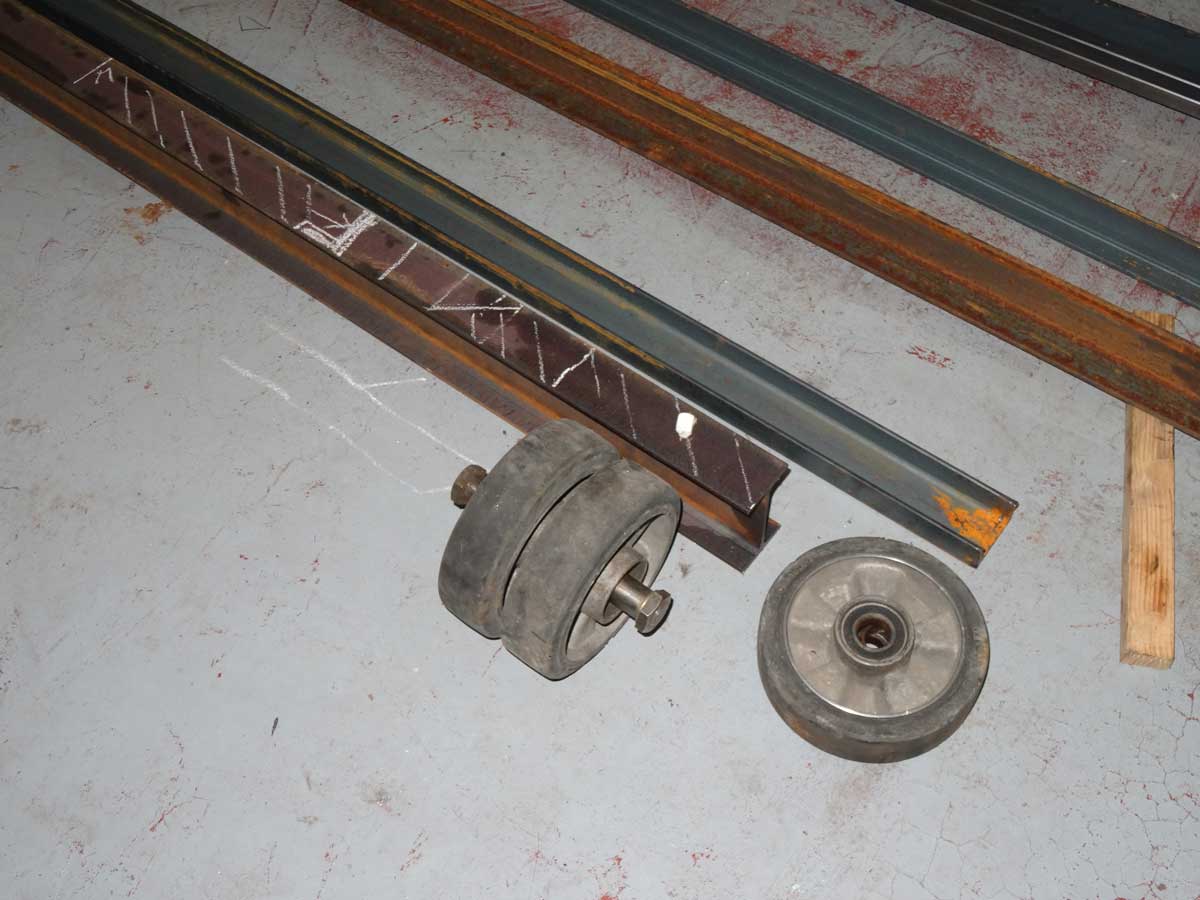
I already bought the steel (double-T, U- and angle profiles) and for wheels I got cheaply the ones of 2 old hand pallet trucks. I want to build it on both sides with twin tires.
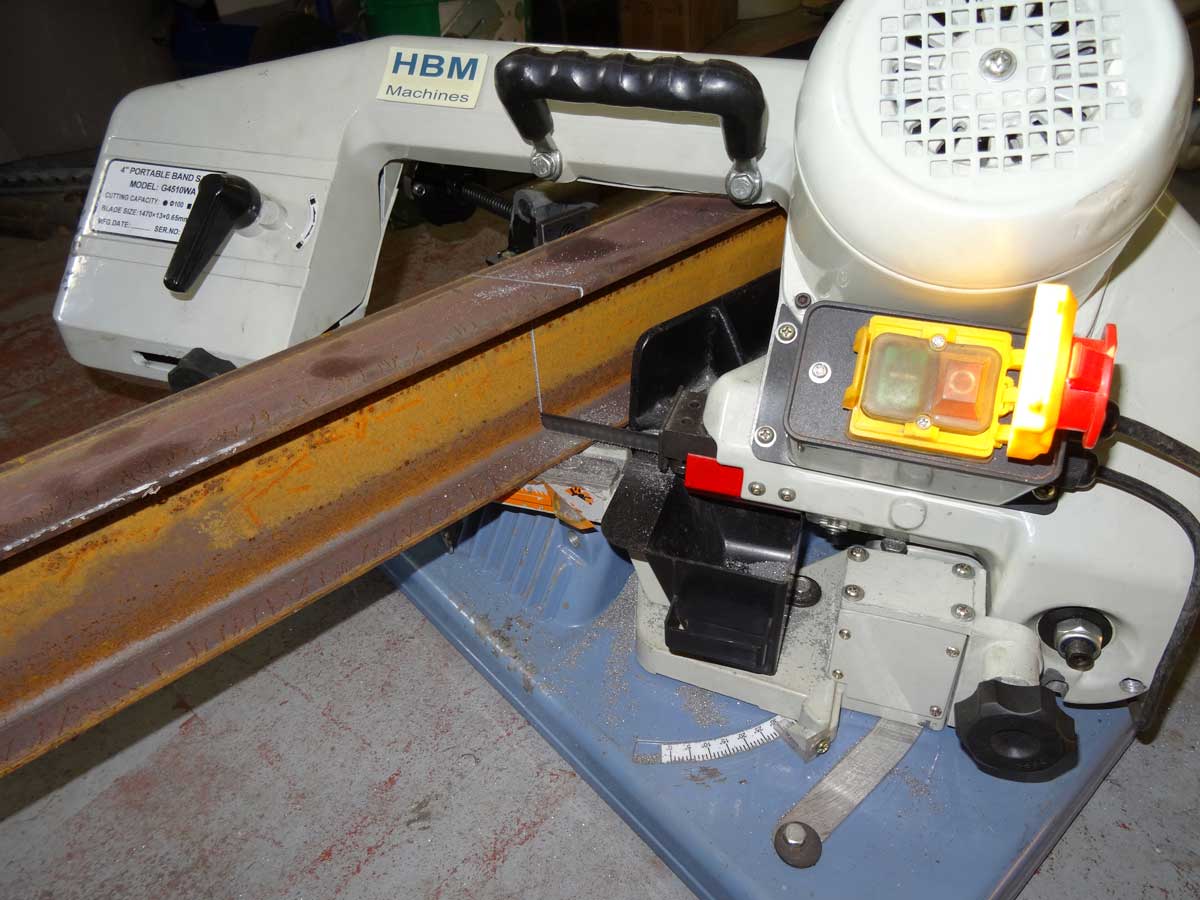
My hacksaw is now sawing straight again and so there is a lot of sawing to do first.
The final result should look like this with a low center of gravity, but still enough ground clearance.
I have already drilled several holes, what is still missing are the big ones with a diameter of about 35 mm.
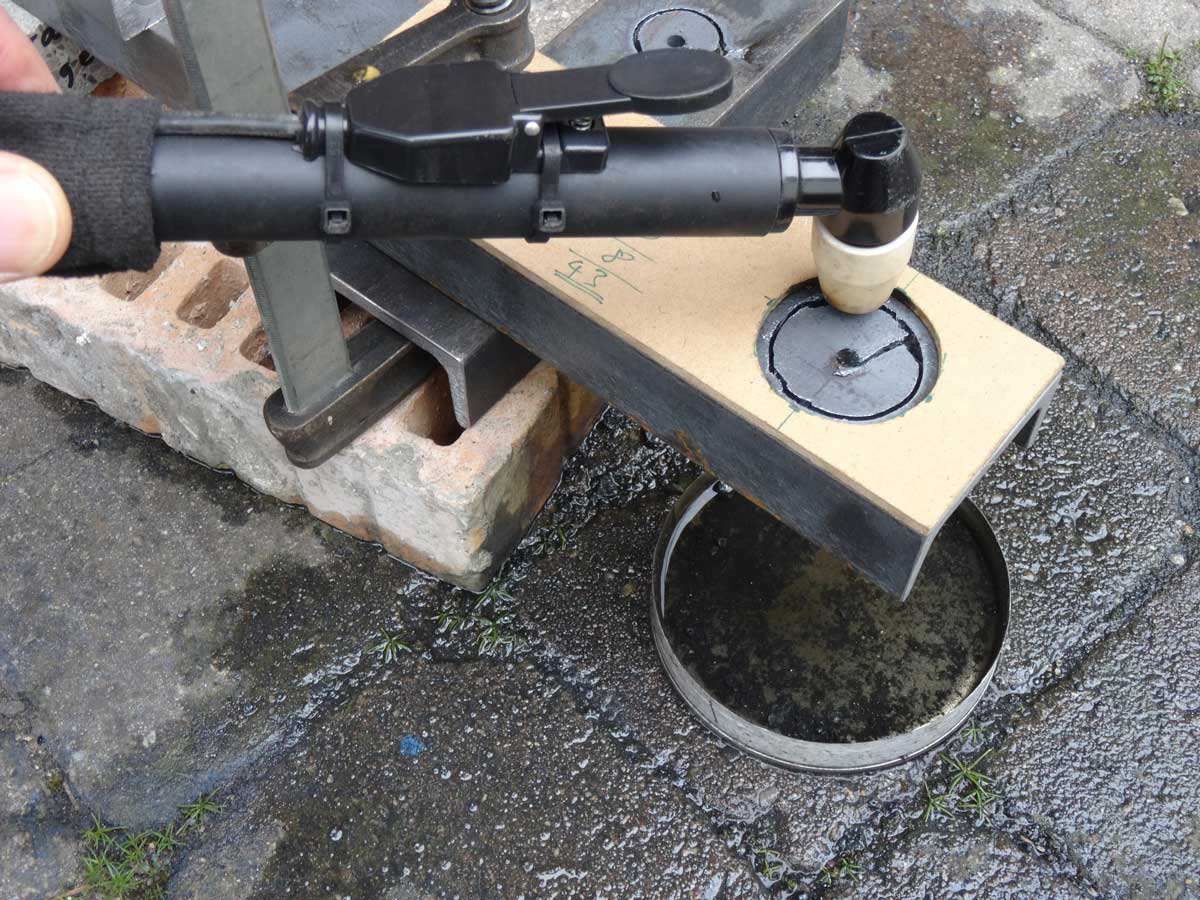
In the past I drilled them with many small holes and did the rest with the file at the end. The whole thing was a bit tiring and it is easier and faster with a plasma cutter. As a guide I have taken 5 mm MDF boards. A steel guide would have been better, but it would have taken me more time to make it.
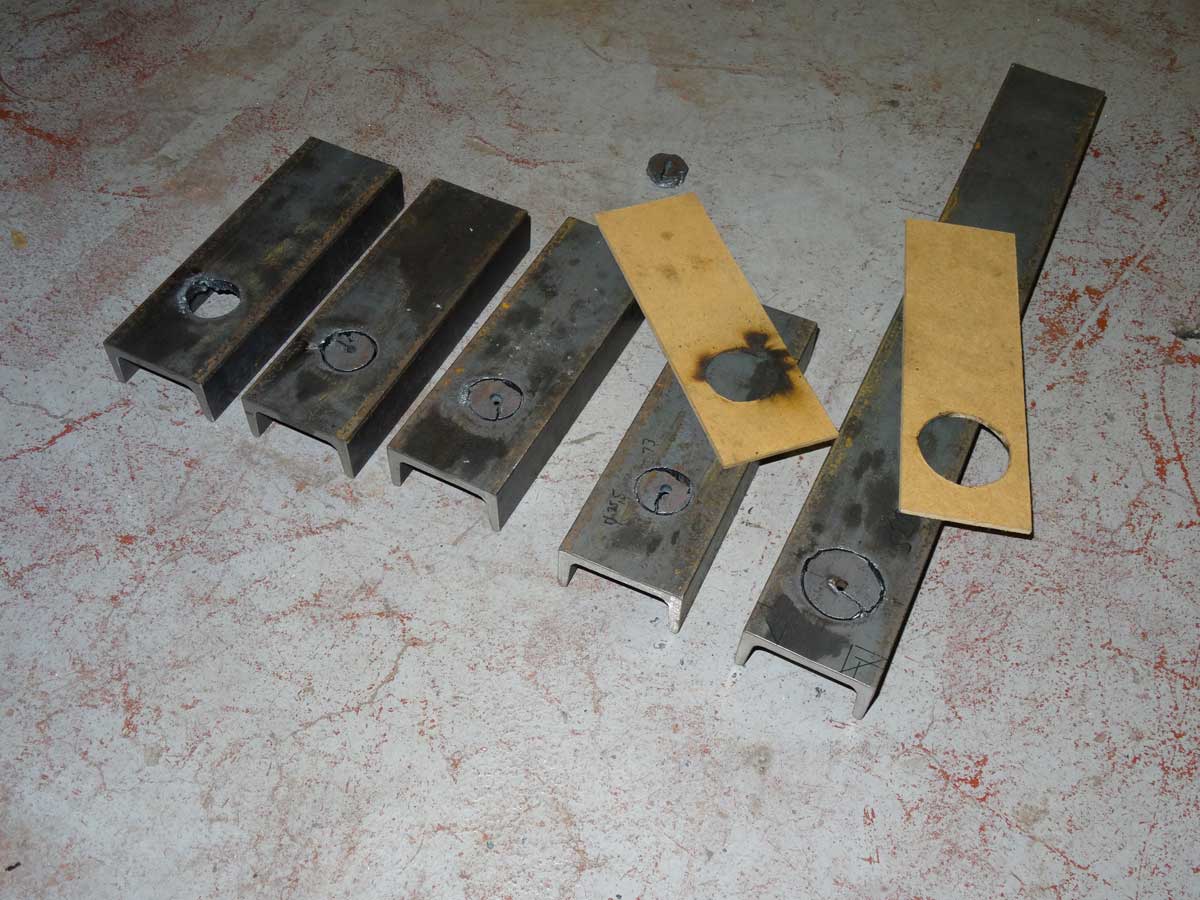
You can see that the guide for the axle holes, which I used 4 times looks a bit burnt, but for the current use the result is good enough. At the end I straightened the holes with the file.
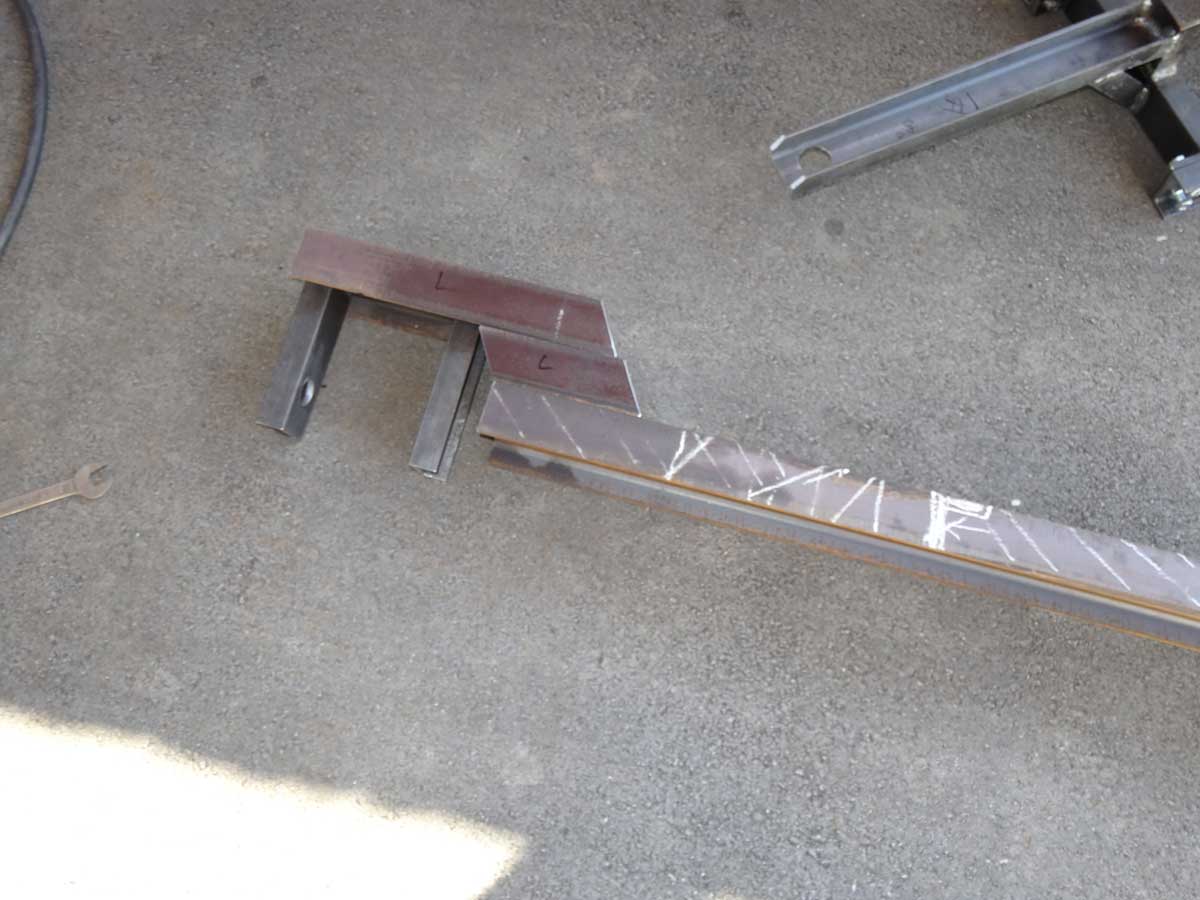
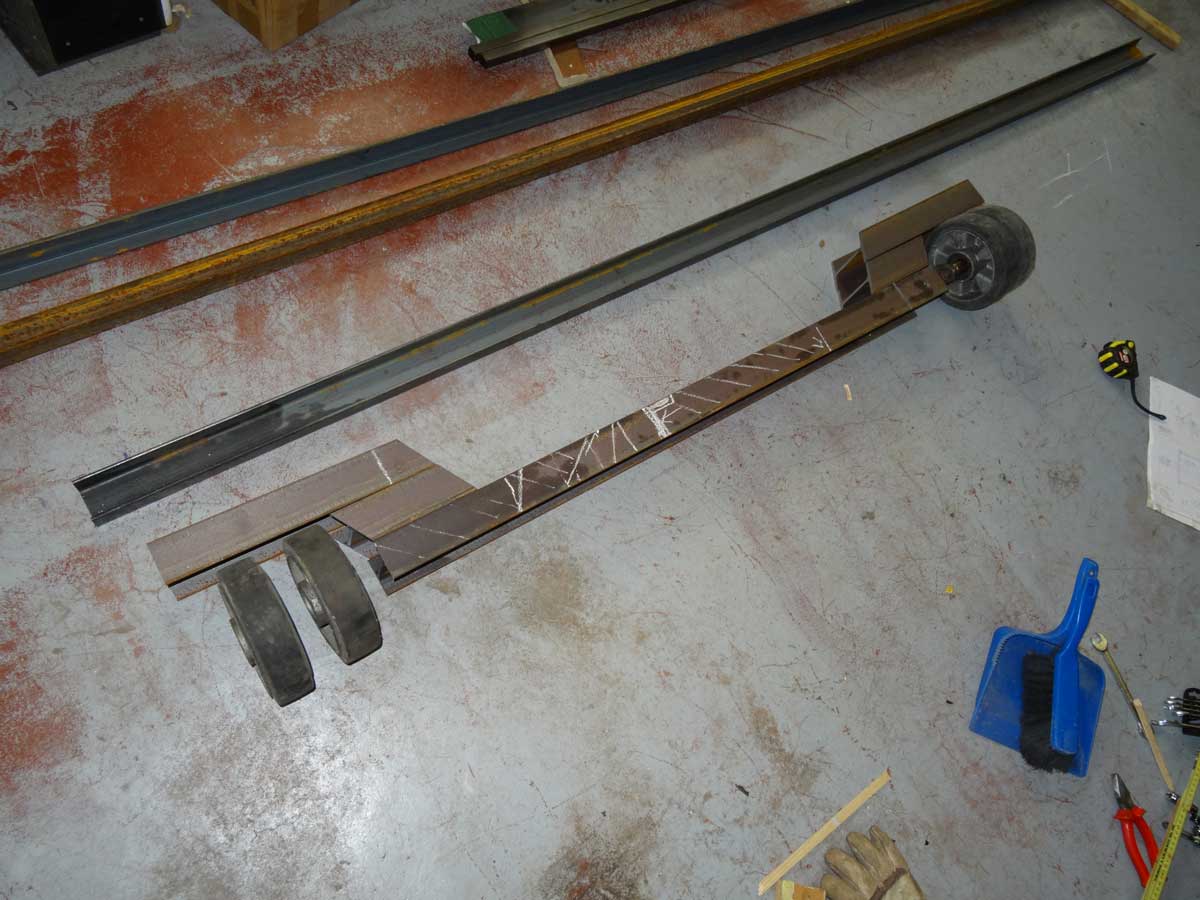
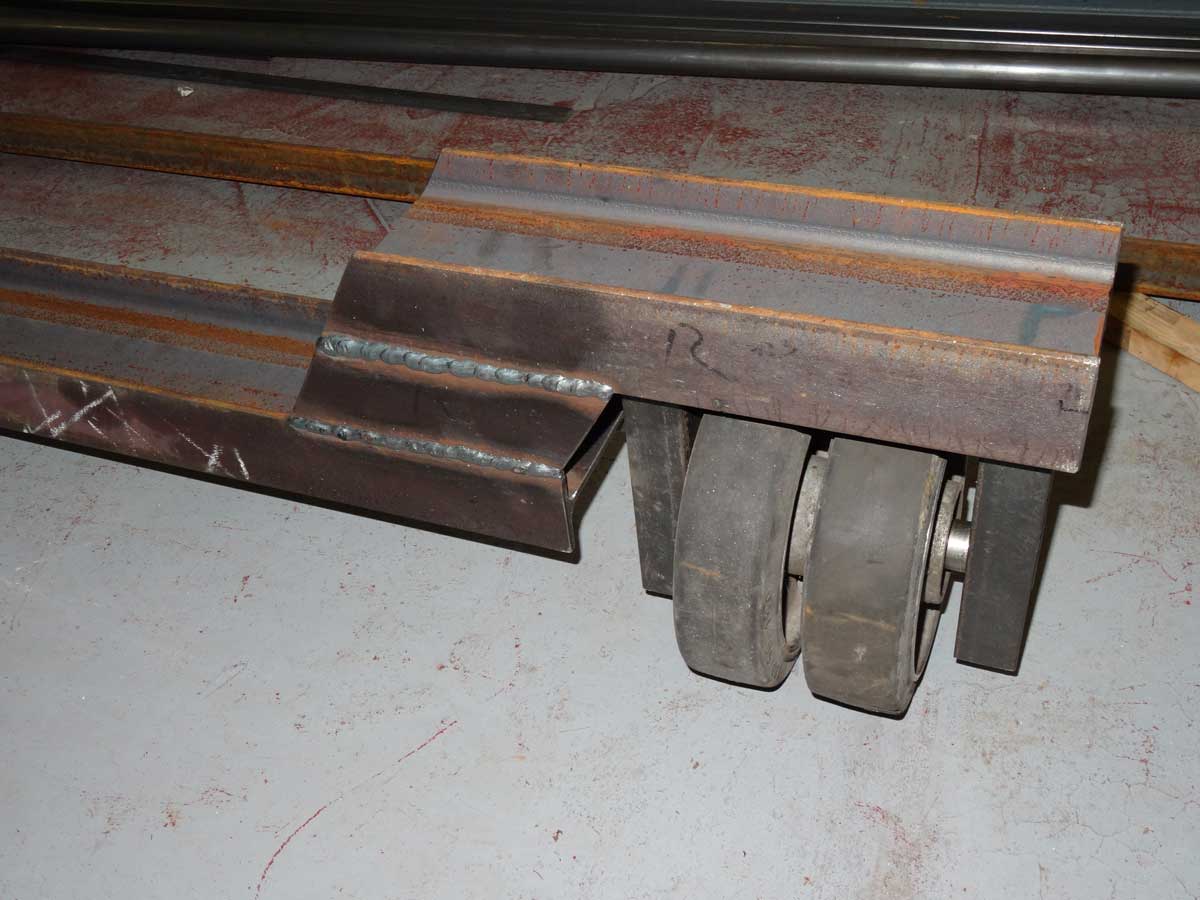
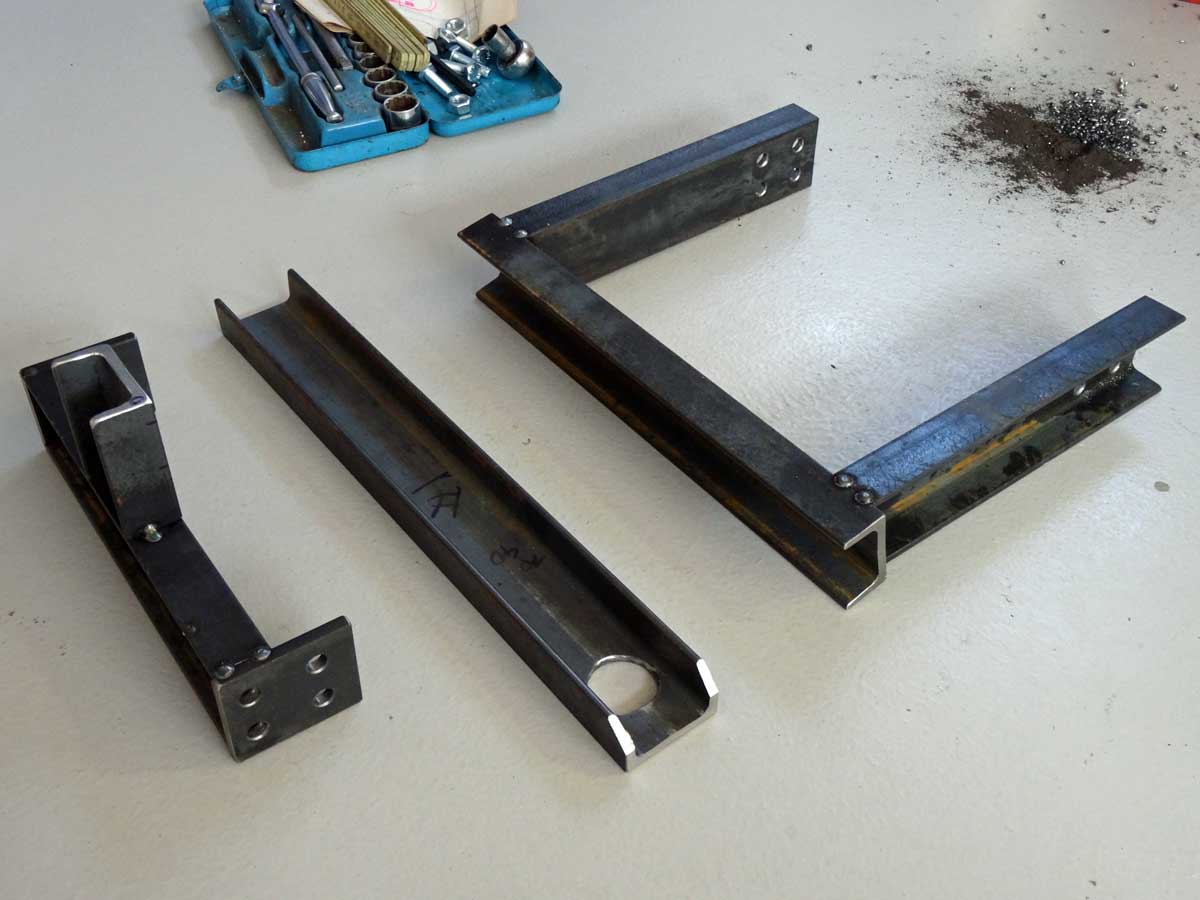
Now I can weld the U-profiles, which hold the axles.
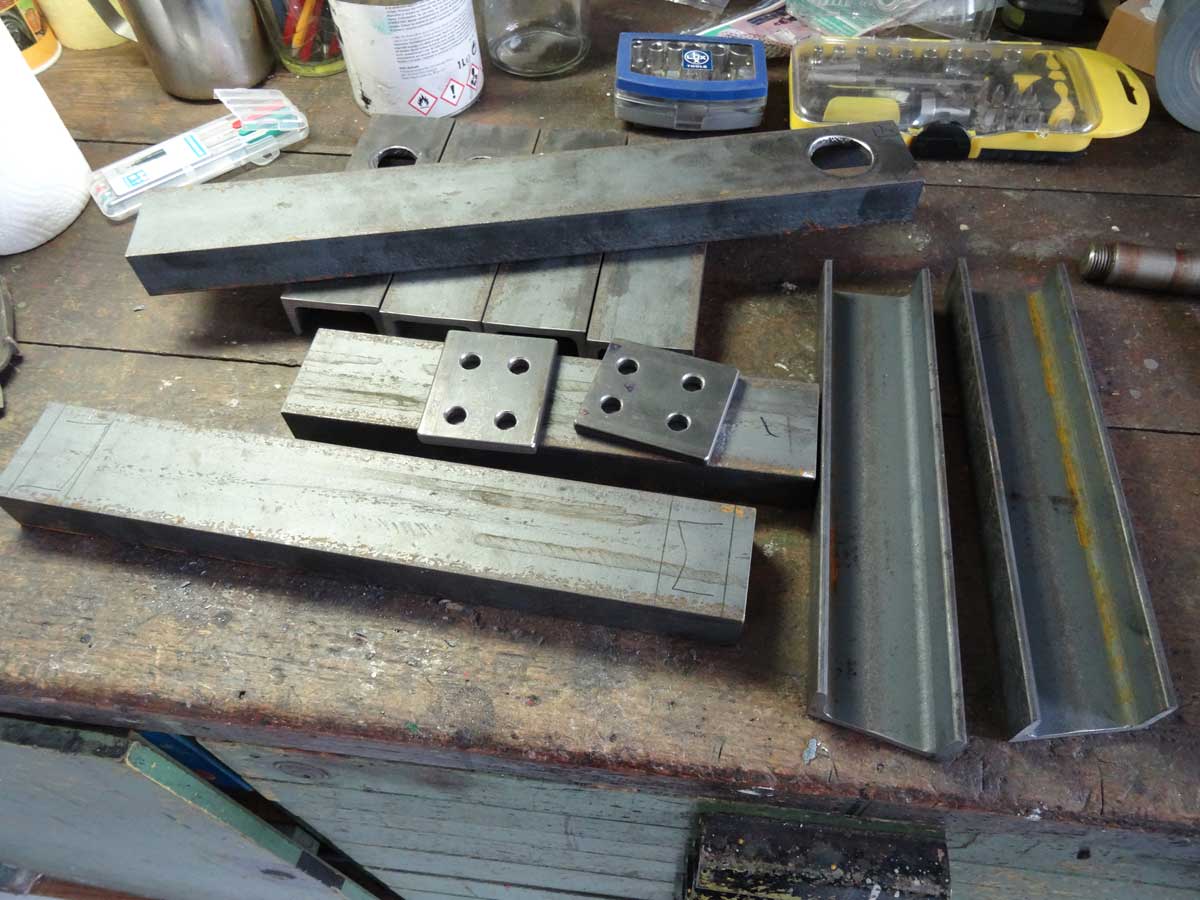
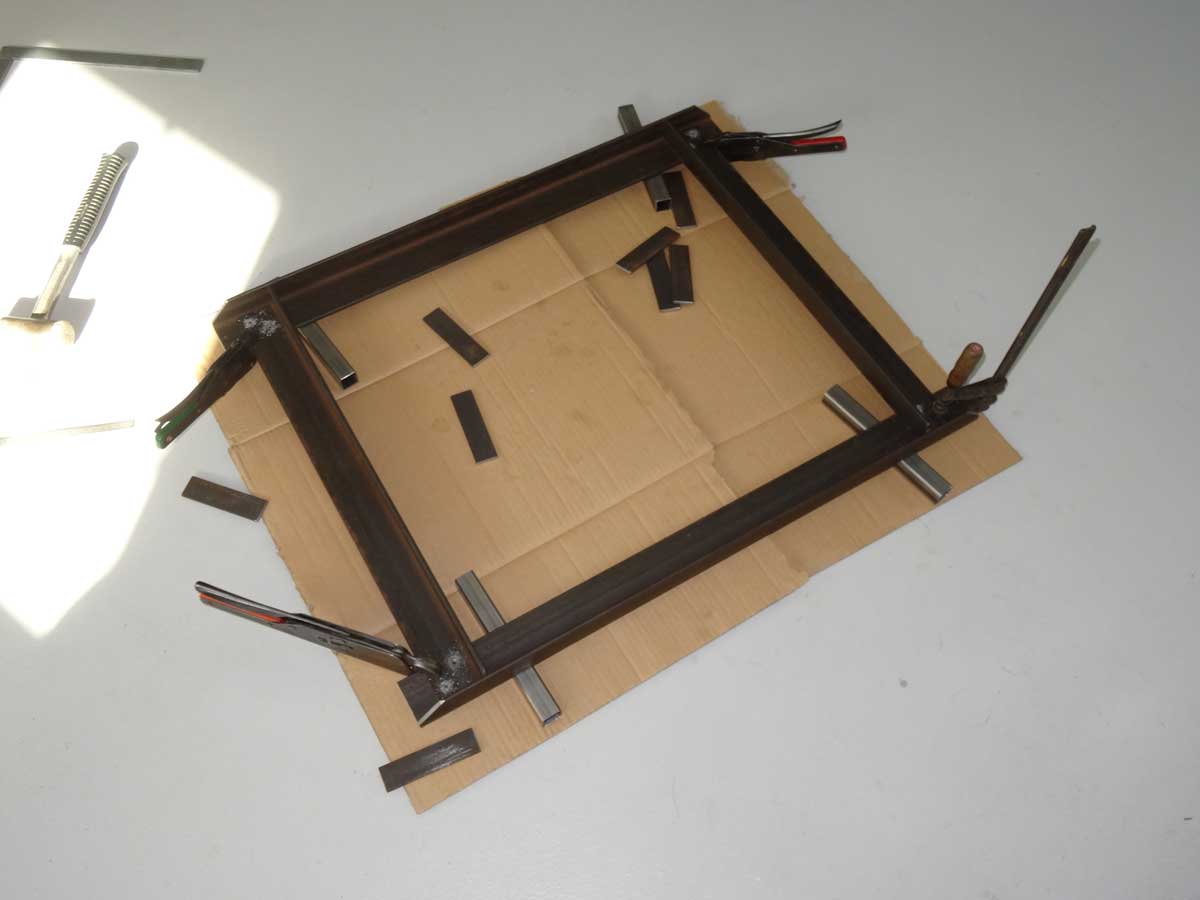
I weld the 3 double-T profiles together and can assemble it for a test.

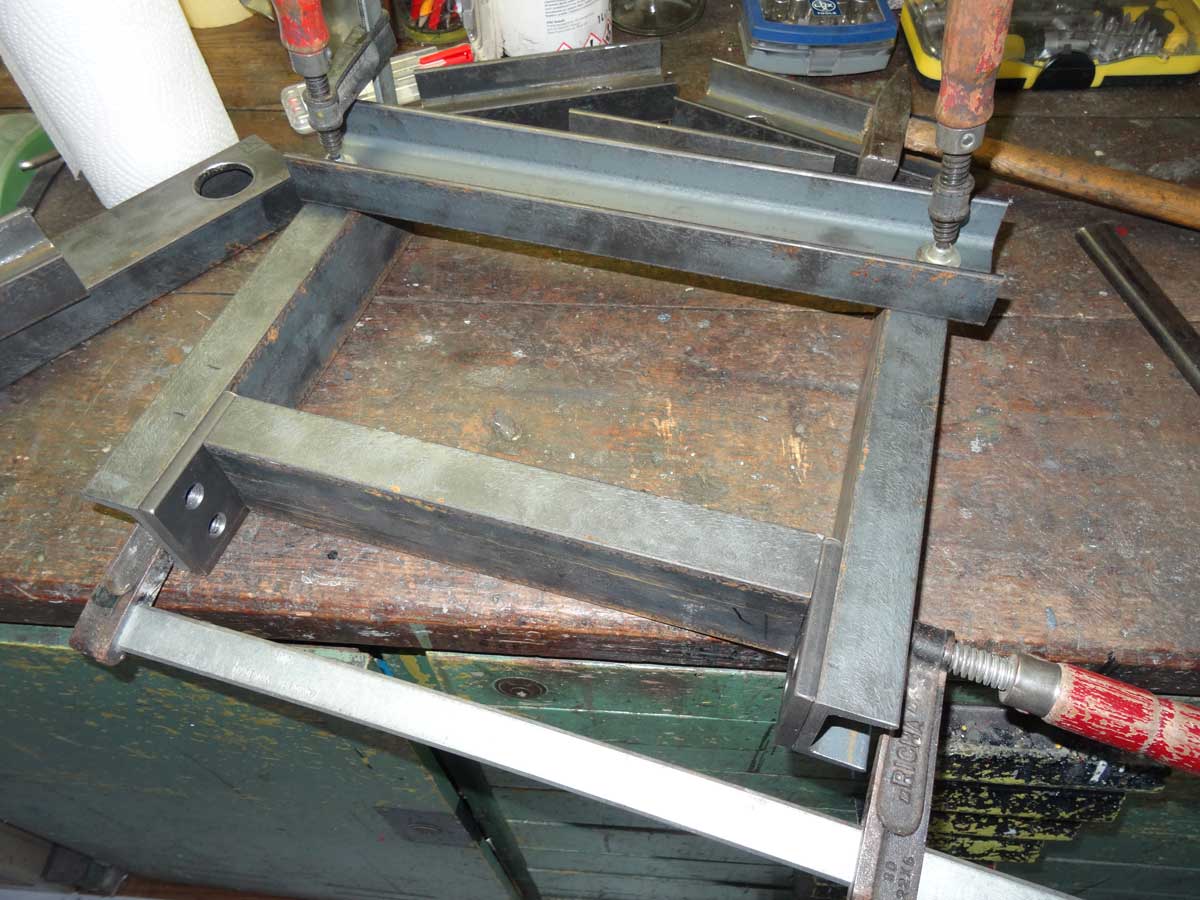
On top of the double-T profile I put a frame based on L-profile.
I aligned all the profiles and then drilled them with a small drill. For the final 10.5 mm holes, I will disassemble everything and drill them individually on the bench drill.
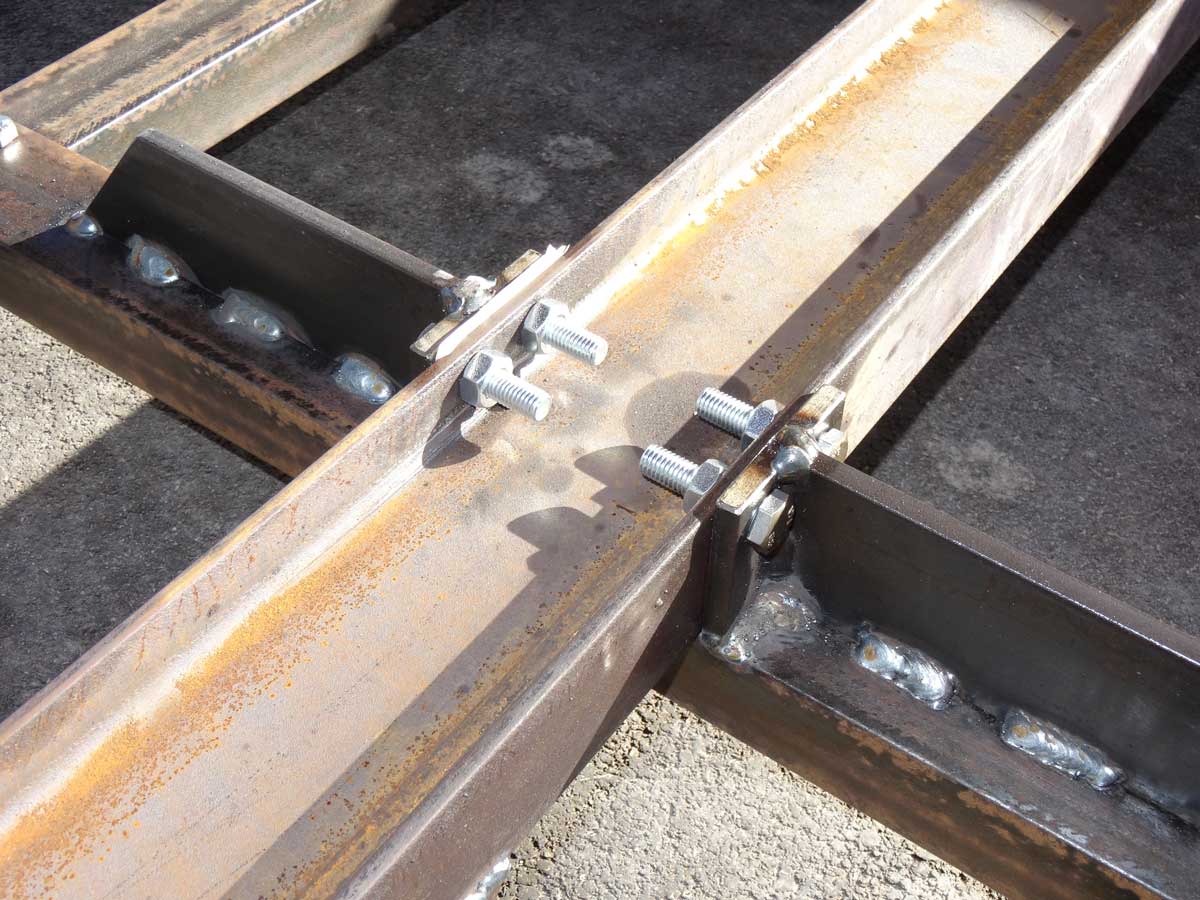
I don't weld the frame directly to the double-T profile but screw the whole thing together using flat profiles which I weld onto the frame.
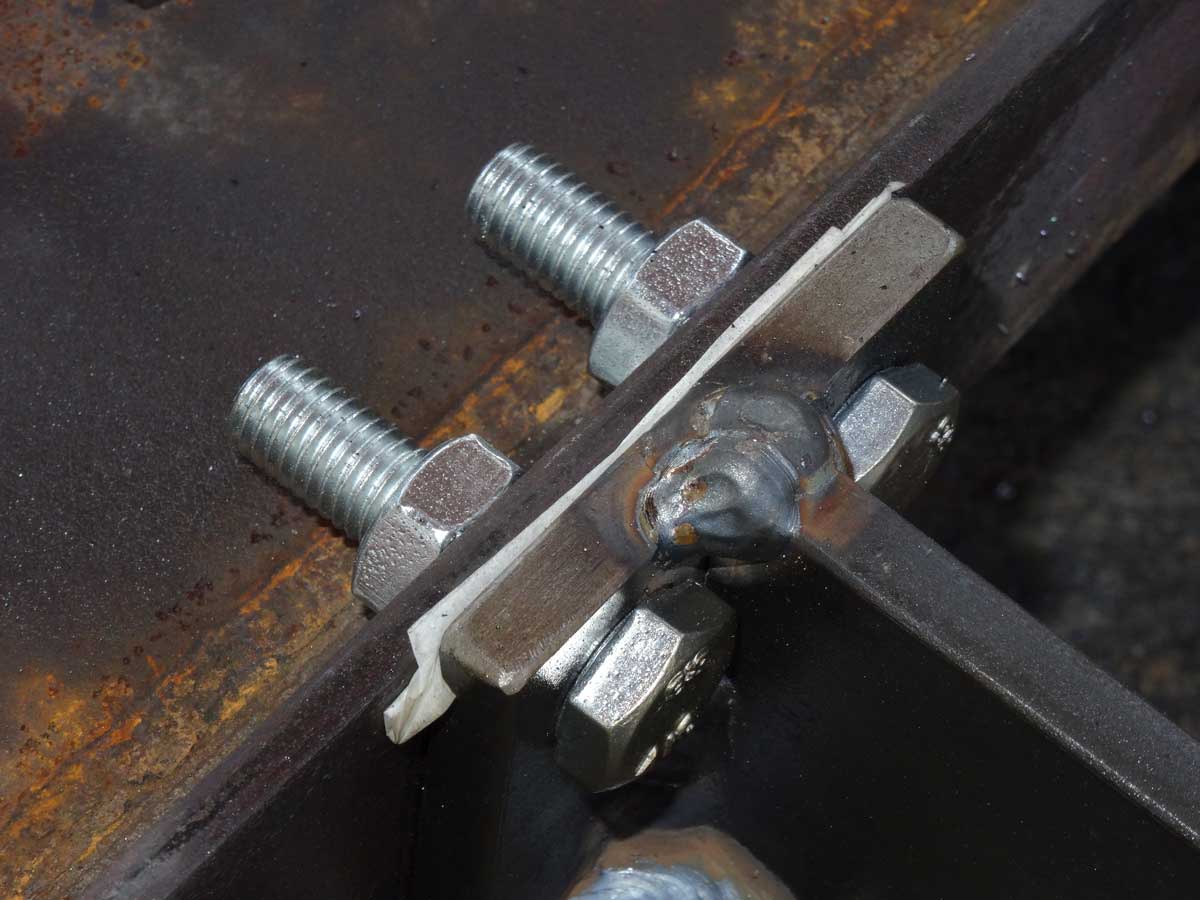
To make it easier with assembling and disassembling, I put baking paper under the screw connections. Baking paper can withstand the heat and is very thin. By folding the paper several times, I get my desired clearance, in this case I put about 0.3 mm underneath on both sides, which adds up to half a mm of clearance.
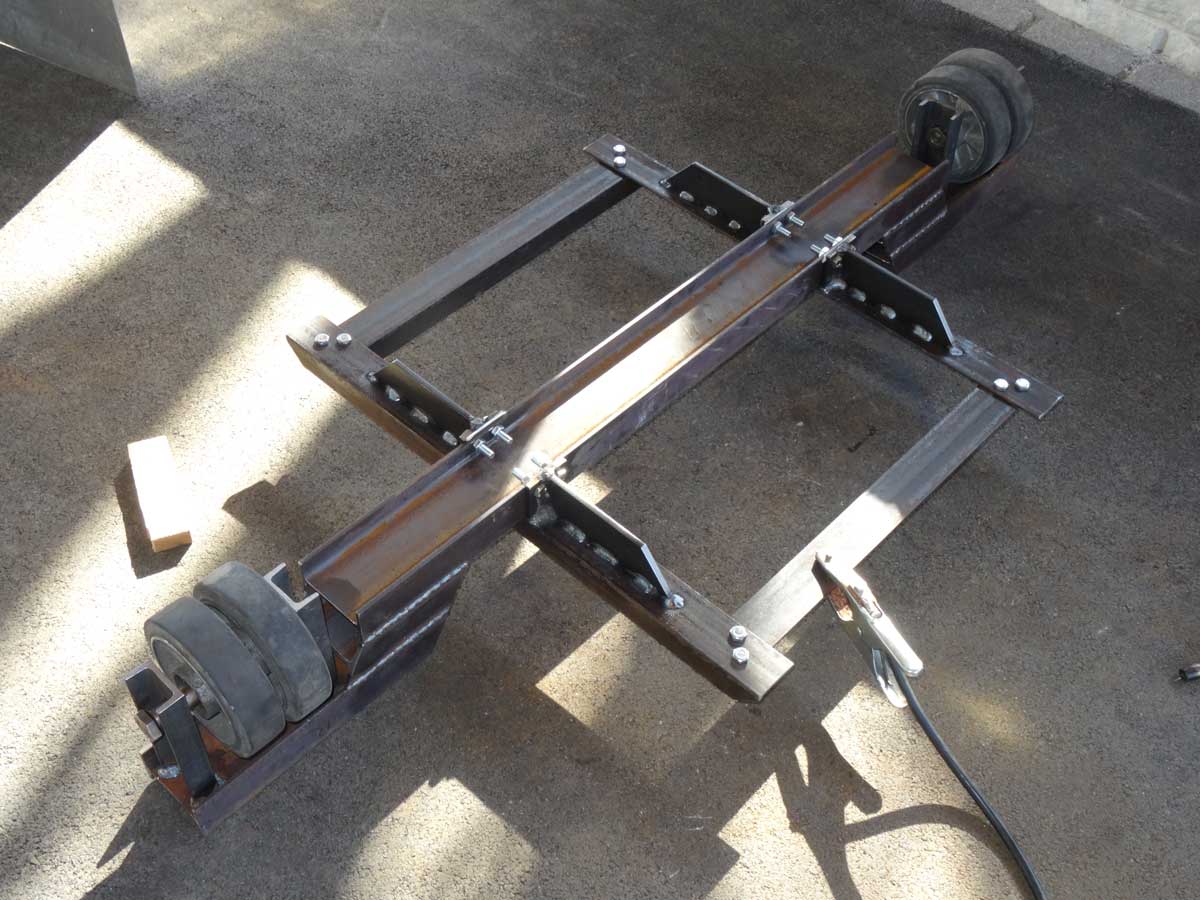
Everything is welded and the trolley is almost finished, there is only one small thing missing.
I want to lash the lathe to the trolley with several tensioning straps and therefore I need a couple of eyelets where I can hook the strap.
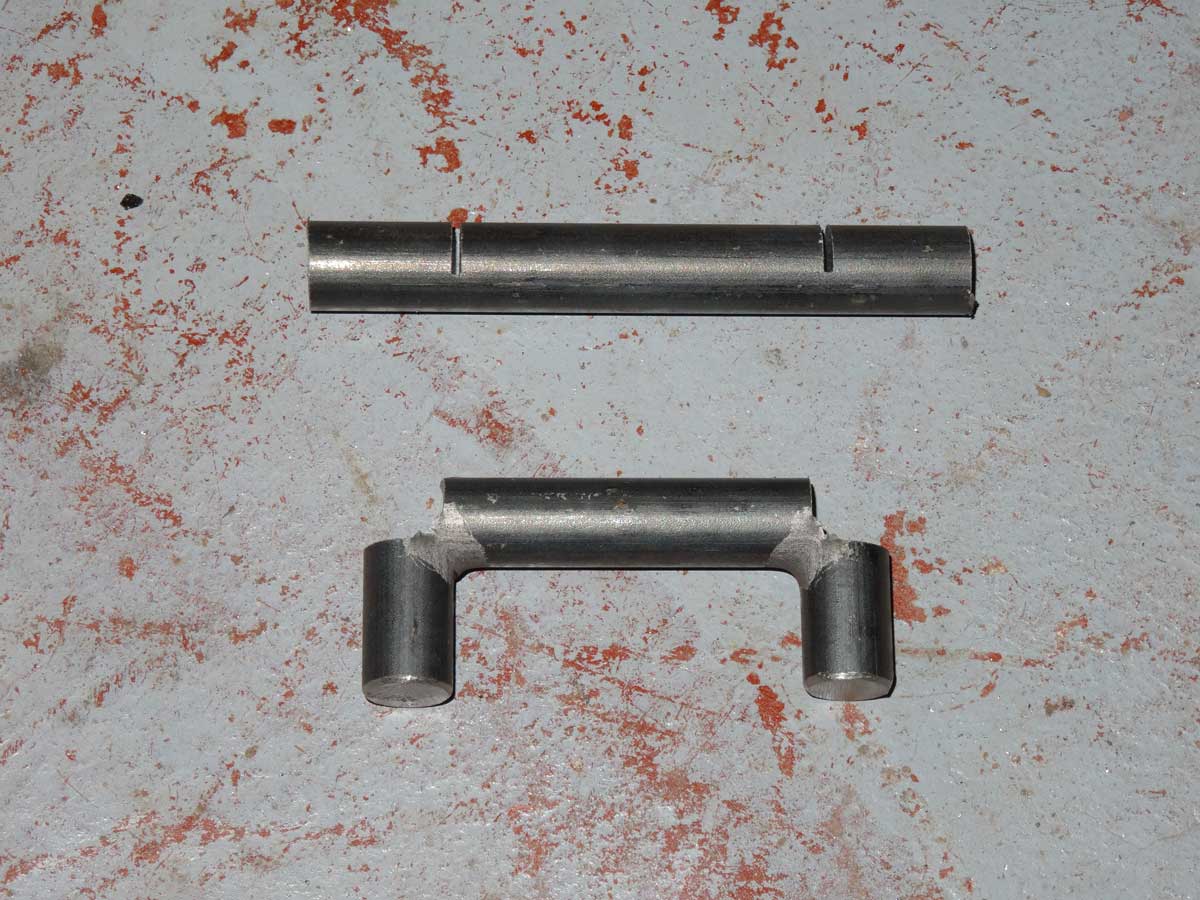
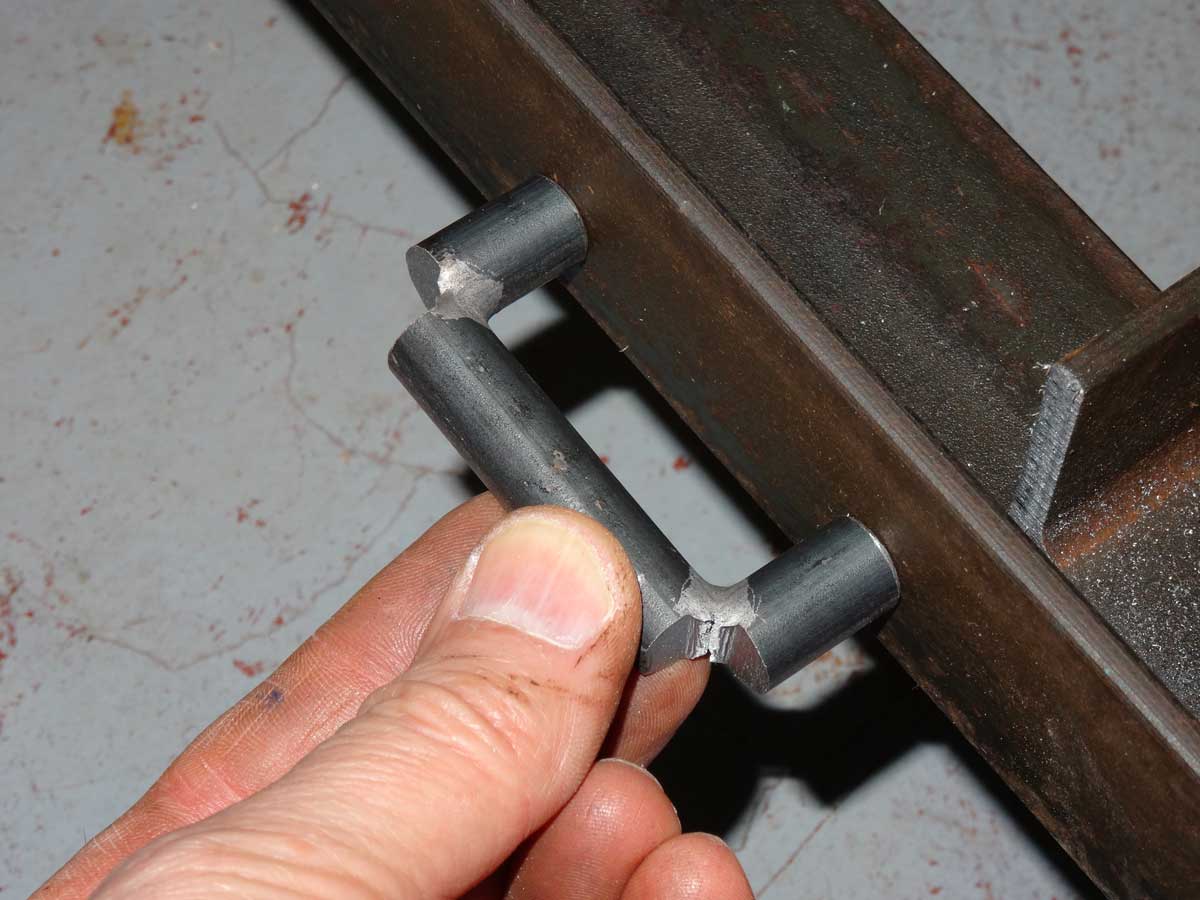
I want a 90 degree angle and you can't get one by bending if, as in this case, my round steel is 12 mm thick. To get such a sharp 90 degree angle, I saw the profiles 2/3 through and then bend the 2 ends.
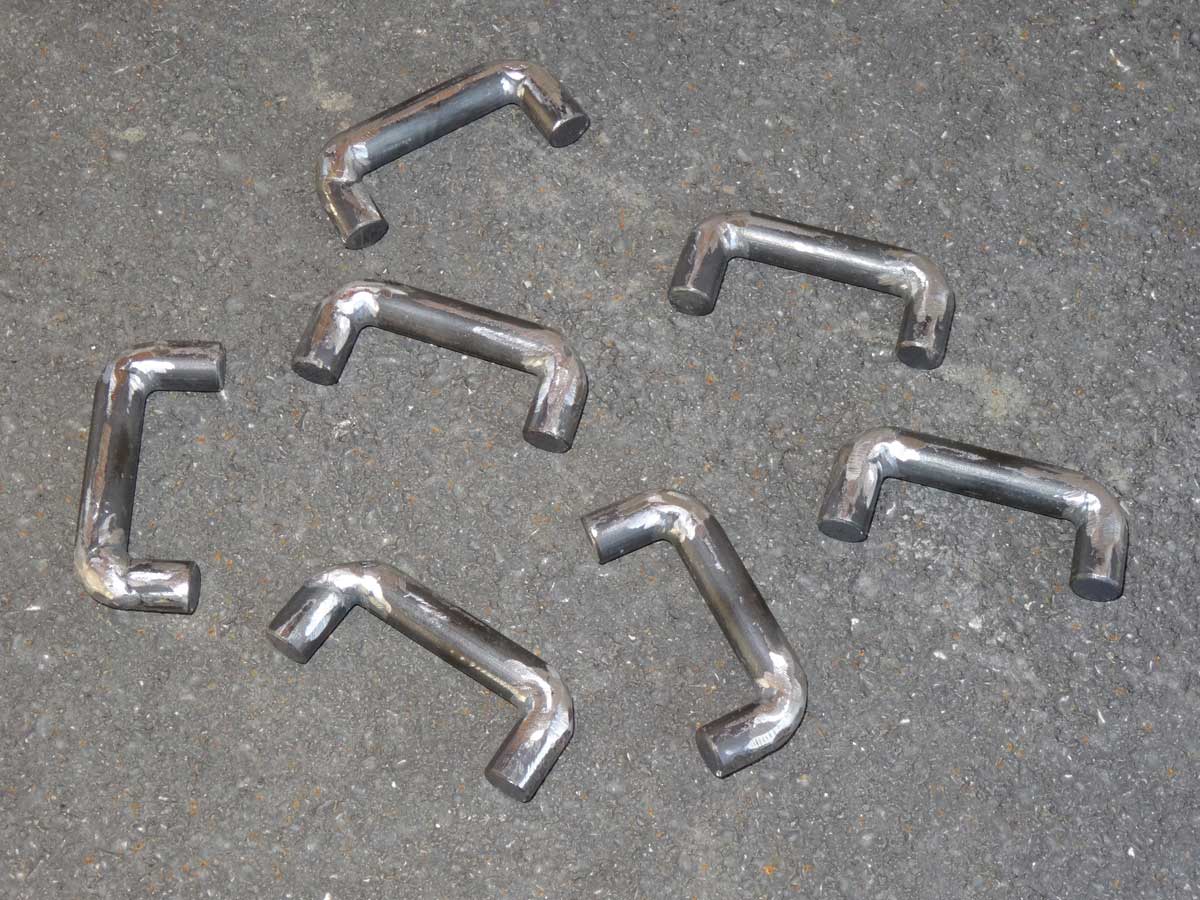
Now I only have to weld the corners, grind the whole thing and my eyelets are ready.
I have now welded the my 6 eyelets.
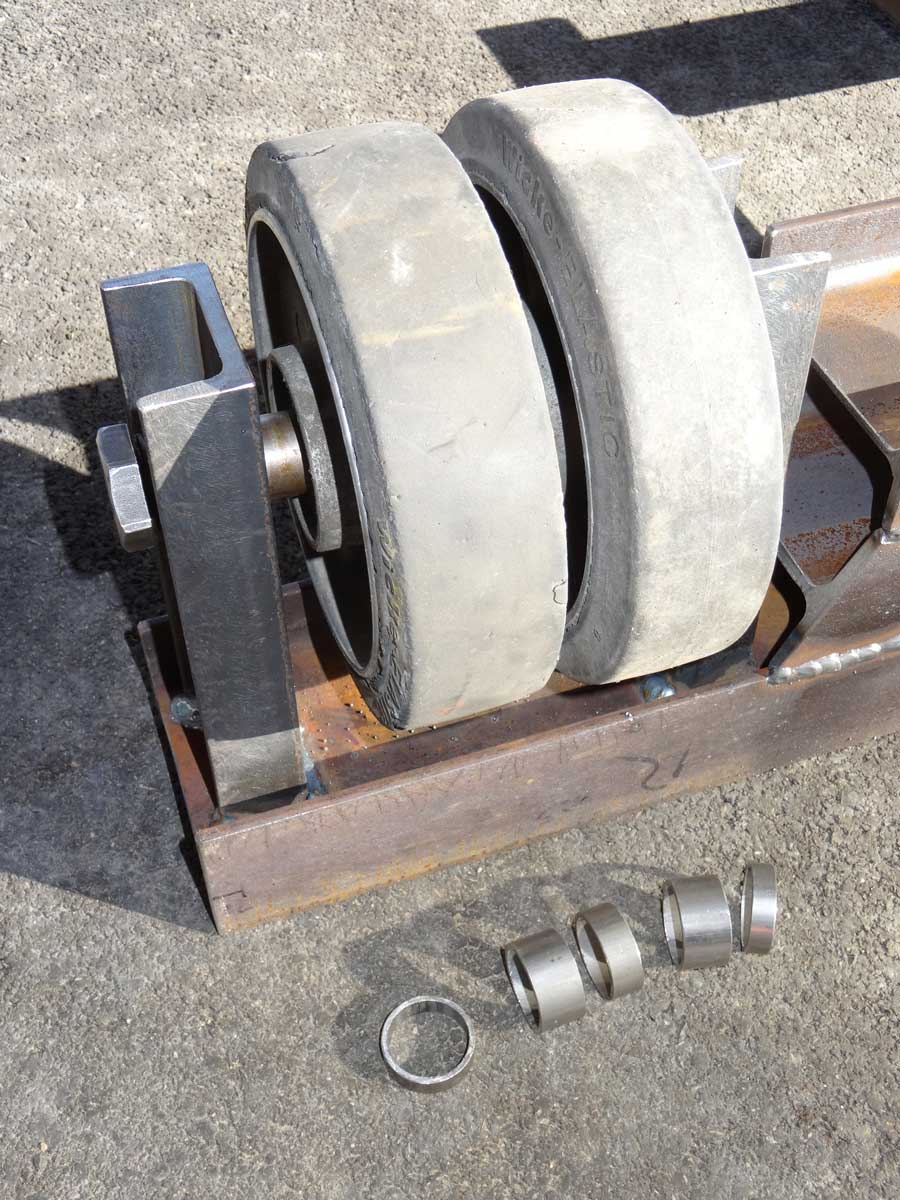
For the 2 axles I need spacers to hold the wheels in position. These I made from a piece of pipe where I cut off suitable washers.
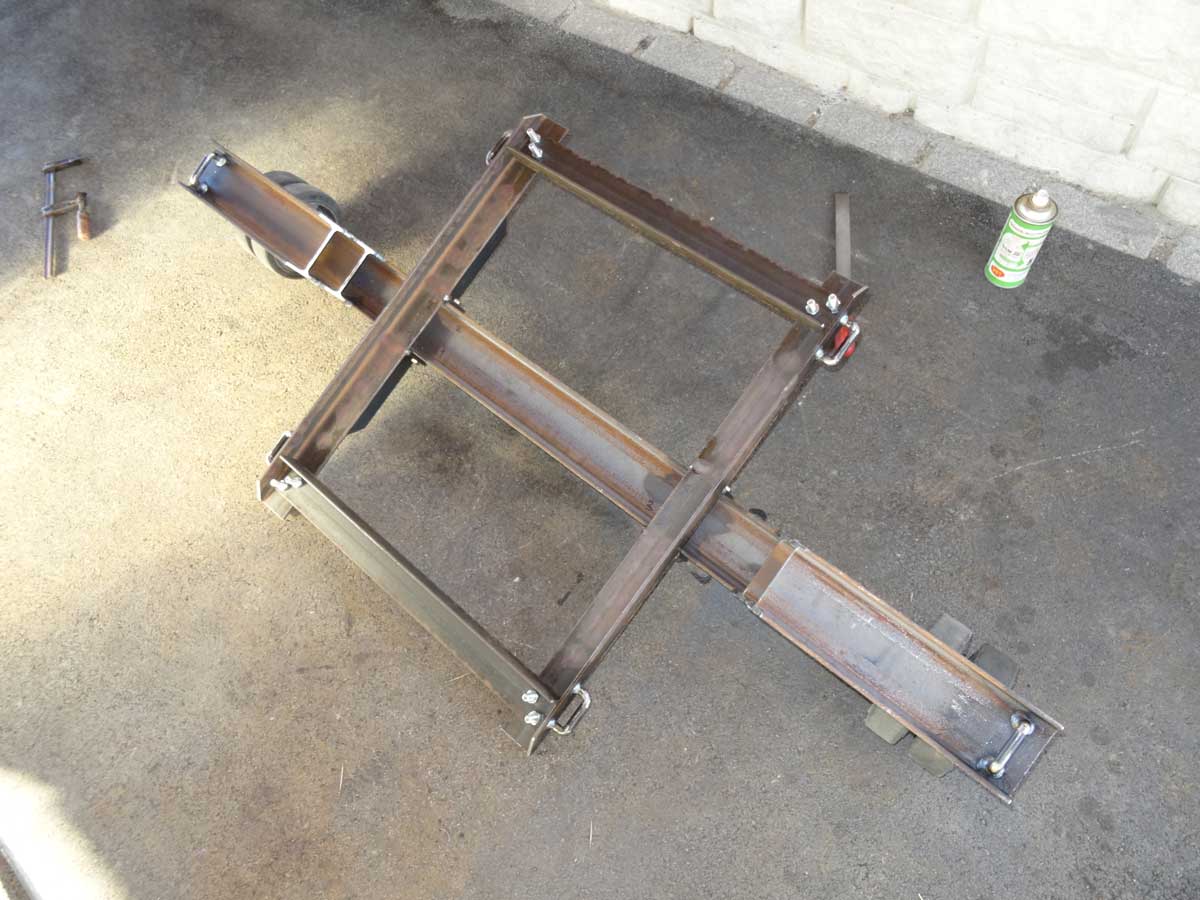
Now the trolley is ready. It can be tilted on both sides by 17 degrees, which should be enough to avoid touching the ground.
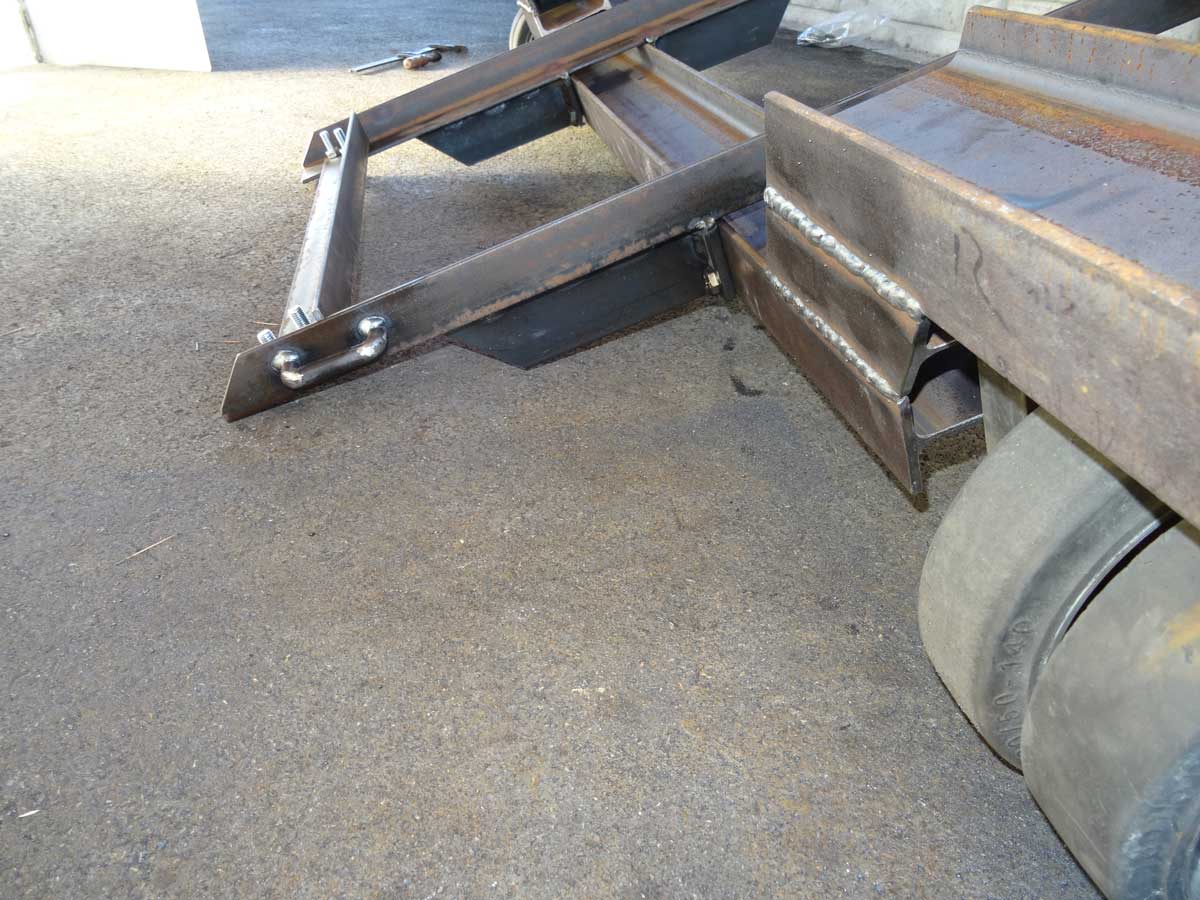
On the other side of the lathe I will mount a draw-bar, so that I can attach the lathe to the tractor. For this purpose a U-profile frame covers the right stand. Here I am fixing the profiles before welding.
The frame is already dotted. On one side it is open, so I can mount it at all.
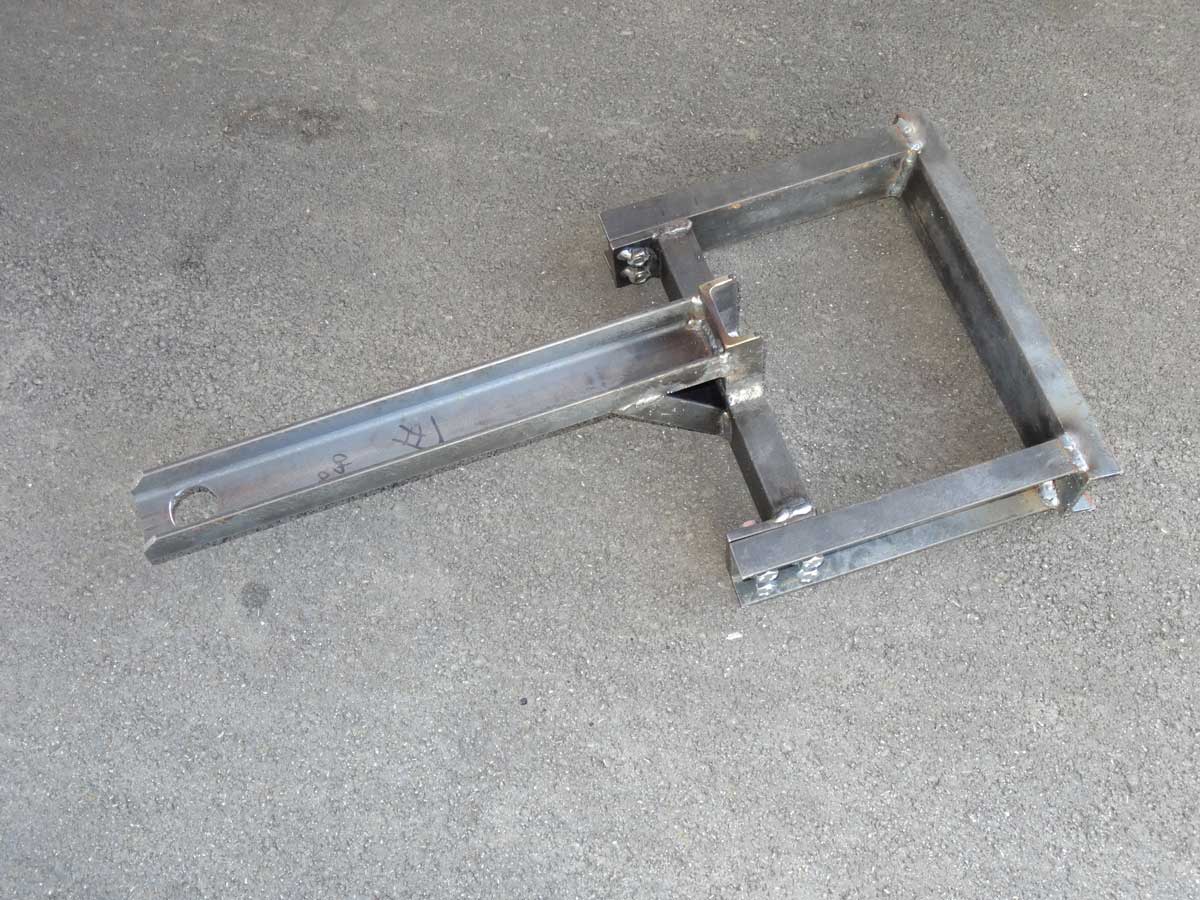
Here everything is welded together with the draw-bar.
What is missing now is some paint and then I can test my trolley, but more about that next month.
Copyright © 2001-2024 Markus Maurer - all rights reserved
 Creation Date: 26.02.2023
![]()
![]()
![]()
