
| Ford Model A |
![]()
![]()

Commissioning of Einhell TE-BD 750 E bench drill (minor modifications)
After decades with my old bench drill, I have afforded a new one, which is stronger, the speed is variable and most importantly it has a MK2 cone, so I can use larger drills.
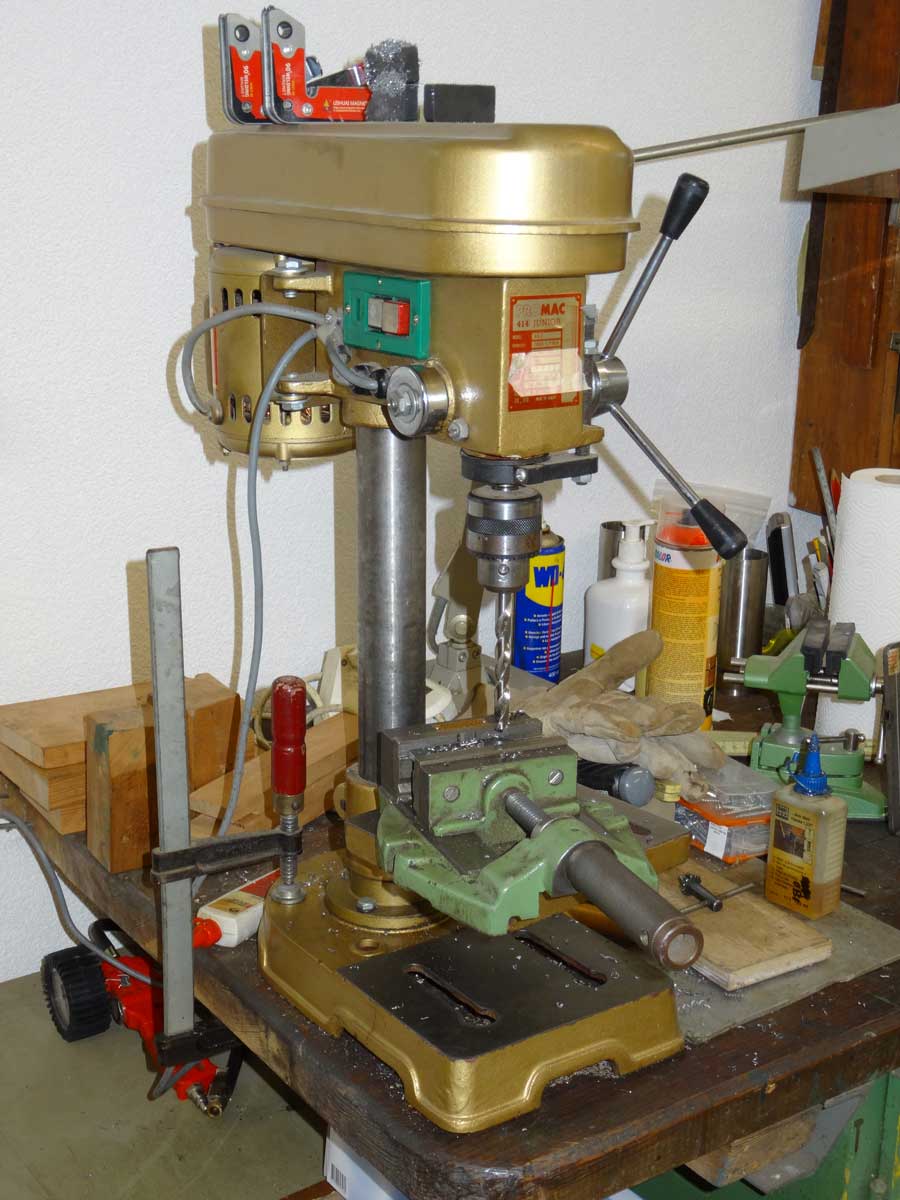
This is the bench drill I have been working with so far.
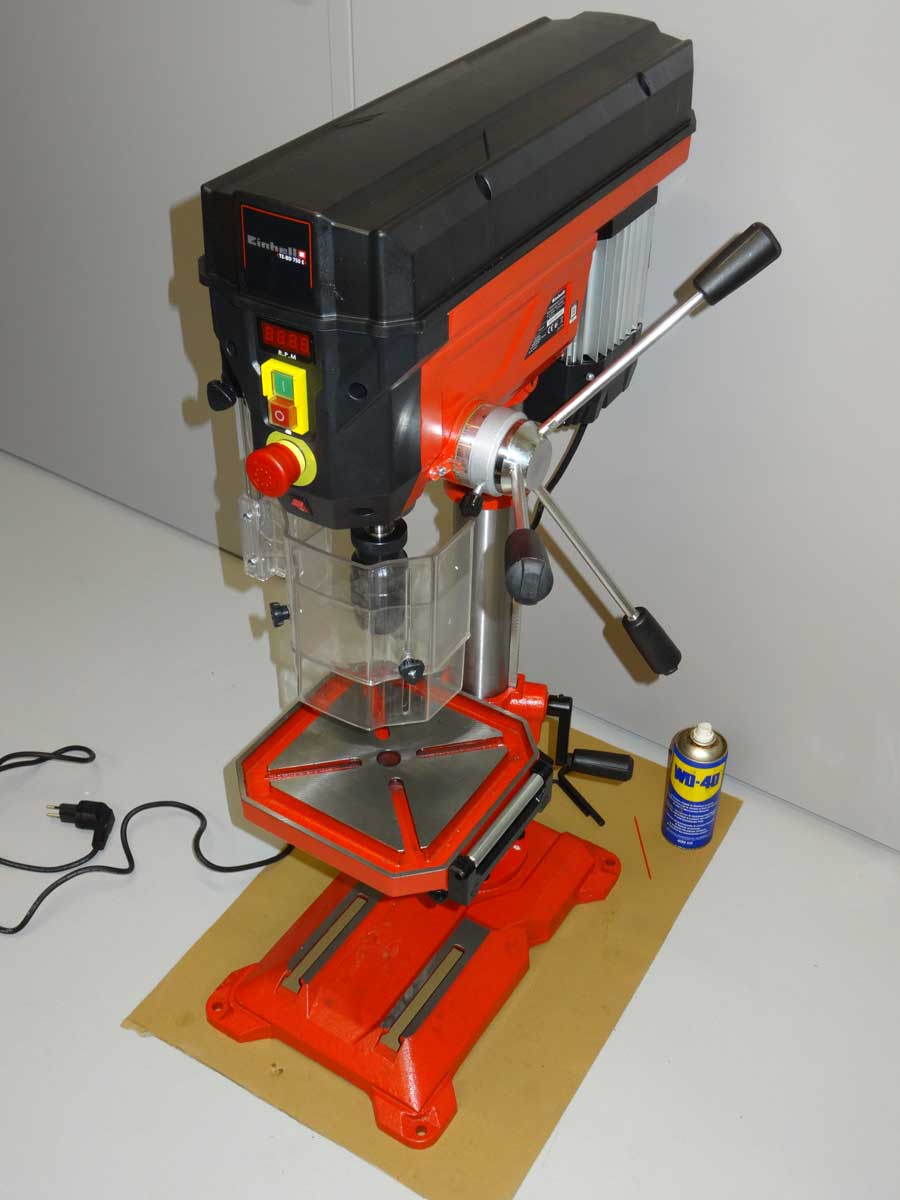
I have decided to buy an Einhell TE-BD 750 E. The price-performance ratio is good. What I knew in advance was, that I still had to do the finish and a few small optimizations by myself.
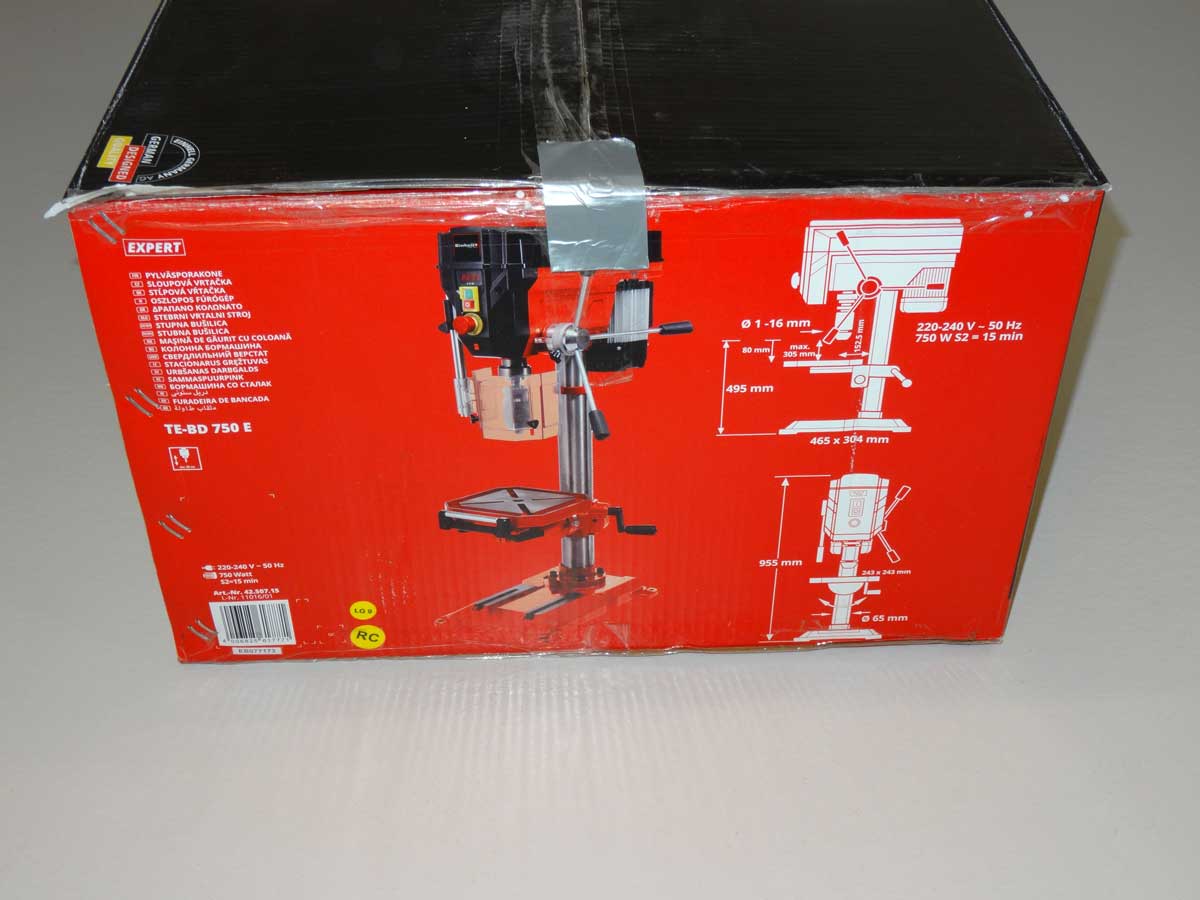
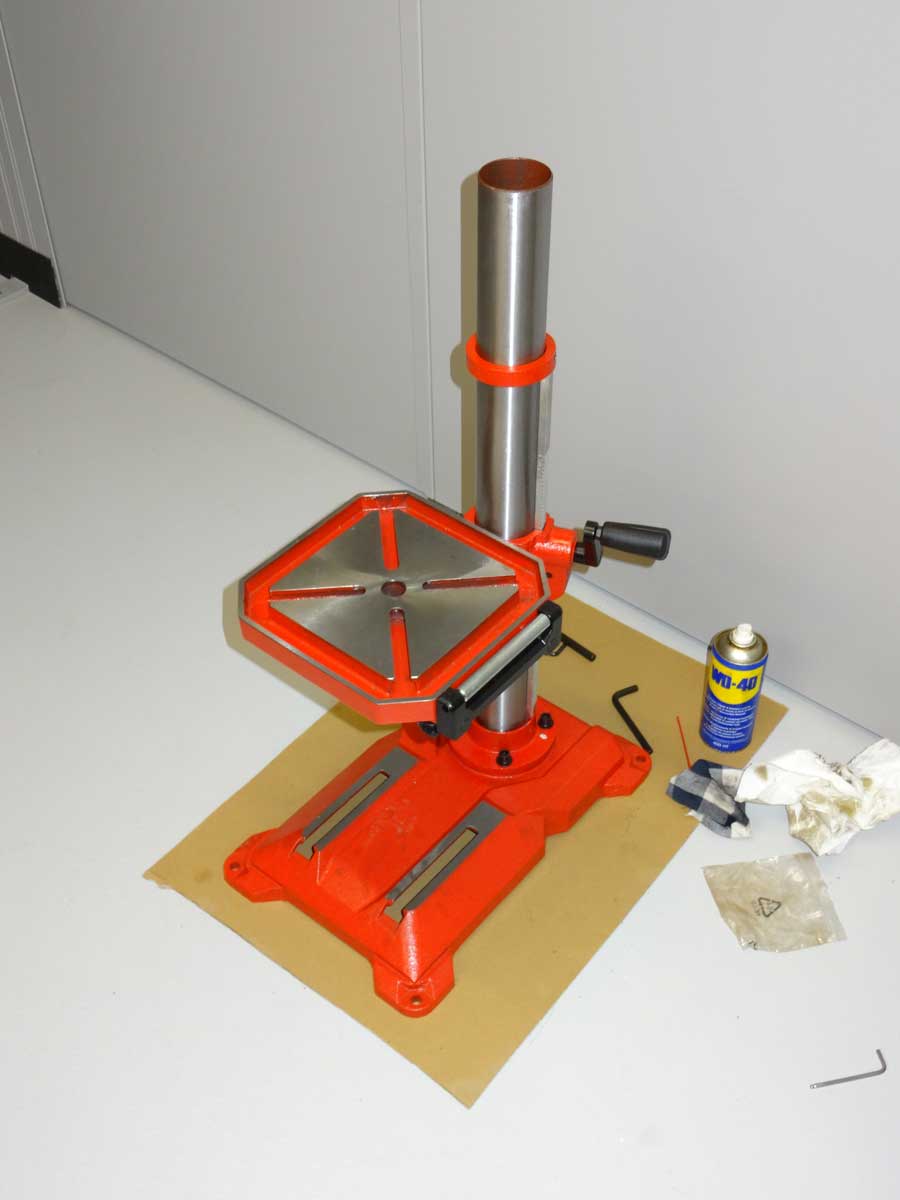
Here you can see the rough dimensions of the machine with 750 Watt power.
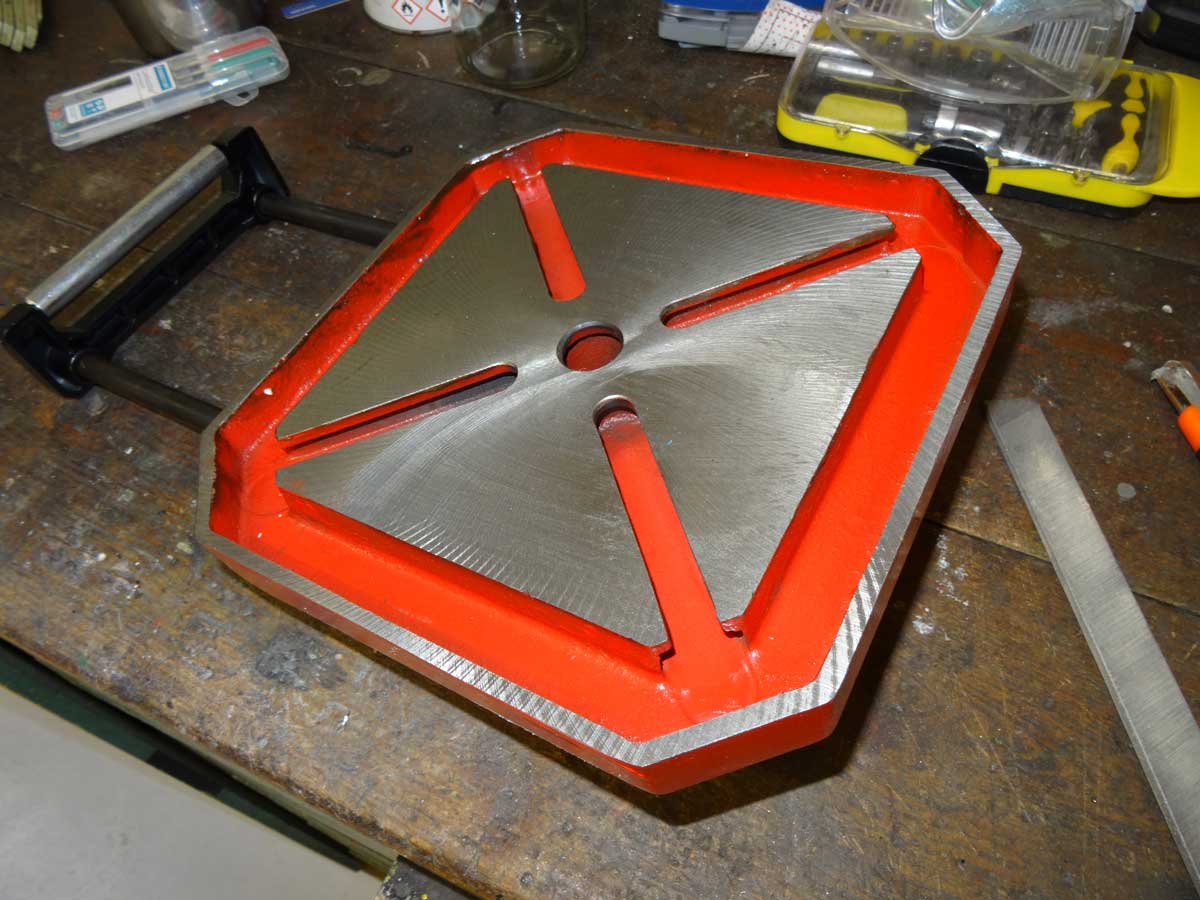
Such machines are delivered in parts for self-assembly and therefore it is a good idea to improve certain points before assembly. Let's start with the adjustable support for the vice. This is only milled over and has everywhere sharp edges, which I will break. For me, a part, no matter what it is, must not have sharp edges. It's just more fun and later I'll need less bandages because I won't cut myself.
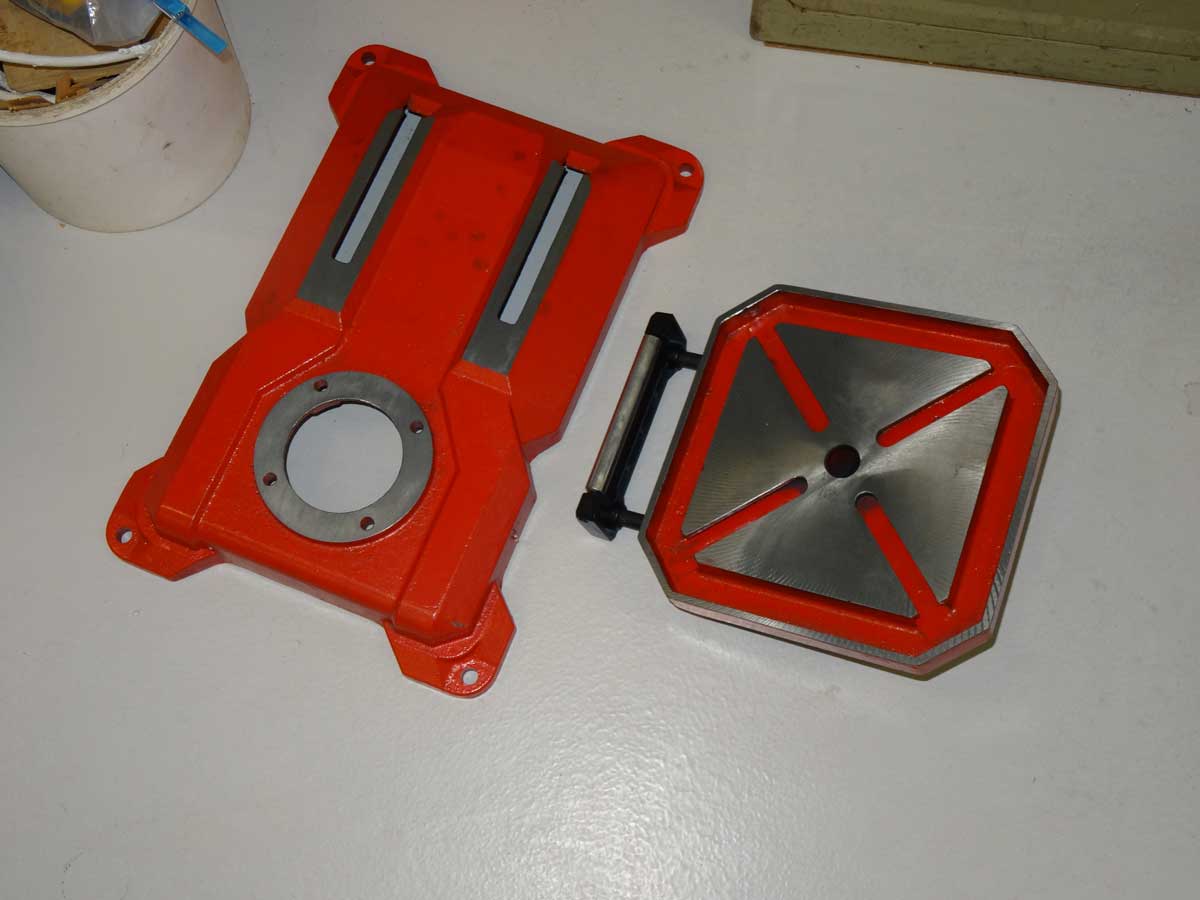
The same applies to the base of the pedestal, which I machined with the file.
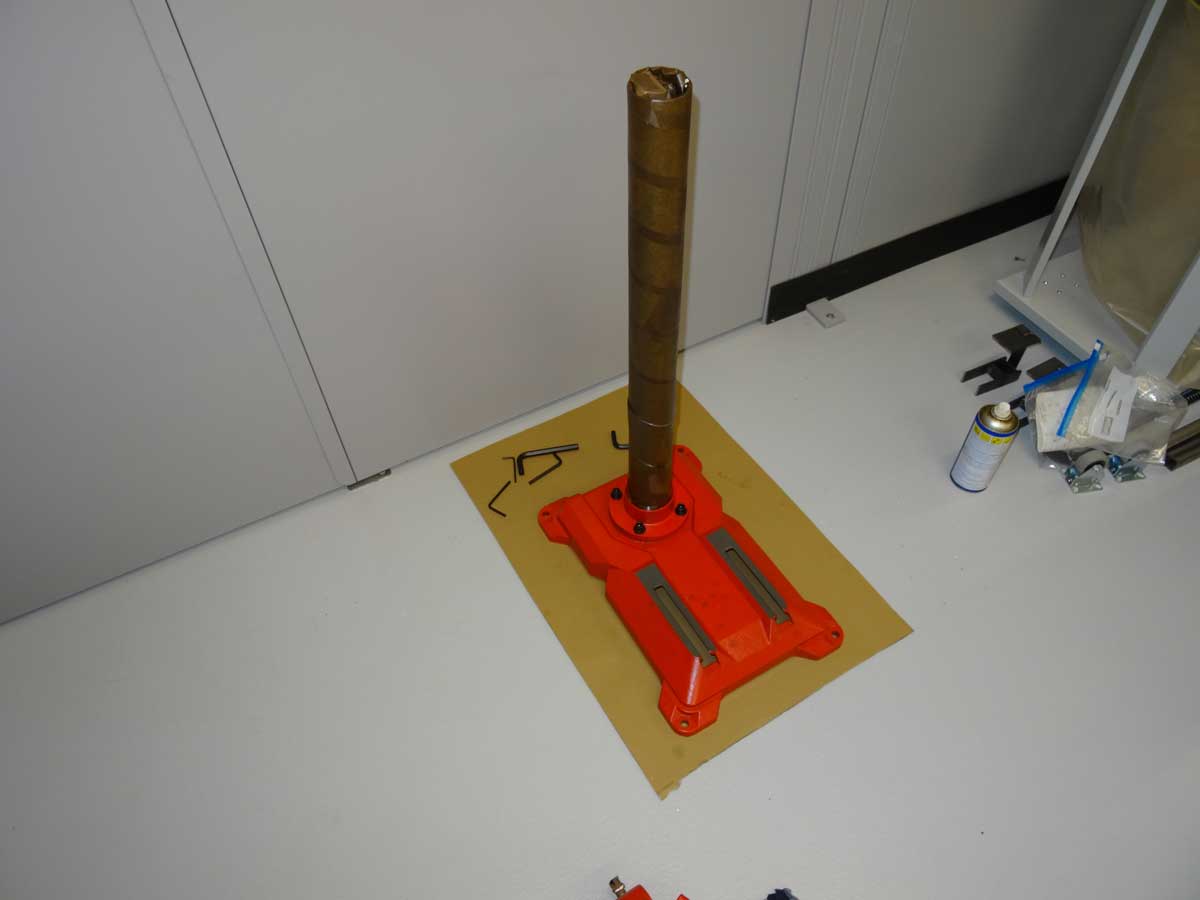
The column can now be mounted.
You won't see the now following spots later, but you will be annoyed because parts don't slide cleanly or do stuck. The reason is that various seats were painted where no paint belongs. I'm aware that for the payed price, the areas can't be covered with tape before painting, but I need to remove the paint from these areas now, that everything can slide cleanly. The first spot involves the support on the underside of the table where I removed the paint.
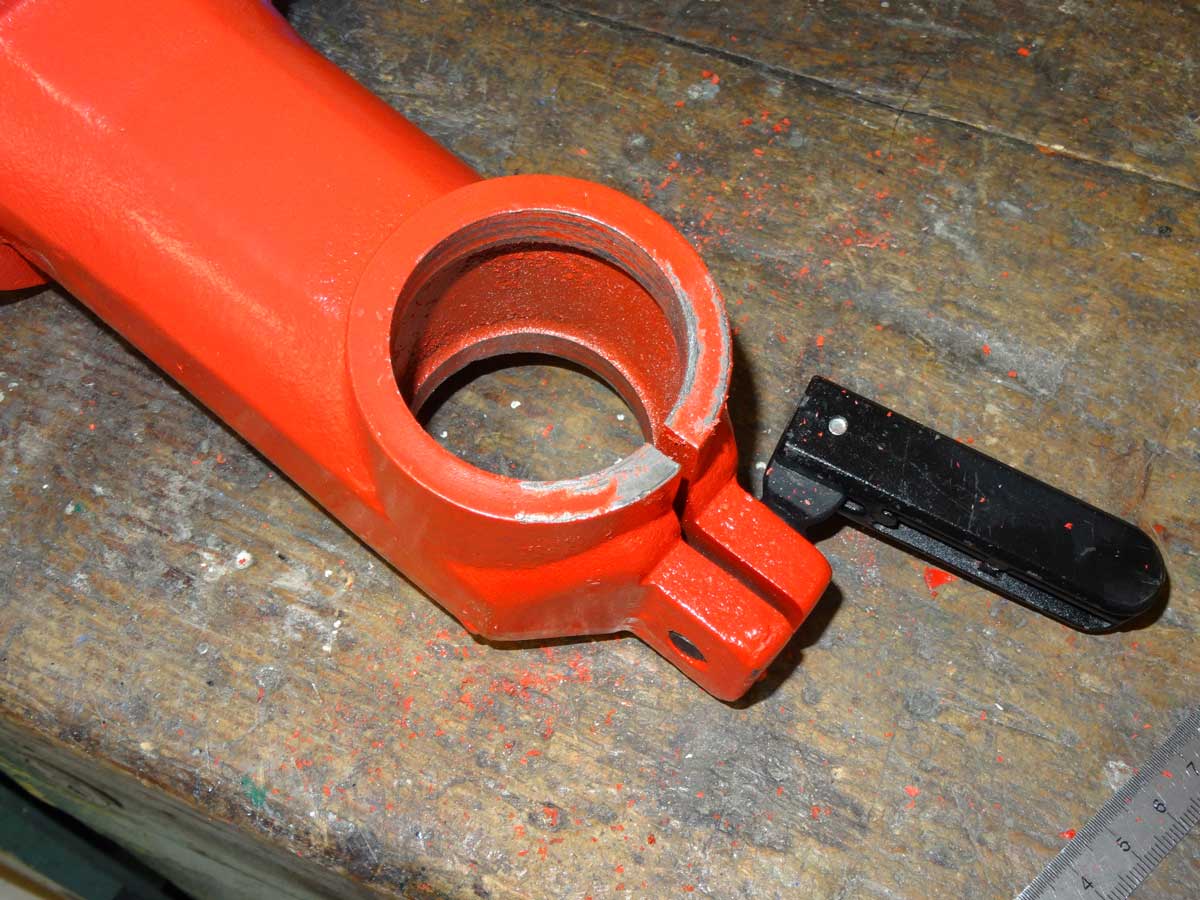
The second part is the arm that works as a connection between the column and the table. The table is supposed to rotate on this support later, so the paint has to go off.

It looks better without the paint.
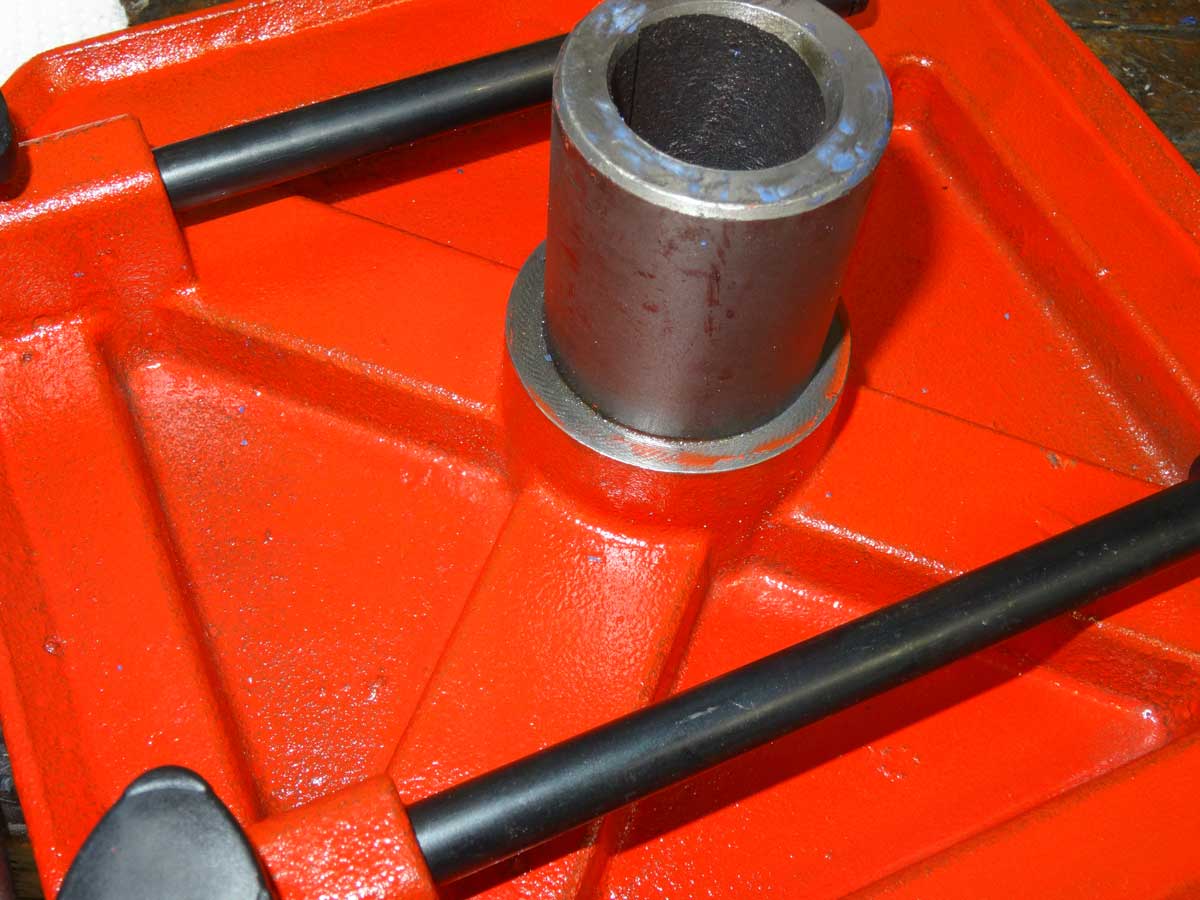
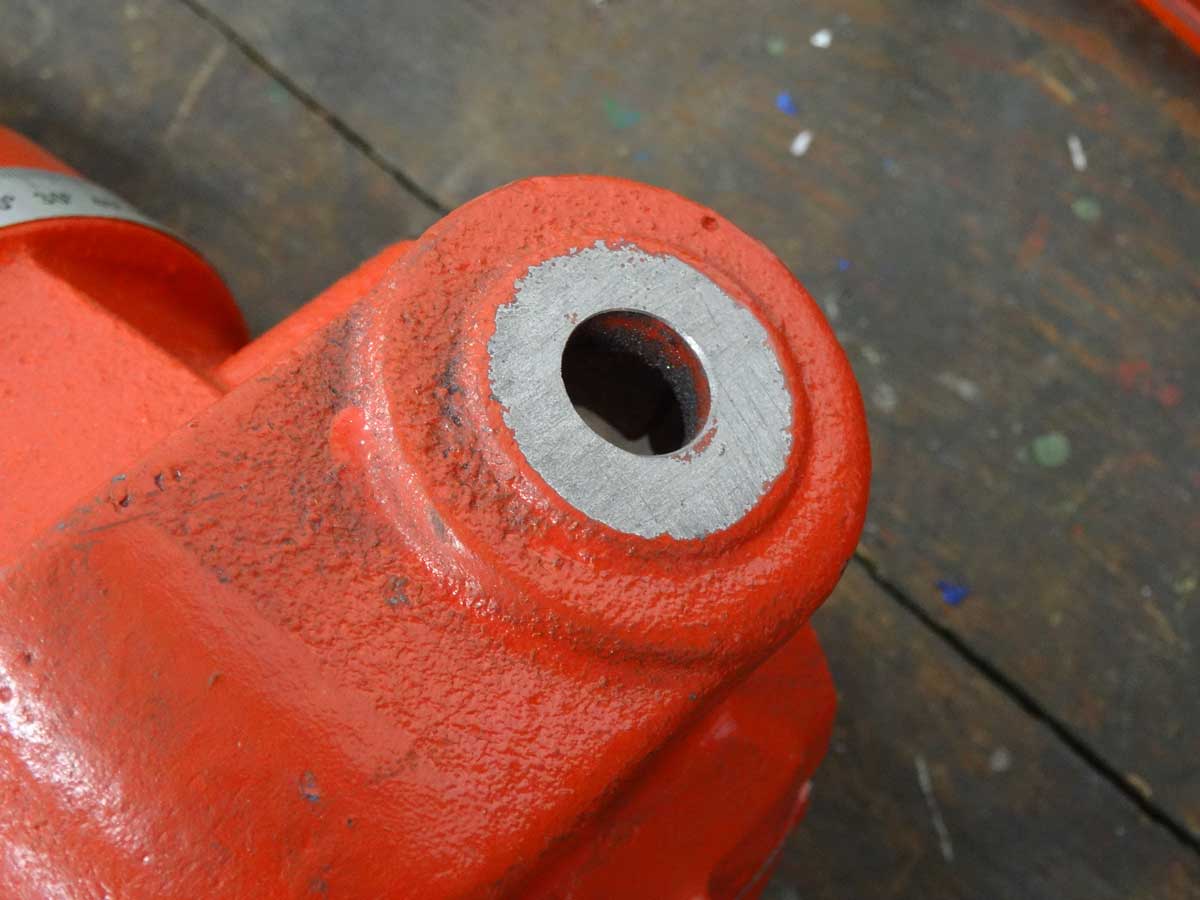
The same problem on the side of the column, where the hole is full of paint.
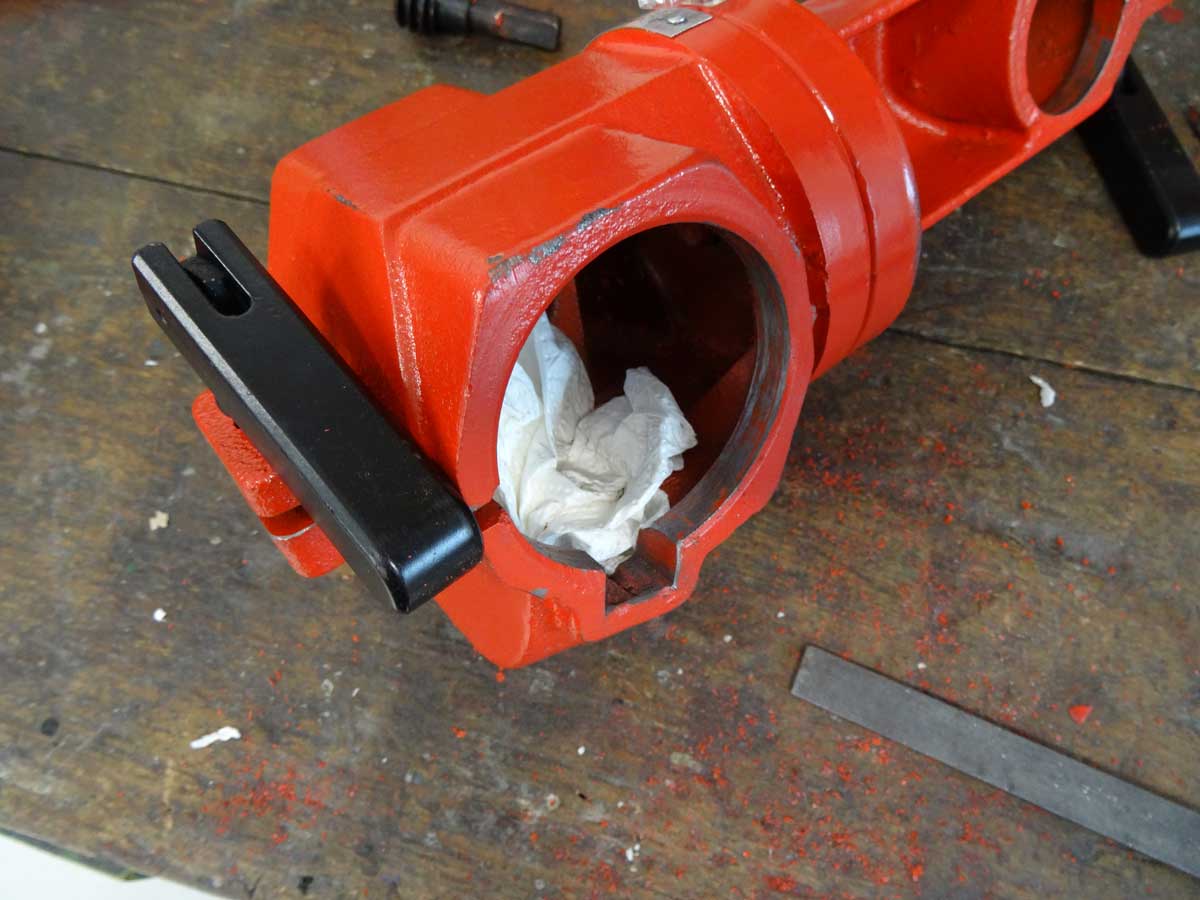
This hole is cleaned and on this occasion, of course, the sharp edges are broken too.

I also do the same on the opposite side

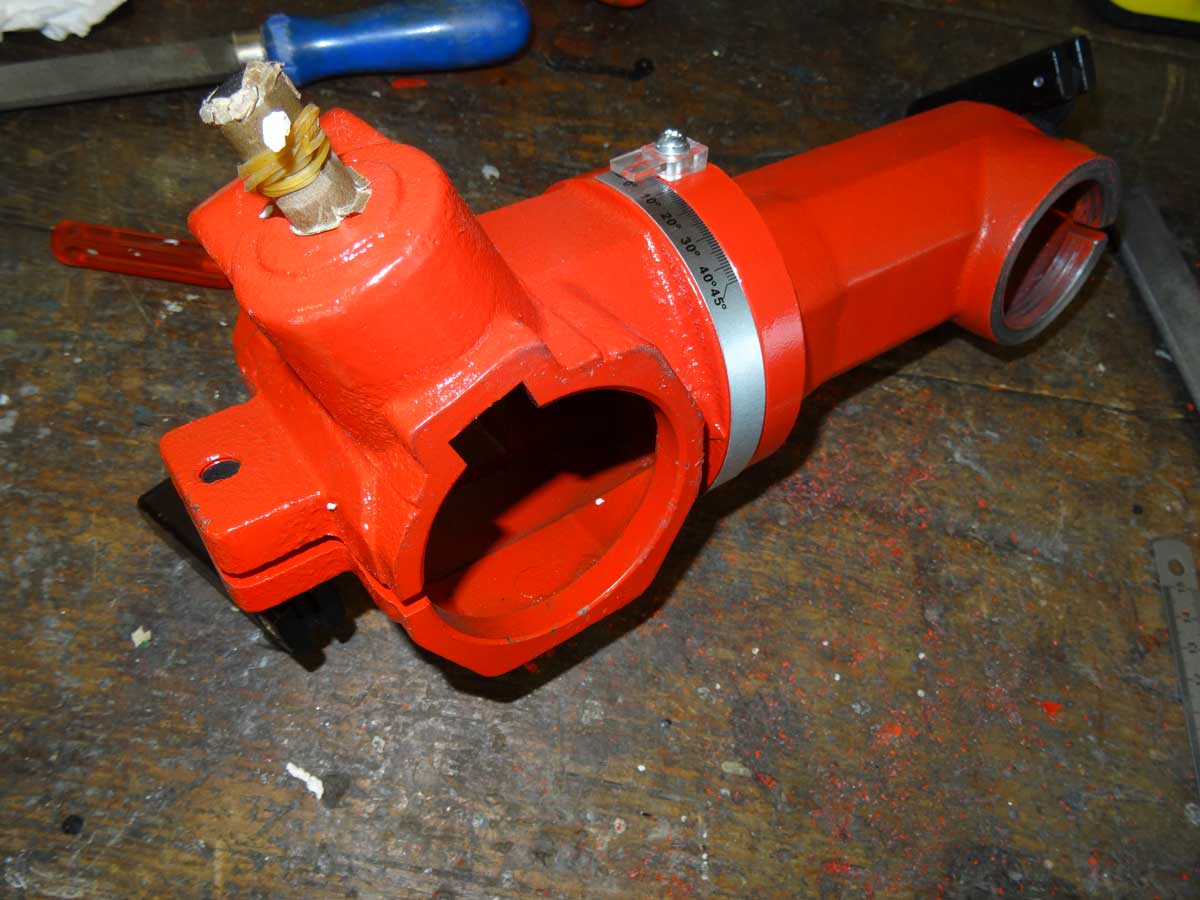
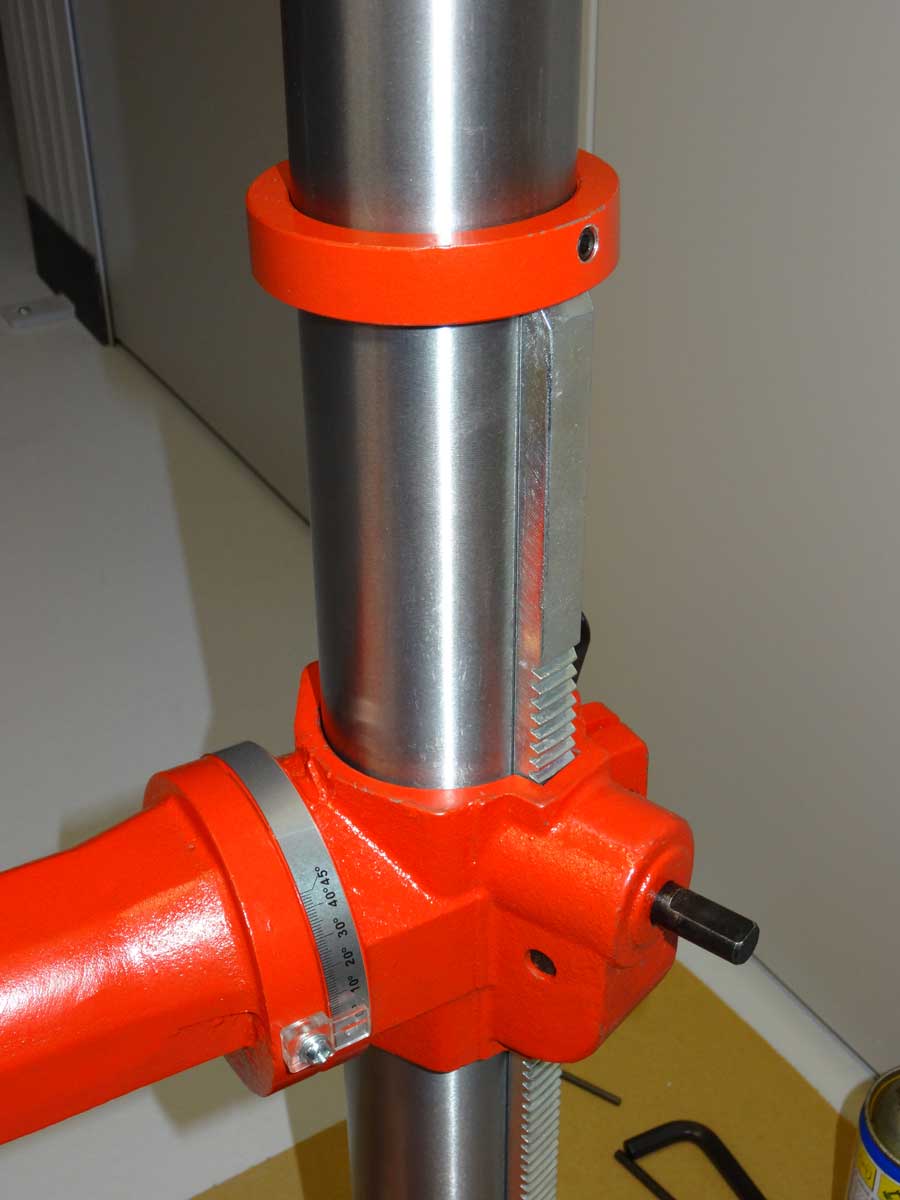
The toothed rail cannot be fixed properly with the ring, so the table can be moved to the left and right.
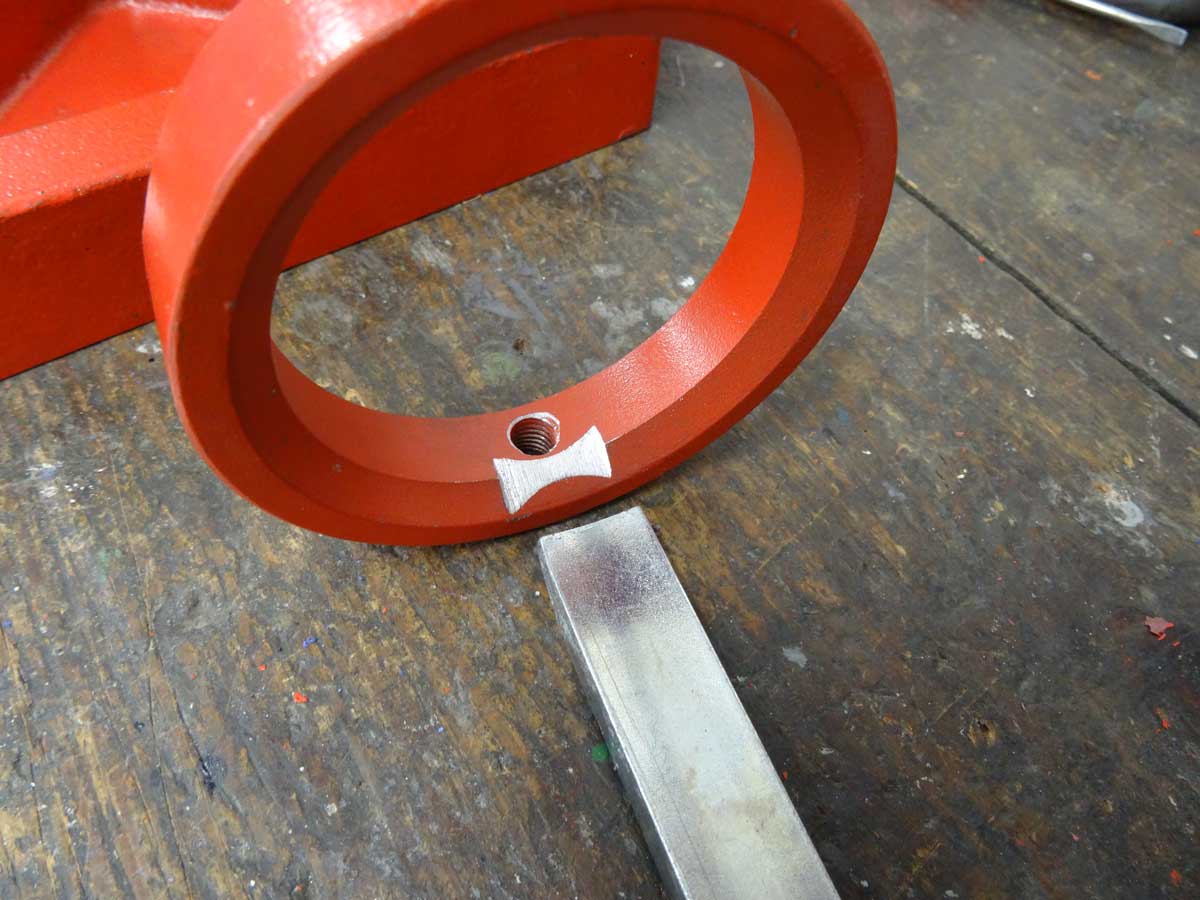
To fix this, I made a small groove into the ring, which is secured with a grub screw. Since the ring can't move, this also fixes the toothed rail in its position and nothing wobbles anymore.
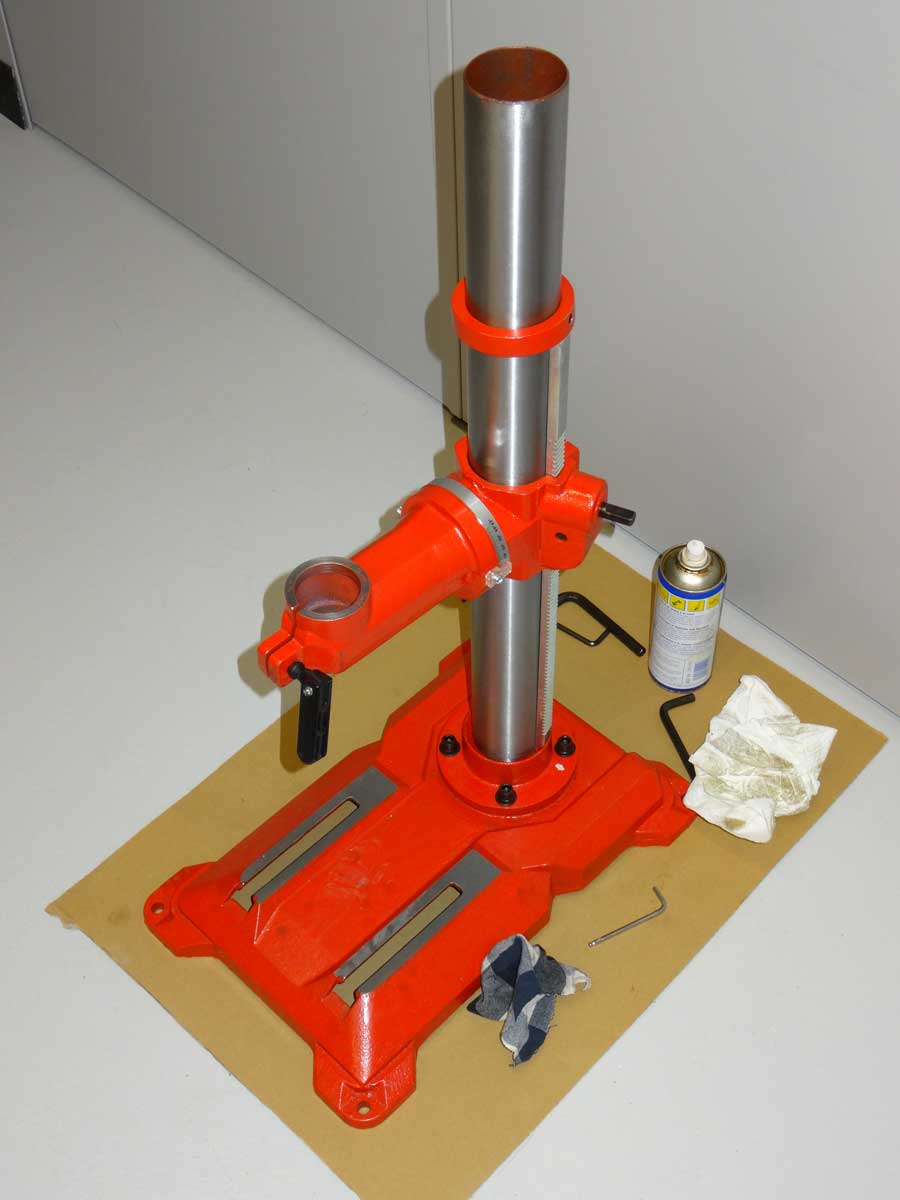
Now I can assemble all parts.
As expected, the toothed rail no longer moves.
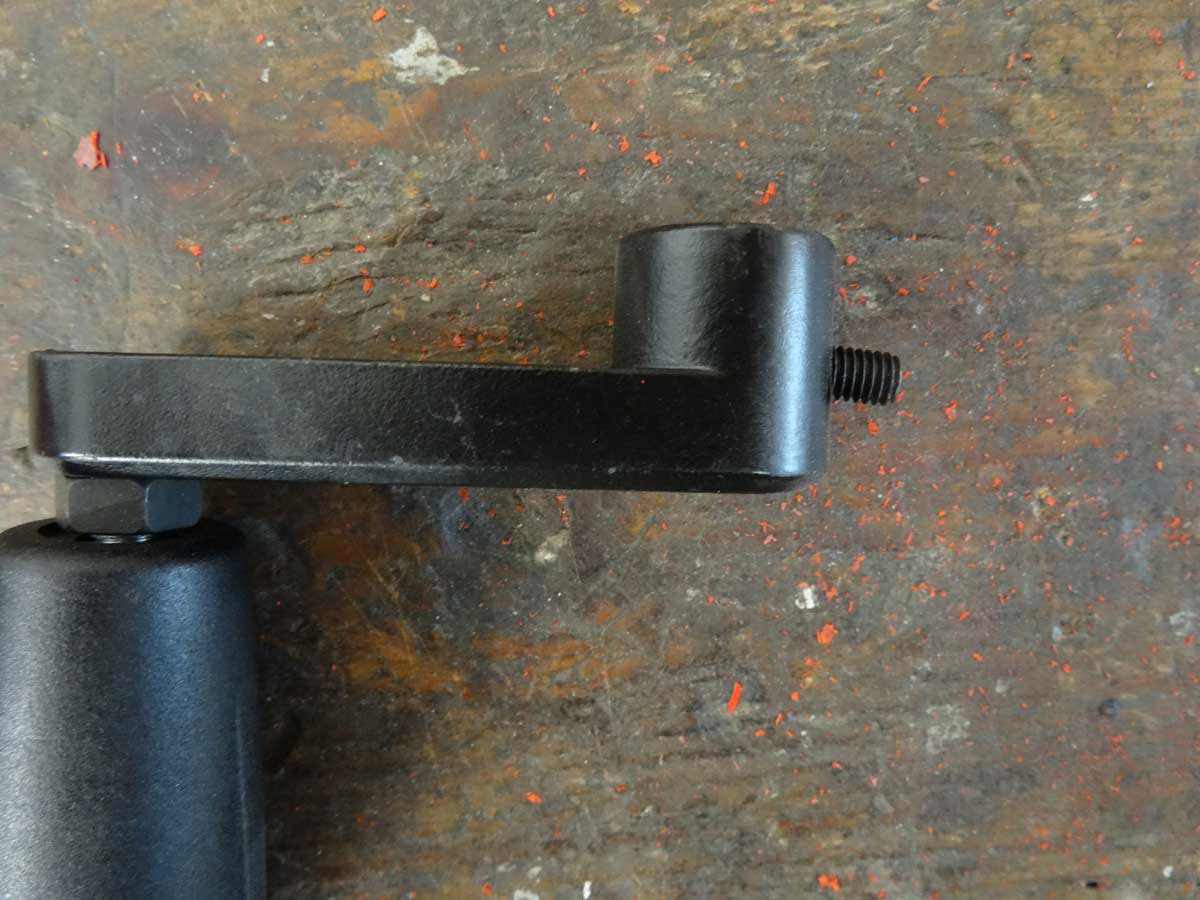
Now I wanted to mount the crank, but as visible on the photo, the grub screw was not inserted at right angles and the thread in the first gears screwed up.

Here only helps to re-cut the thread and after I can turn the screw cleanly in and at right angles.

A first attempt with the crank showed a resistance with each rotation and there the problem can be only with the worm. So I removed it and you can see on the first gear that the flank there is a bit depressed and hooked on the gear.

The same problem I had on the other side and have ground off the beginning of the winding
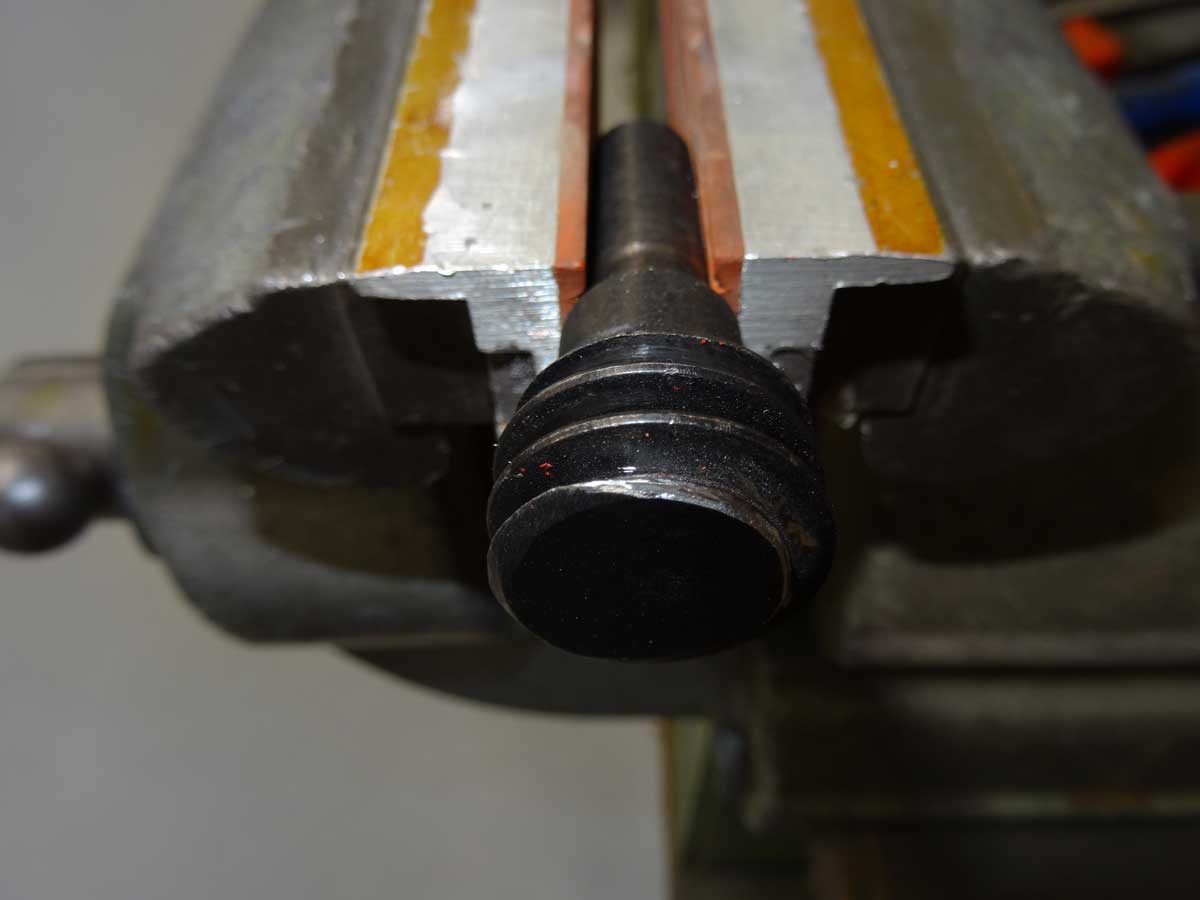
I did the same on the other side and ground off the edges.
On this occasion I have also freed the contact surface of the crank from paint.
Now I just have to put the drill head on to do the first test.
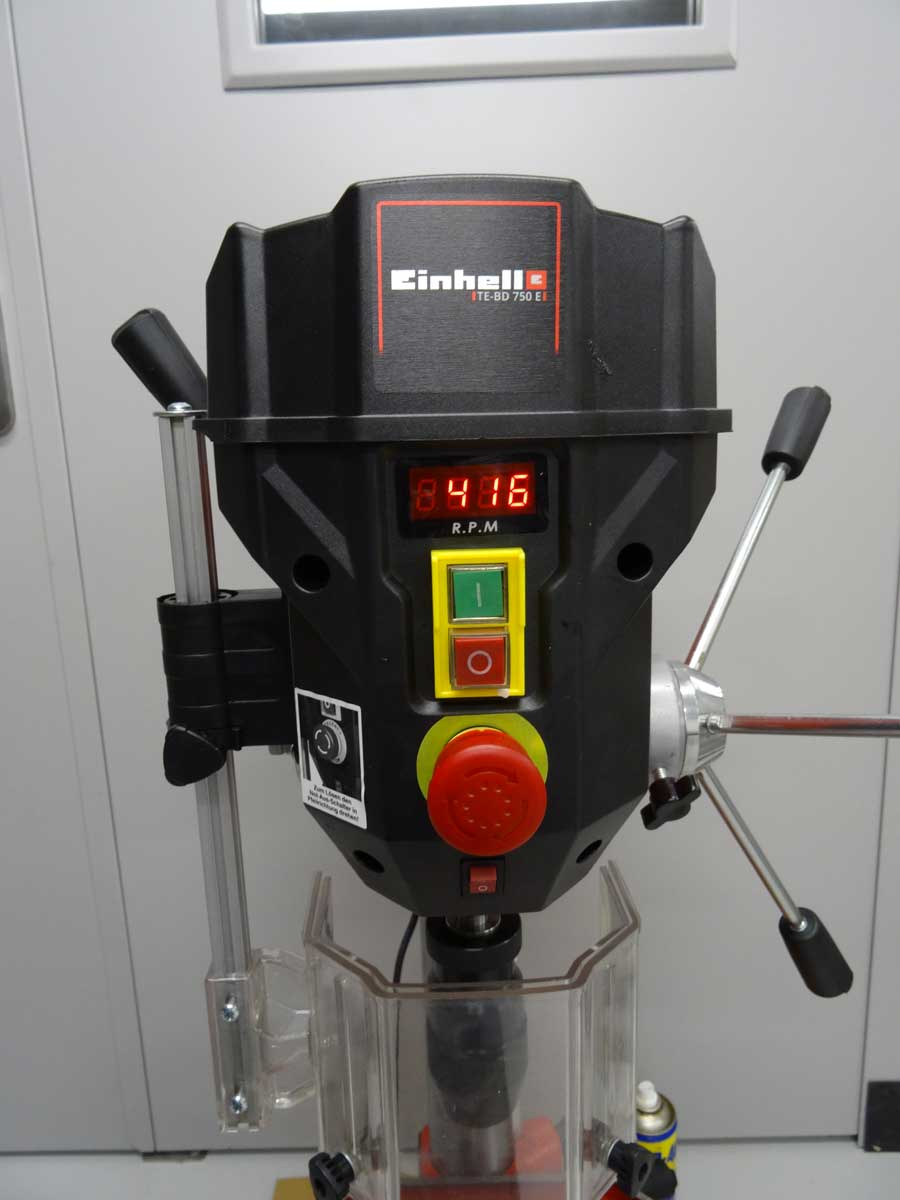
The minimum speed is about 400 rpm …
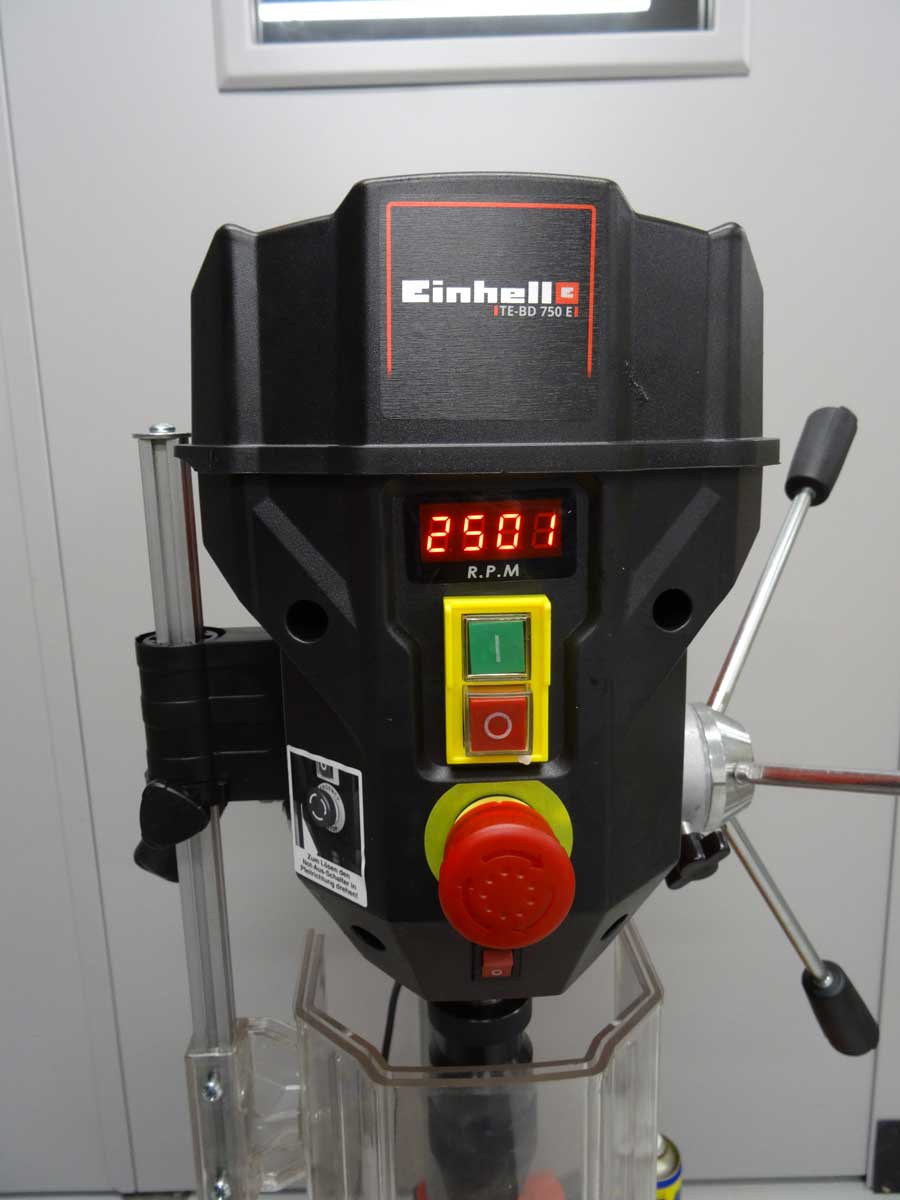
… and the maximum speed is 2500 rpm.
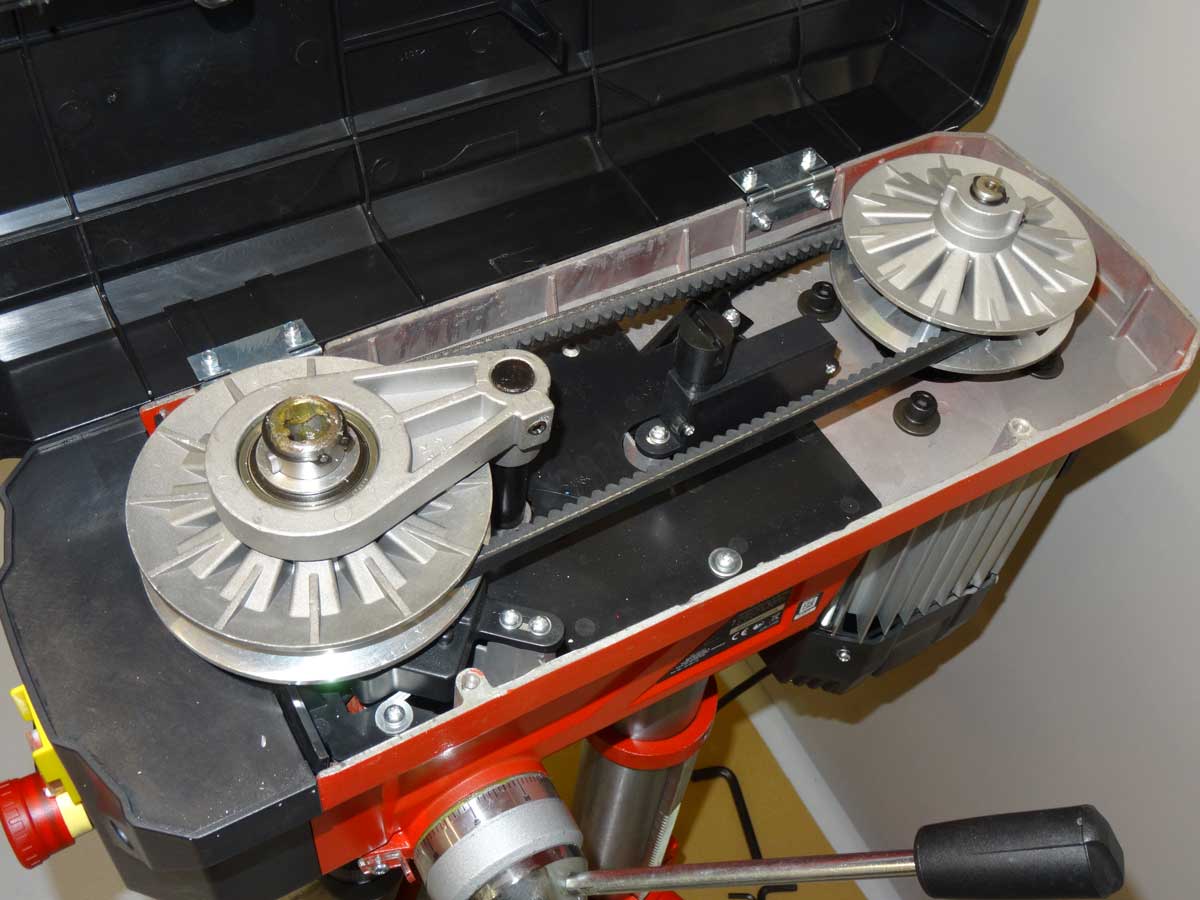
The speed adjustment is mechanical, which has the advantage that no control electronics can overheat.
On my milling machine, the speed is controlled electronically and at slow speeds and high loads, the
electronic can get hot.
Conclusion, this was a good buy and so far everything works as expected - at least after my modifications … ;-)
Copyright © 2001-2024 Markus Maurer - all rights reserved
 Creation Date: 29.01.2023
![]()
![]()
![]()
