
| Ford Model A |
![]()
![]()

Ford Model A Pickup Restoration - Fender Welding - Dismantling Wooden Cabin (January 2007)
The wooden cabin and the two doors have not ben disassembled yet, so I was wondering in what condition they are inside.

First I had to finish my front fenders. For the right one I used my oxy-acetylene torch and I got little distortion of the sheet metal.
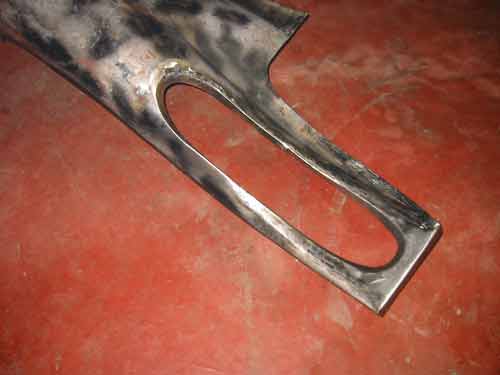
That's why I used my MAG welder for the work on my left fender.
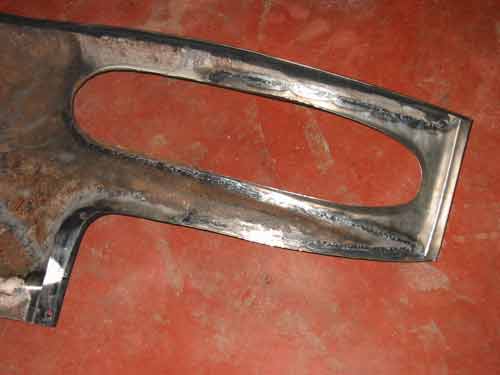
With MAG welding the distortion is very little compared with the oxy-acetylene torch but you also have to remove more material with a grinder.
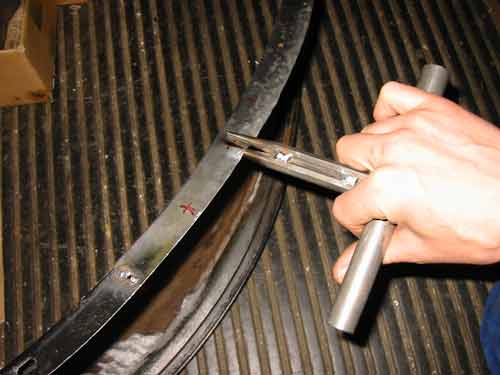
Here I had to shrunk the sheet metal a little bit. I have no professional tool for this kind of job, but you can do it with a self made tool. Just make a dent like it is visible on the picture.
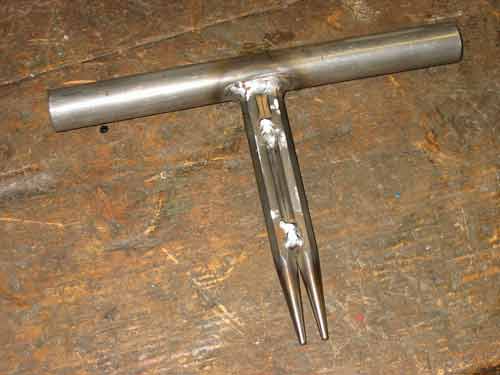
The tool can be welded using two center punches and a short piece of a tube.
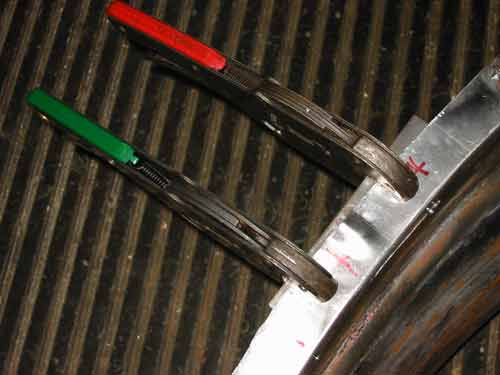
In order to shrunk the sheet metal, I fix it with two clamping tongs and a piece of flat steel. Now you can hold a hammer at the rear side and from the front side you can remove the dent by strokes with a hammer.
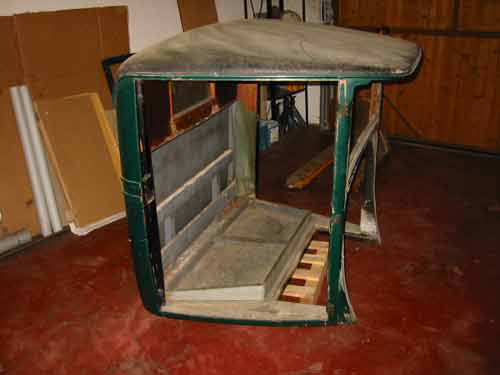
Now I will disassemble the cabin to see how good the condition of the wood is.
This is the rear side and I will replace a big part of the sheet metal, since it is very rusty with lots of holes in it.

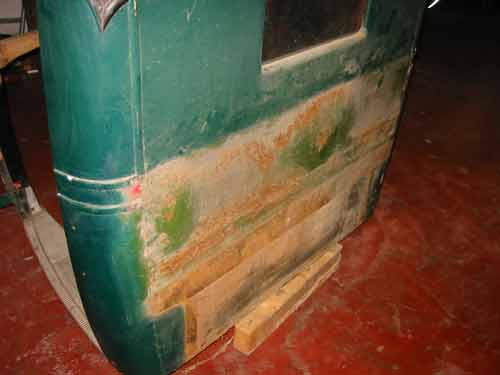
Here you can see the original colors from 1930. The frog green was the main color of the car. The stripes both sides of the cabin and the doors were made in this bright red and small black stripes on both sides. The dark green was painted in the late 50's.
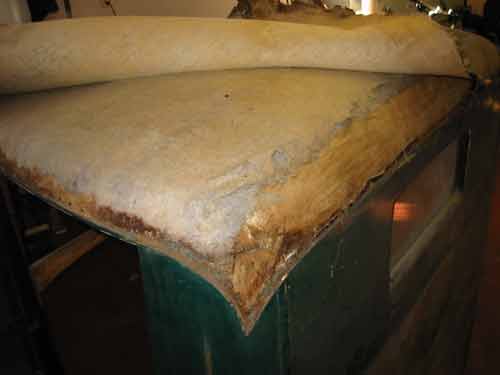
The roof is covered by different layers.
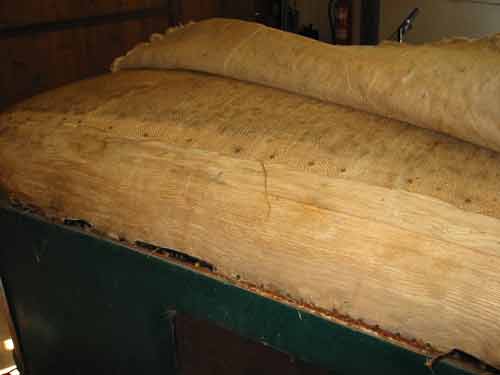
The layer at the bottom is made from the same material like jute bags are made from.
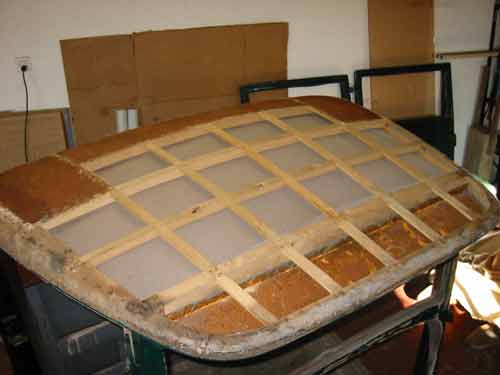
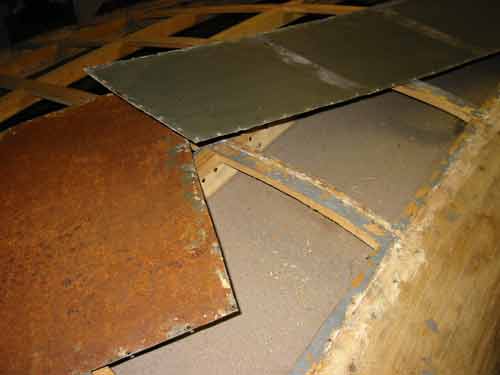
The basic frame is wooden with some small sheet metal parts at the rear side of the roof.
I have removed them, since the roof interior nails have to be mounted from outside.
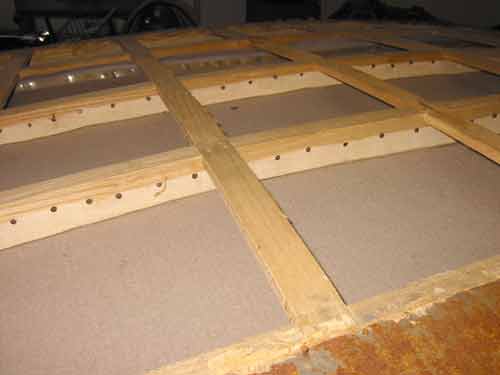
Here you see how the roof interior is mounted to the wooden frame. Let's hope that I do not forget to mount the roof interior before I have covered the roof.
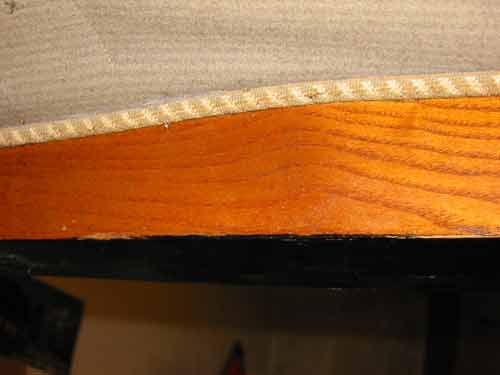
This is a small section where the original color of the wooden parts is visible.
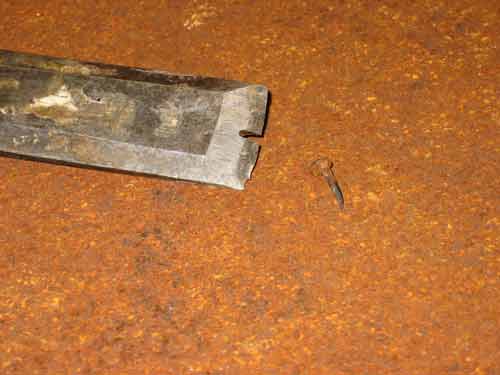
This is my modified chisel to remove all the small nails.
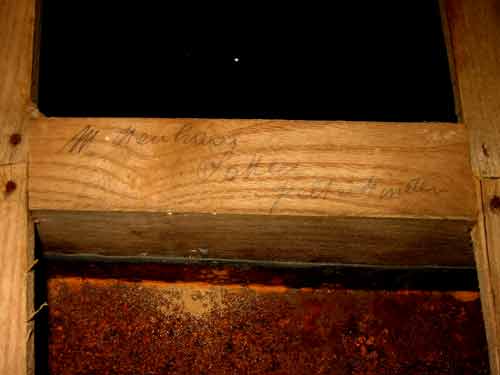
Onto the wooden construction the saddler who has made all this work wrote his name,
his profession and the village he came from:
M. Neuhaus
Sattler (saddler)
Gelterkinden (village)
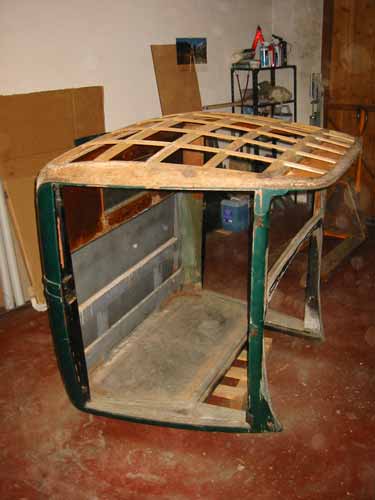
The cabin is in an acceptable condition. There are some wooden parts I have to replace but not serious defects. I guess I can repair it.
Copyright © 2001-2024 Markus Maurer - all rights reserved
 Creation Date: 04.02.2007
![]()
![]()
![]()
