
| Ford Model A |
![]()
![]()

Ford Model A Pickup Restoration - Final Assembly Engine - Piston turning on lathe (July 2005)
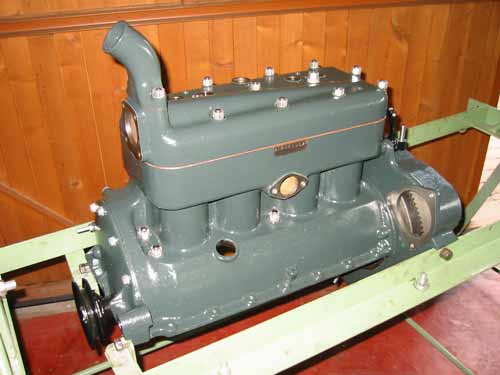
The engine looks more and more like an engine.
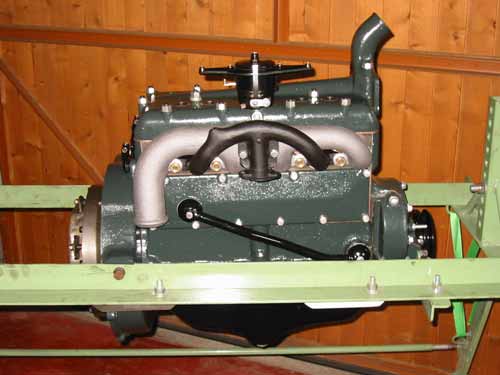
Some external part are already mounted to the engine.
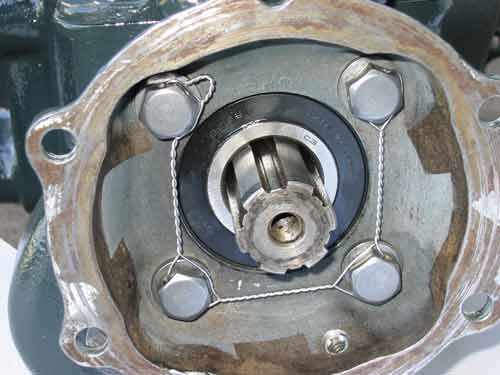
At the gearbox the wire lock was not done yet.
Then the universal joint assembly was mounted. Don't forget to use enough grease for these parts.
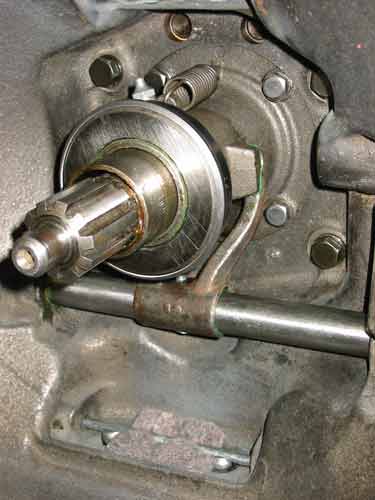
On the engine side you see the throw out bearing hub with the throw out bearing.
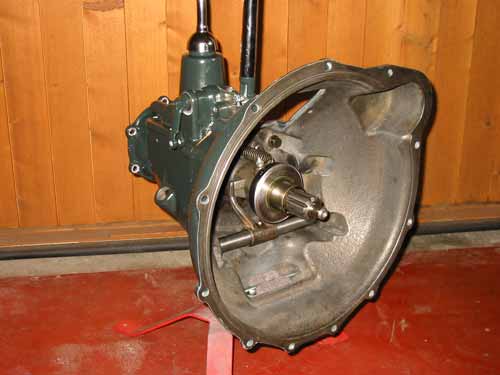
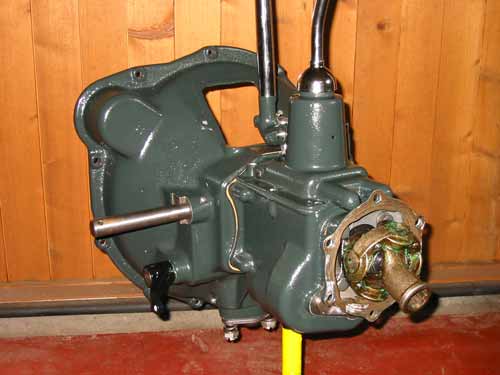
The gearbox is now completely finished.

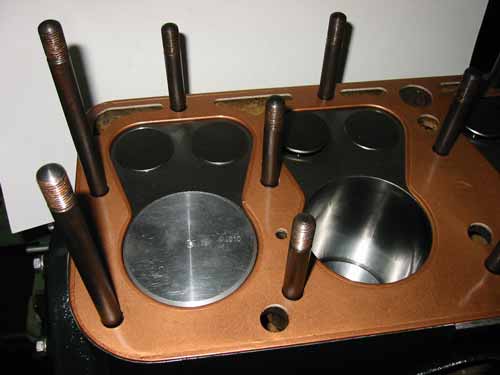
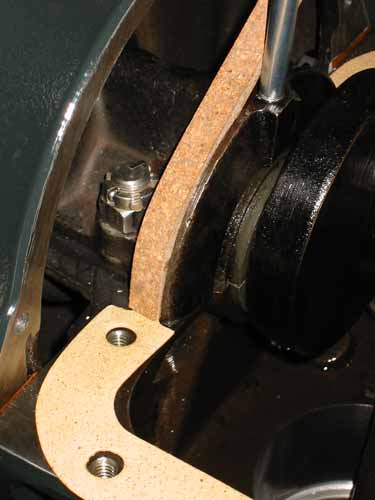
My pistons are 1,8 mm too high and the edge was still big enough that the piston could touch the head gasket.
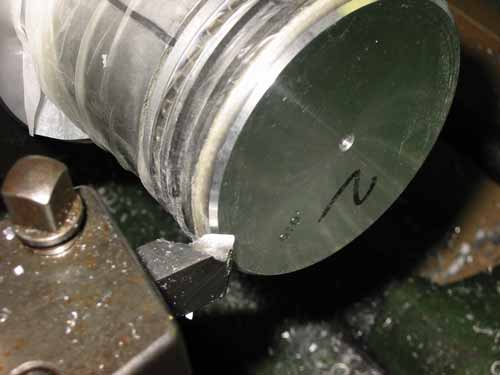
I decided to remove all 4 pistons and reduce on all 4 the edges.
Details and a description to this task can be found soon on site
Tips & Tricks .
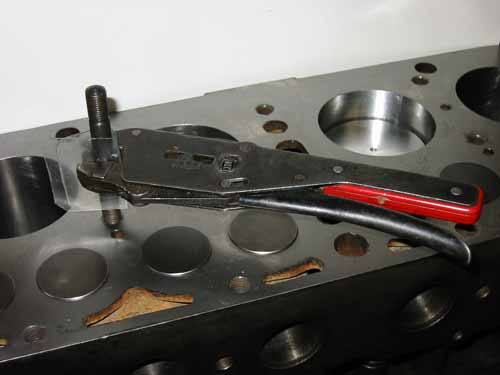
Then the studs were mounted. I protected them from any damage as you can see on the picture.
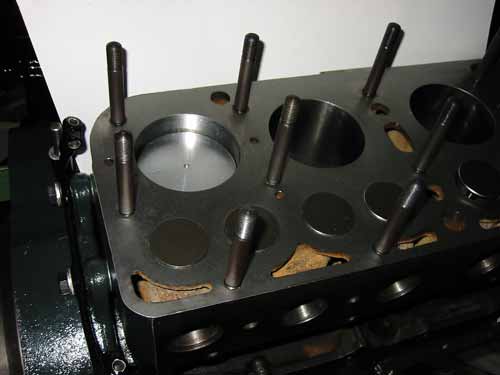
All studs are in position and now the preparation of the head gasket can start.
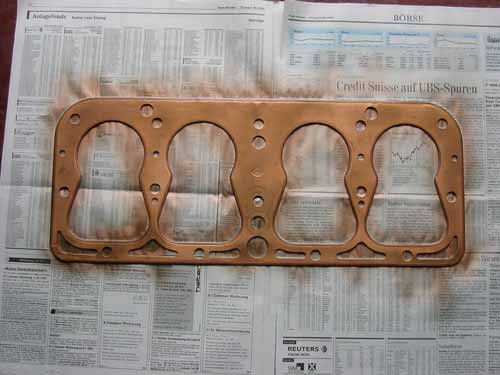
I'm using a special spray for this. It must be put on both sides of the head gasket, wait until it becomes a little bit sticky and then it is ready to mount.
The head gasket is in its place.
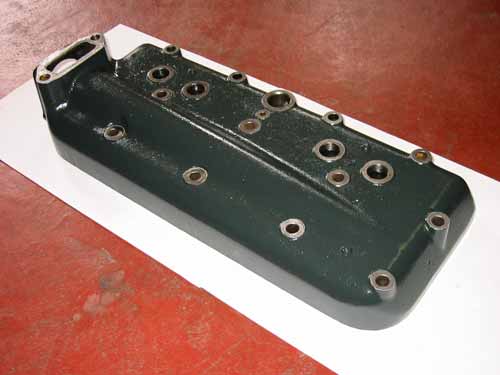
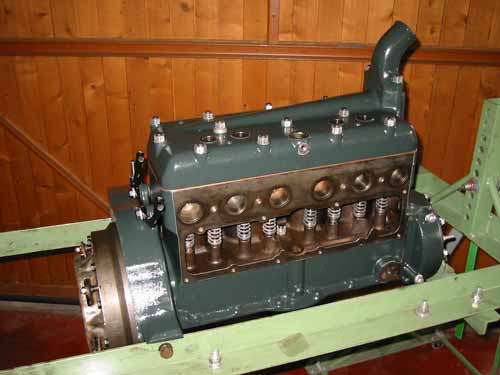
This is the cylinder head, a flathead type.
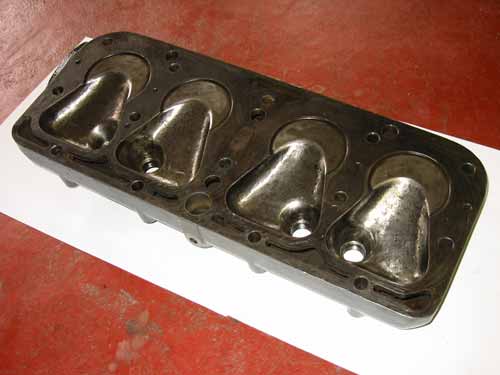
This is a view from inside the combustion chambers.
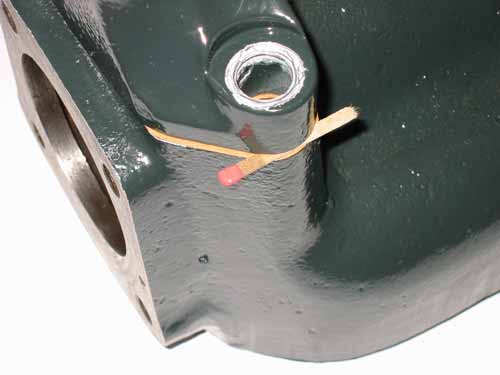
If some parts like this one is torqued very strong, it is best to underlay e.g. some paper matches.
This can happen if you don't do that!
How you can avoid this, can be read soon on page
Tips & Tricks .
If it is too late and the cast iron is already broken, go on this site
and read how you can fix it (available soon):
Tips & Tricks .
The cylinder head is on its position and correctly torqued with a torque wrench. Be careful, increase the torque step by step and follow the torque sequence form the repair manual.
Some parts are still missing but first I will mount the oil pan.
The seals must fit and exactly working is essential. This will prevent you from oil leaks later. I have put gasket sealer on all seals.
Don't forget to insert the oil pump before you mount the oil pan.
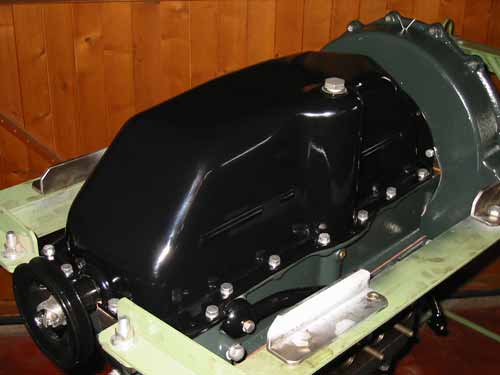
The oil pan is mounted.
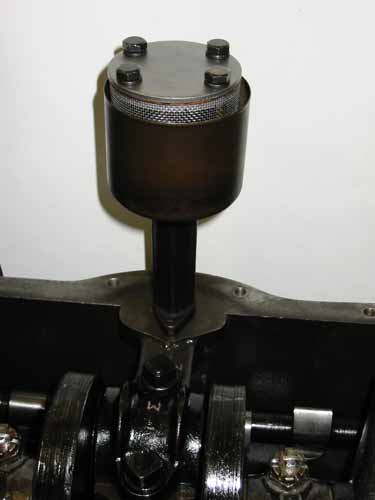
Next comes the valve cover and the oil overflow. In this tube, the excessive oil will flow back to the oil pan.
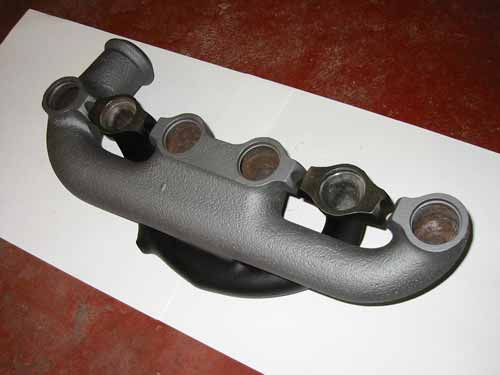
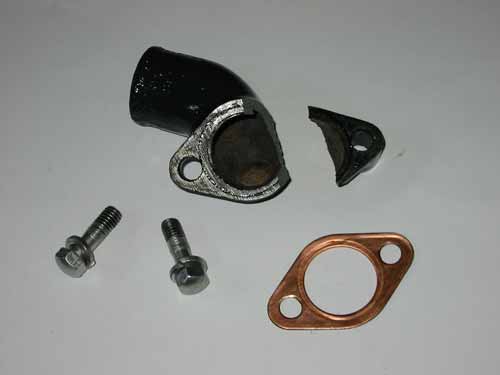
Gray is the exhaust manifold and the black item is the intake manifold. Both are connected with two screws. Before assembling with the engine check if the surface is 100% flat.
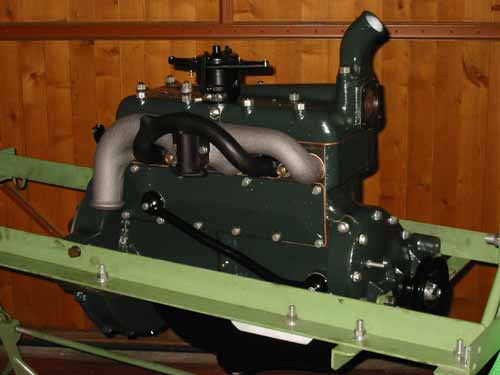
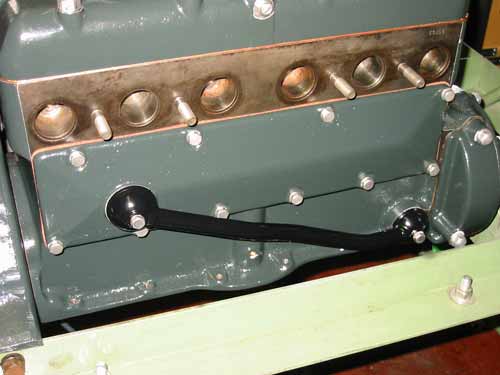
Nearly ready for put into the frame.
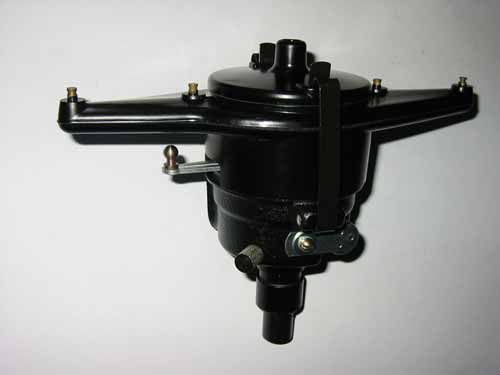
This is the distributor. The small lever on the left is to set the ignition to advanced or retard.
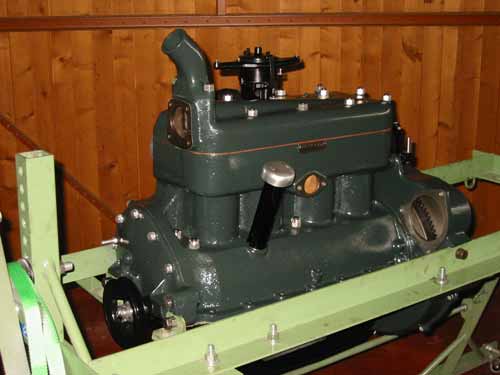
Engine and gearbox are ready now to be mounted into the frame. I'll tell you more next month.
Copyright © 2001-2024 Markus Maurer - all rights reserved
 Creation Date: 16.04.2006
![]()
![]()
![]()
