
| Ford Model A |
![]()
![]()

Ford Model A Pickup Restoration - Powder Coat Screw Heads - Install Gas Tank (December 2012)
My goal at the end of 2012 was that the front end with fenders, hood and tank stands on the frame, I have not reached that target but I'm very close.
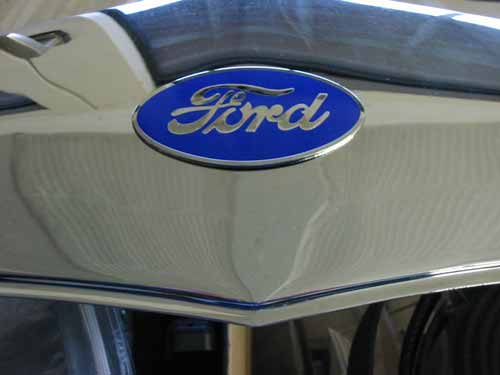
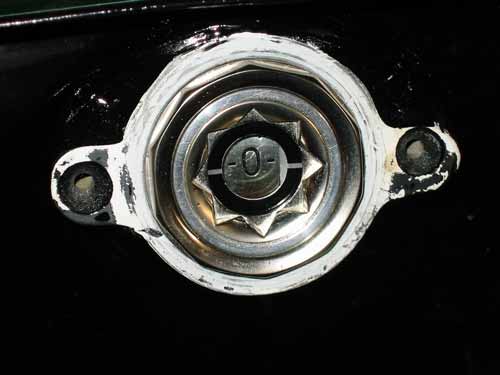
An important part, of course, the new Ford emblem is already fixed at the radiator shell.
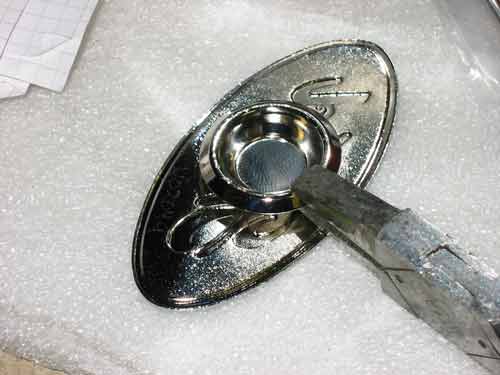
The emblem is pressed into the hole of the shell, but the ring at the back first must be flattened to increase the diameter. Then press it into the hole and it holds solid as a rock.
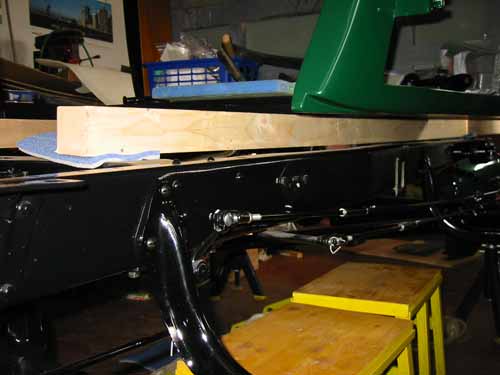
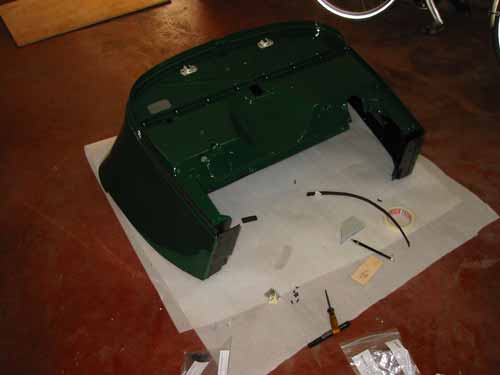
For my further work, I had to lift the cabin of he car so far, that it did no longer rest on the frame. I did it with two 4-square timbers which I have placed along the frame.
Now the body to frame welt is cuted to the right length and I made the holes. The welt is finally glued to the frame so that the cabin, fenders and the gas tank are not in direct contact to the frame, preventing any squeaking.
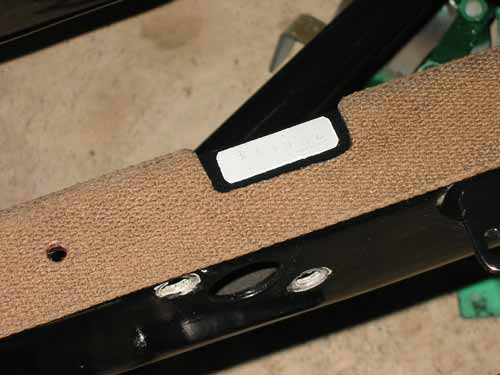
The frame number I have not covered, of course.
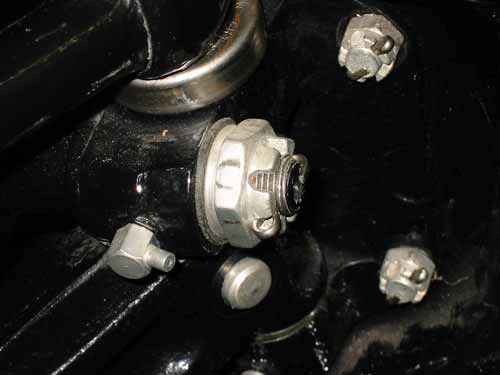
On the front and rear axle various castle nuts were not provided with a safety pin yet. Without any fender mounted I have more free space, so I've also done this job now.
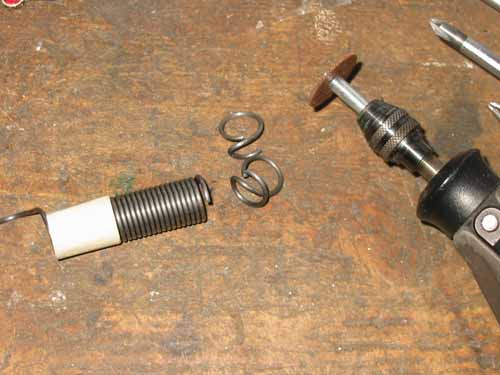
My old problem child is the accelerator spring. After my first spring was broken and it was also too strong, I wanted to find a better solution. My carburetor would be harmed with such a strong spring.
My first try was with these weaker springs, but the tests have shown that they are too weak and can not always close the throttle reliable.

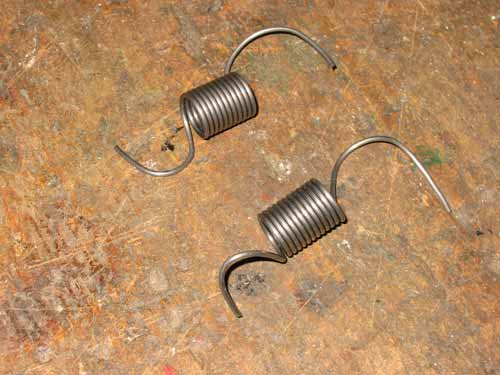
I.e. I had to take my original spring and modify it. On the picture you see on the left hand side the original spring, right my version with 180 degrees less winding. To bend springs, I use a vise and a screwdriver to get them in my desired shape.
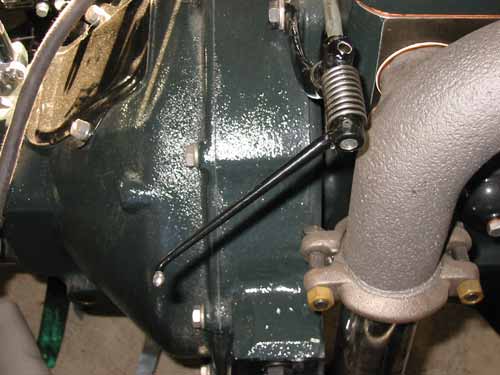
In this positions the spring has no tense. The original spring would have a primary tension of 180 degrees in this position!
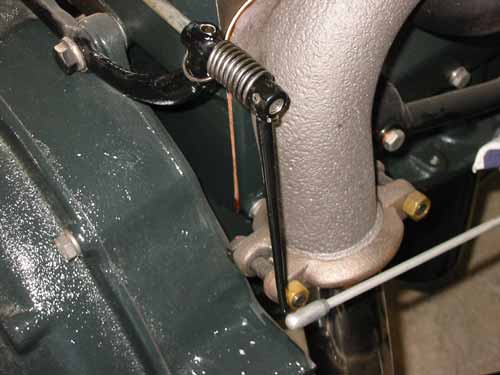
This is now the resting position, i.e. idle throttle and the spring force is perfect and not too strong.
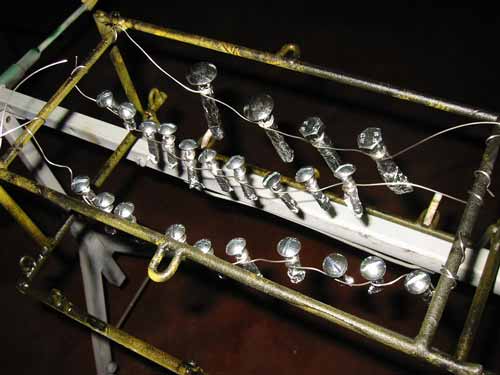
To mount the fender and other parts I needed some screws with a black head (is looking better). Powder coating is still the most durable solution for me. I have wrapped the screws, except the head with aluminum foil and hung them on a wire.
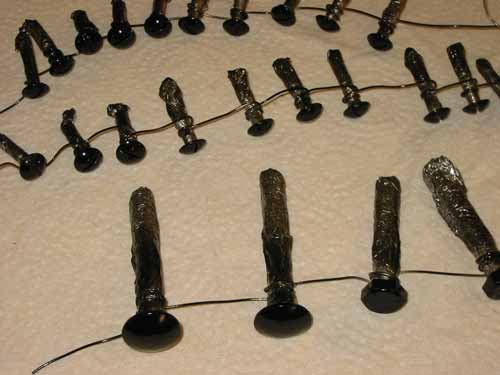
Powder coating is finished and the screws are ready.
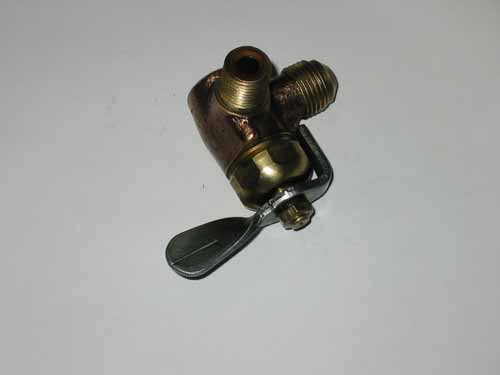
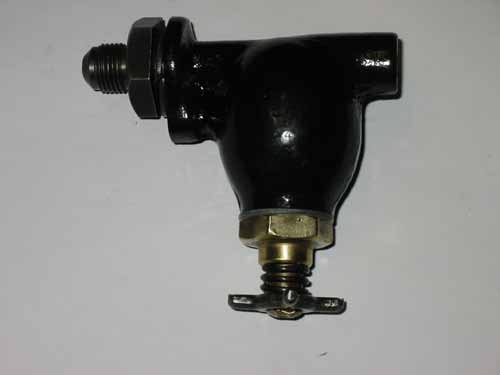
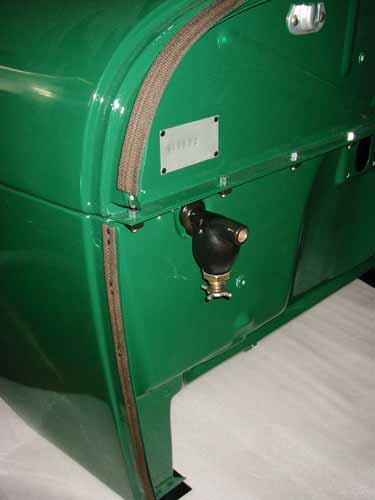
Some parts like the shutoff valve can be easily mounted when the gas tank is not mounted to the frame yet. I have everything disassembled and cleaned. Finally I have protected all parts with RPM for a good rust protection.
Also the fuel filter has been sandblasted, powder coated and provided with a new filter.
The hood does not rest directly on the tank, between is a cowl lacing mounted.
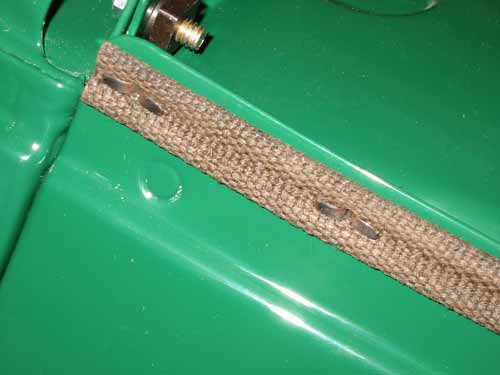
Below, the lacing is riveted - it is original with the rivet heads inside.
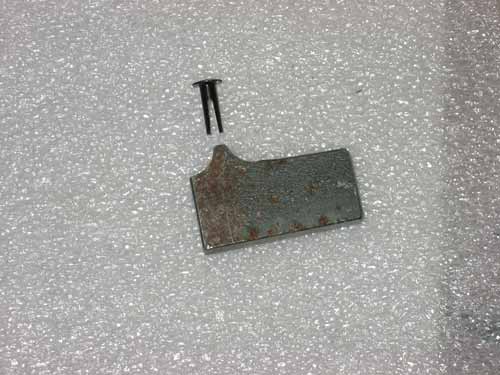
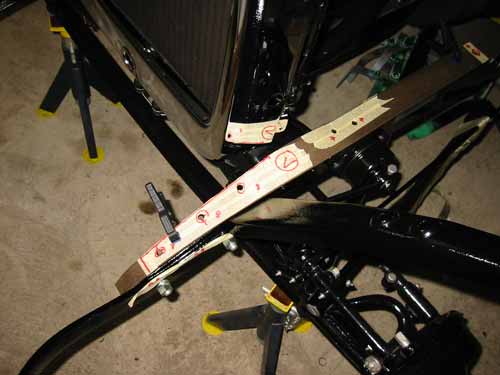
To mount these rivets without scratching the paint, I had to make this spreader first by sawing and filing.
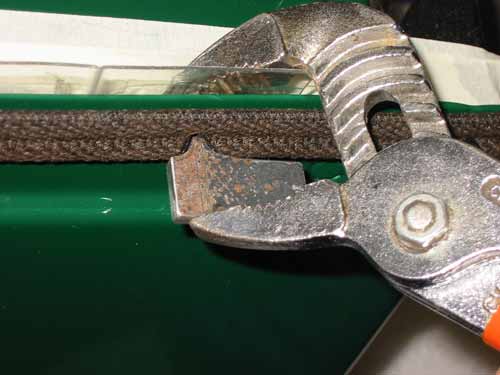
The task is now very easy. On the side of the rivet head I have placed a small piece of PET film to protect the rivet head and on the opposite side my spreader. Then take the pliers and squeeze. Finally, turn the spreader by 90 degrees and flatten the rivet with the flat side of the spreader.
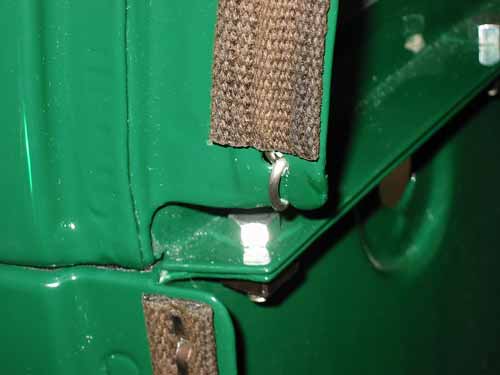
The lacing on top is slightly different. The lacing has a wire inside and is fixed on both ends.
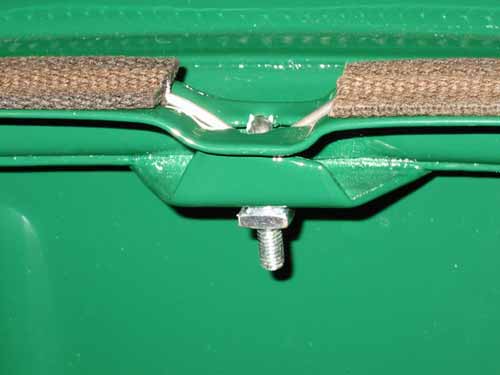
Then a hook pulls down the wire at the center position and fixes it.
This is how it looks after assembling.
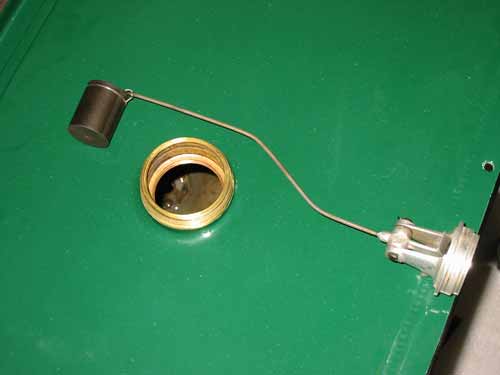
What's missing, of course, is the gas gauge. This is done now.
The gas gauge is built in and shows an empty tank. It can be calibrated by bending the wire rod.

The tank is ready now, but it is still not on the frame :-( But I'm sure that I can show you that photo by the the end of January …
Copyright © 2001-2024 Markus Maurer - all rights reserved
 Creation Date: 16.01.2013
![]()
![]()
![]()
