
| Ford Model A |
![]()
![]()

Ford Model A Pickup Restoration - Finishing the headliner - Installing the leatherette outer roof (May 2012)
The roof is finished, but it has cost me a lot of time to fit everything.
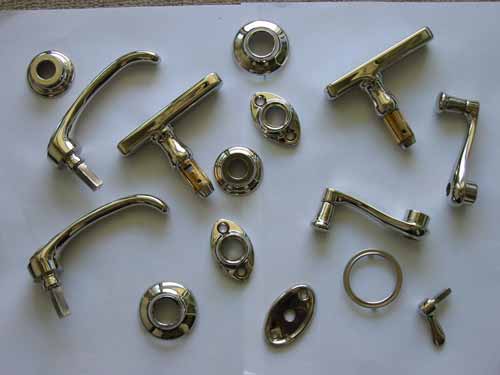
Here at first a few parts I've picked up from the electroplating shop. They look perfect, you'll see more when I mount them.
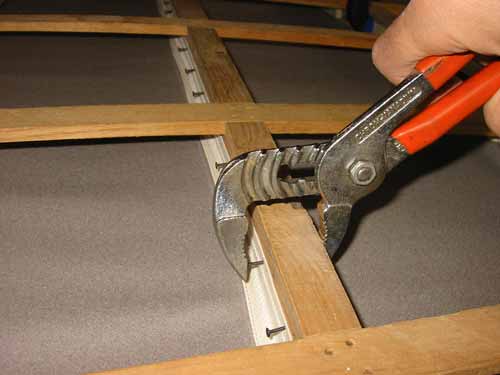
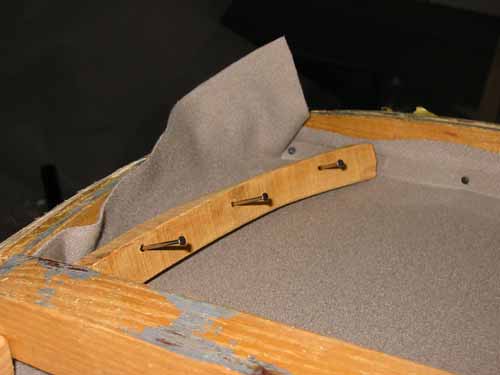
Just half strike the nails into the wood, it is easier to pull them again when something does not fit. In such a case like on the picture, it is easiest to push the nails with pliers into the wood rather than to do it with a hammer.
At the front and rear side, the headlining is held with these strips of PET film.
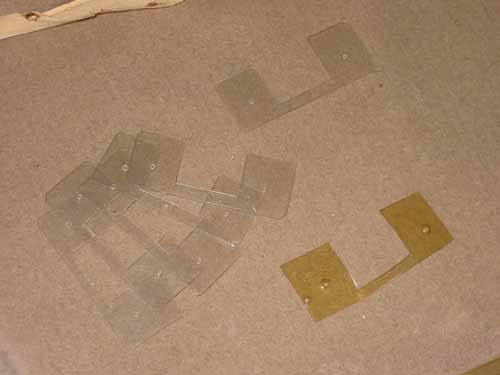
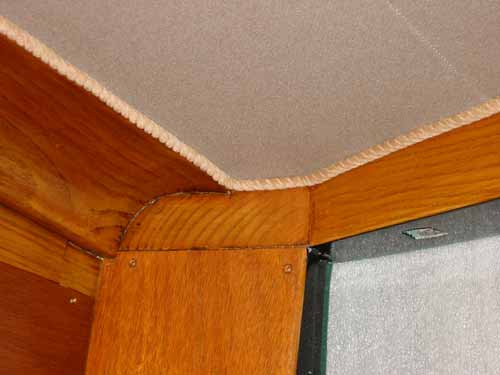
To get under the transverse, such a form is needed.
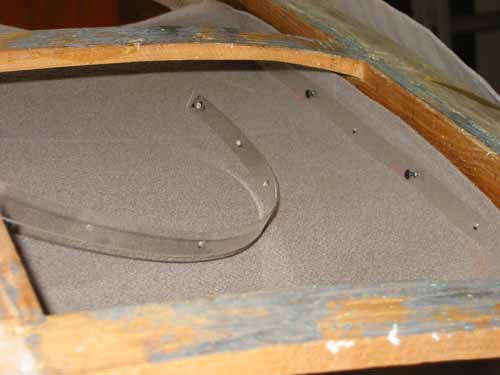
In the back corner, I used the original wood.
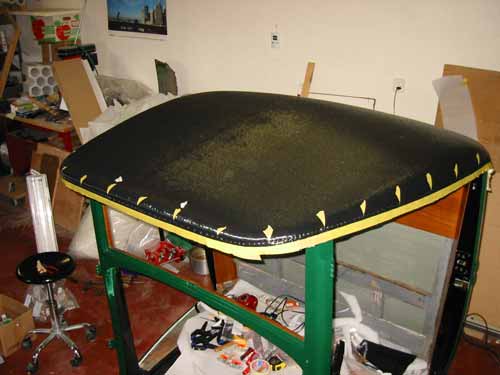
The entire headlining is secured, from inside everything looks perfect.
Check everything because after the roof installation I can not change anything.
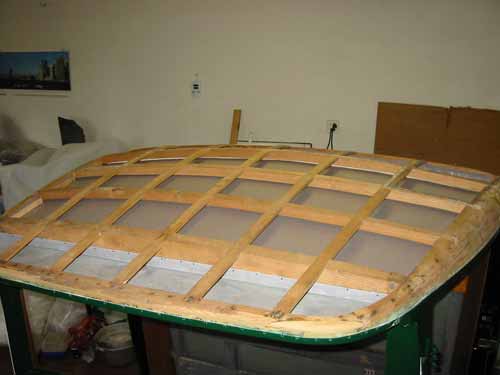
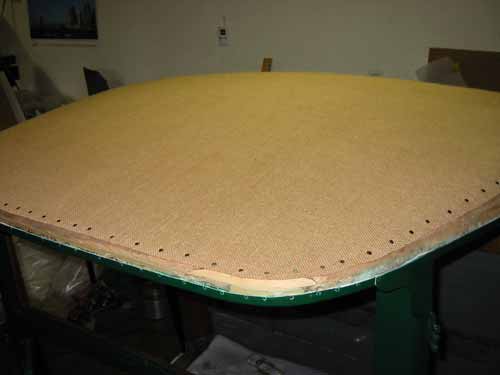
Now the three sheets in the back of the cab are nailed to the roof. These sheet metal is necessary that the roof shape is perfectly round at this point.
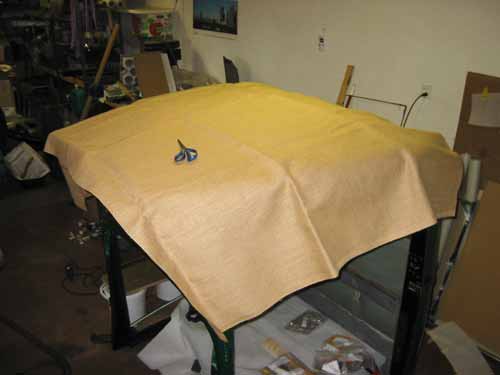
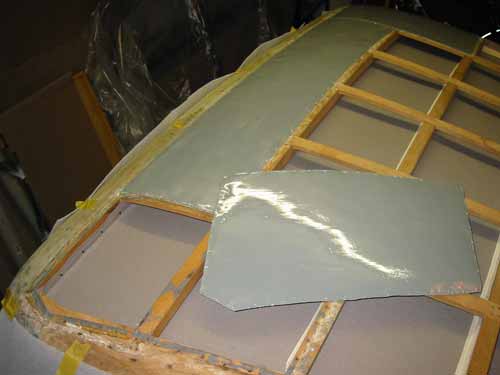
Then a hessian cloth is stretched over.
I have stretched and nailed it to the roof in several steps.
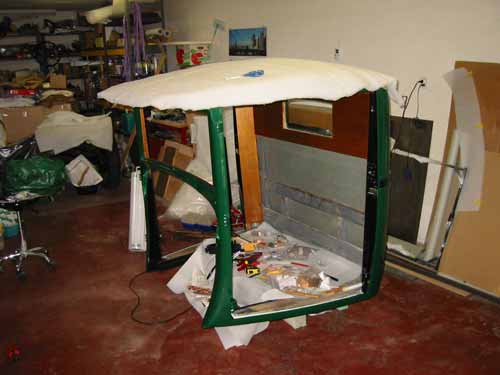
Now comes the padding. The old cotton was badly worn and that's why I've used new materials.
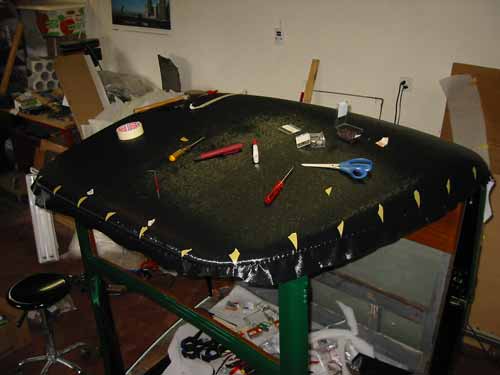
Over the cotton, the leather is placed and tightened. For this work you need help, so someone can stretch the leather and the second person can concentrate on the nailing.
A tricky point, the rear rounded corners. To pull the leather without folding it, I had to heat it up a little bit with a hair dryer.
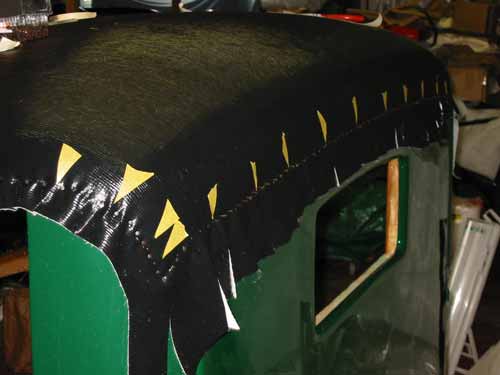
After a trial assembly of the drip rail I could cut the excess artificial leather.
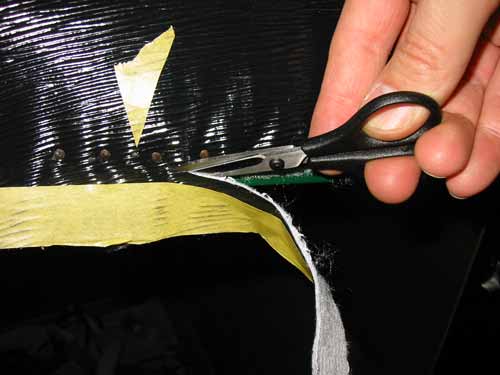
The leather must be cut very close to the nails, that you don't see anything at the underside of the rain gutter.
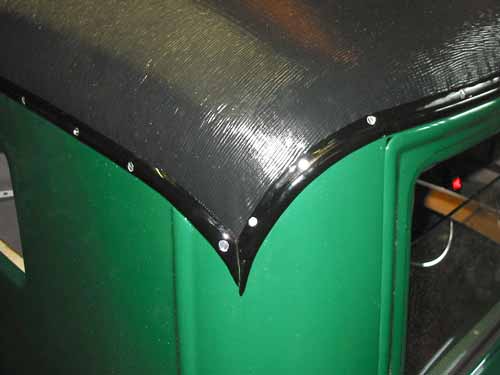
The rain gutter is mounted. The gutter must not of be mounted too low, otherwise you can not close the door anymore …

Everything is finished, the bare screws will be painted with black paint later.
Copyright © 2001-2024 Markus Maurer - all rights reserved
 Creation Date: 28.05.2012
![]()
![]()
![]()
