
| Ford Model A |
![]()
![]()

Ford Model A Pickup Restoration - Mounting tires - Mounting shocks (November 2012)
The hood is back from the electroplating and the tires are mounted on the rims.
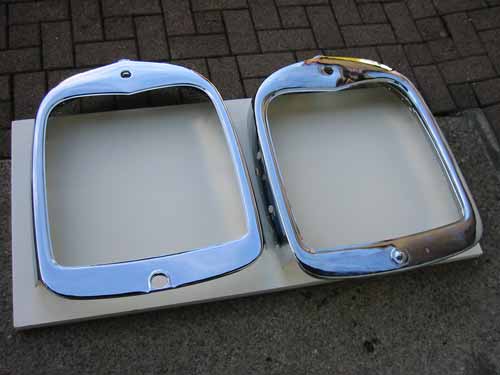
The old hood is newly chromed. The one on the left side is the one and it can be seen in comparison to the reproduction version on the right side, that the surface is slightly less curved and especially the edges were pressed in a better quality. Concerning the thickness, the original hood has nearly double the thickness as the reproduction part.

This part from the bottom of the hood I have already shown in my last monthly report. At that time in a very rusty condition. According to the electroplating company, they had to put it 3 times into the copper bath until everything was flat.
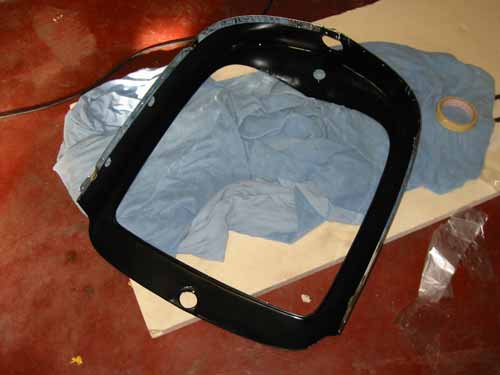
I already have painted it black on the inside.
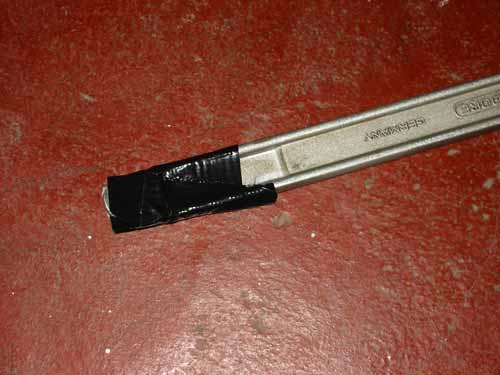
The next task is the tire mounting. Since my separated rims and tires have used too much space, I wanted to put them together. But first I had to do some preparations. I wrapped some tape over my mounting iron and hope that the damage of the rims will be less.

In addition, it needed mounting paste to put onto the edges of the tire. The tire will slide much easier over the rim bead.
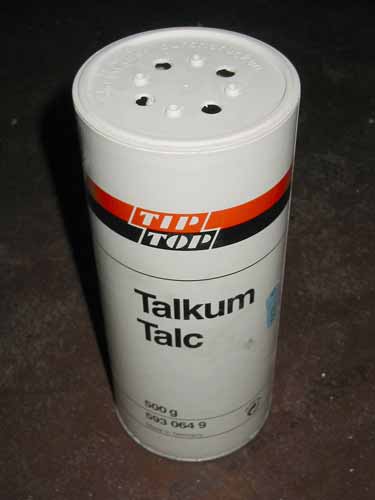
For the tubes you need some talc before they are mounted.

This is one of the old tube. I wanted to mount it the same way, since I had not enough space between the Valve and the wheel. Unfortunately, the new parts did not fit, because my valve diameter is slightly larger …
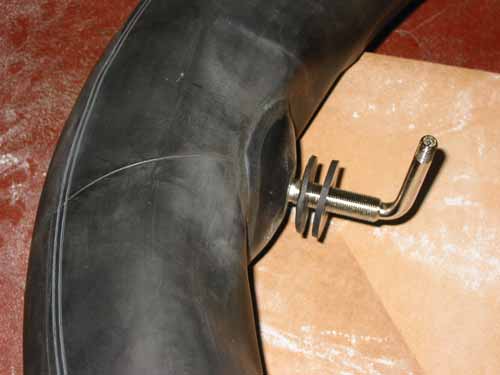
After a short moment of thinking … I've made 2 rubber pads which I cold use instead.

Before assembly and I had to think about how I wanted to proceed. It was clear that I wanted to mount the tire from the inner side of the rim. This way I only get any damages on the inner side which is not visible. The outer side will stay untouched.

Now the first edge of the tire is drawn over the rim.

Then follows the second edge of the tire and the first tire is mounted.

Then align the tire and be sure that the valve is in correct position. Then inflate the tire and the job is done.

Now the installation of the shock absorbers follows next.

At the front, the distance of the arm of the shock absorber has only 2 mm space left, but it should be enough.

First I installed the front shocks …

… And then follows the rear ones. Unfortunately I had to remove all again. I could not install the shock absorber link when the shocks are already mounted.

With mounting the shock absorber links when the shock absorbers were not mounted to the frame yet, everything went fine. When the link was connected to the arm, I could mount the shocks.

Before I mounted the links, they were filled with a lot of grease, but also the bullets were greased. The grease retainer can be better mounted.

Now the shocks are mounted, what's missing are the cotter pins to secure.
Copyright © 2001-2024 Markus Maurer - all rights reserved
 Creation Date: 02.12.2012
![]()
![]()
![]()
