
| Ford Model A |
![]()
![]()

Ford Model A Pickup Restoration - Fittings back from electroplating - Restore steering wheel (cracks) - Refresh 40-year-old tires (September 2012)
All parts that I've blasted in July have been galvanized.
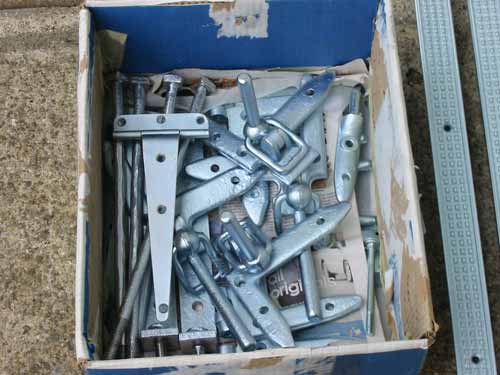
These parts are used later for the wooden bridge.
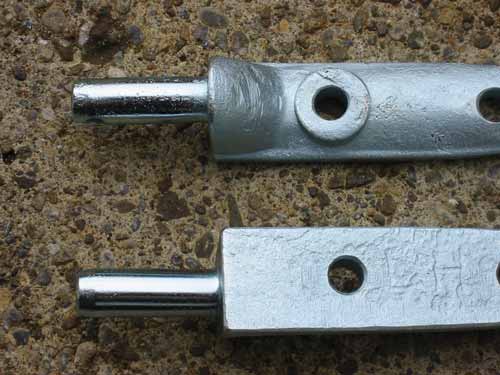
Dependent to the pre-treatment you can easily determine the final look of the part, dull or shiny. The right hand side it is sandblasted and on the left I sanded it with fine sandpaper,
The housing of the two front lights are painted and sanded.
Polishing and the case is ready.

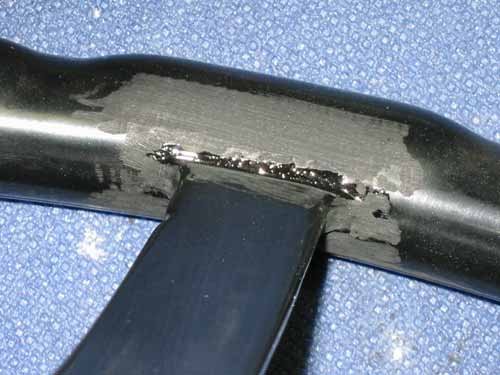
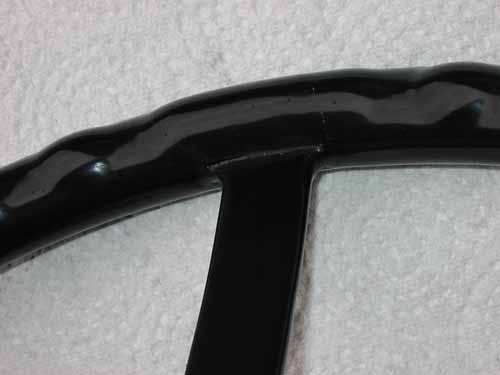
You maybe remember this photo from spring when I started to repair the cracks of my steering wheel with POR 15. After totally 10 steps all cracks and gaps are filled with POR 15. I have chosen this method because I wanted to keep the original look of the plastic steering wheel. The 'usual' method in this case would be: generous grinding around the cracks, rust protection, filling, sanding, and finally paint the steering wheel. But I don't want have paint on my wheel.
After drying out, I want to set the steering wheel back to a brilliant condition. Therefore I must grind away all the edges and corners as well the excess POR 15 material. For this job I use my Dremel.
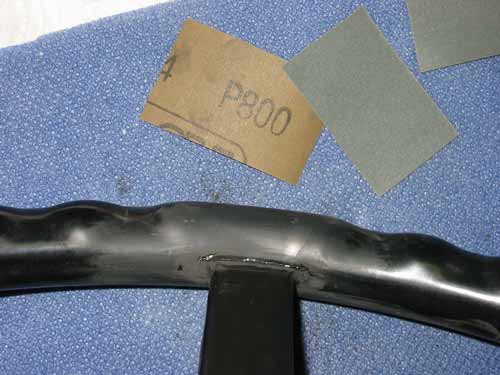
After, the entire steering wheel is sanded with 800 grit sandpaper.

Until now I have sanded everything dry.

For a very smooth surface the wet sanding follows with up to 2500 grit paper. The surface is wet sanded enough that I can continue with buffing.
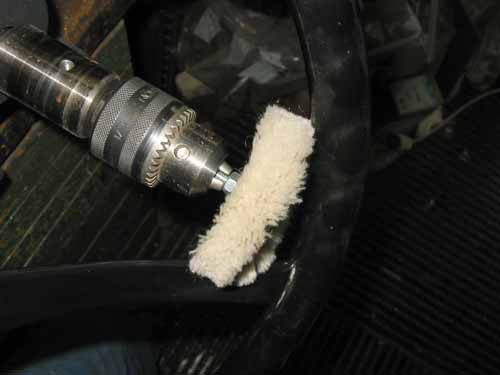
As always when I'm buffing plastic I use a buffing wheel version with many threads. I get the best results with it because it is very soft and the surface is not heated up.
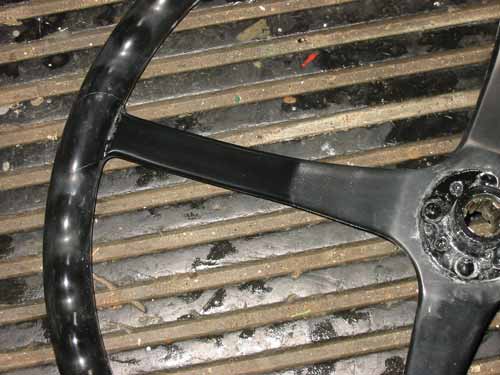
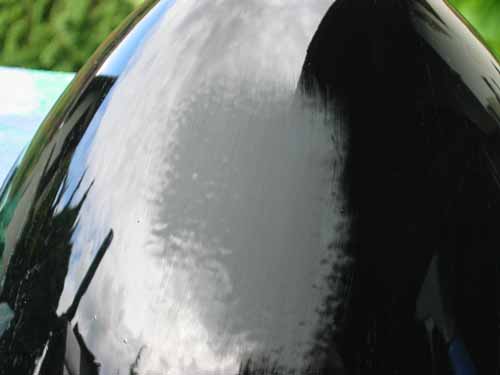
After a first test on the left side you can see that it starts to shine. In the beginning I have used a little bit of liquid car wax, but you really don't need it. At the end for the high-gloss I just polished with the dry buffing wheel.
After 4 - 5 rounds I have the shine I wanted and the cracks can be hardly seen.
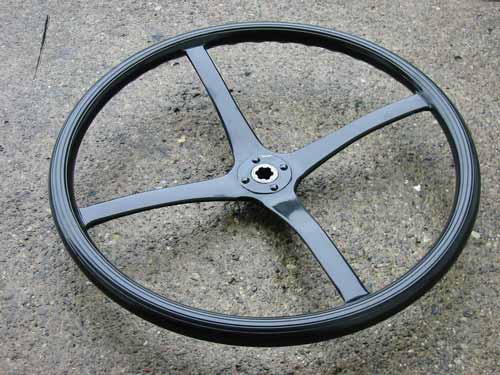
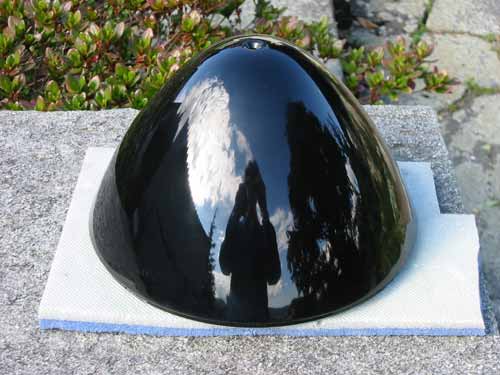
The steering wheel is finished and looks like new.
The rims are ready but what's missing are the matching tires. I had good fortune to find four
of these old original tires on a swap meeting. They are 70 years old for sure but with a little
bit polishing I can drive them safely for another 20 years … just kidding :-))
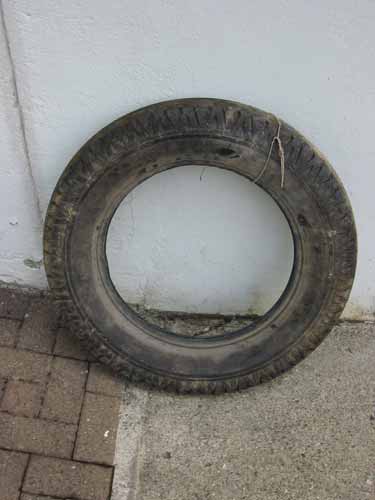
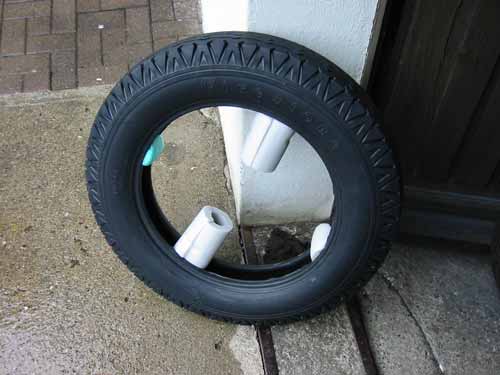
Of course I'm not, but I'll use it as a spare tire. This tire is dated from February 1970 and
has never run. It is 'Made in Switzerland' and this is the reason why it will get a place on my car.
The tire does optically not yet fit to the rest of the car, so I have to clean it a little bit..
First I removed the dirt from past 42 years with water - looks pretty good.

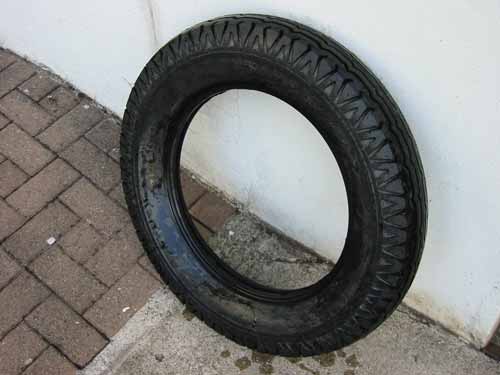
Unfortunately, the rubber surface does not look so nice after drying. I have to do a little bit more to get the black rubber back.
I used a piece of cloth soaked with gasoline and rubbed the whole tire many times. After an hour of work, it looks as good as new.
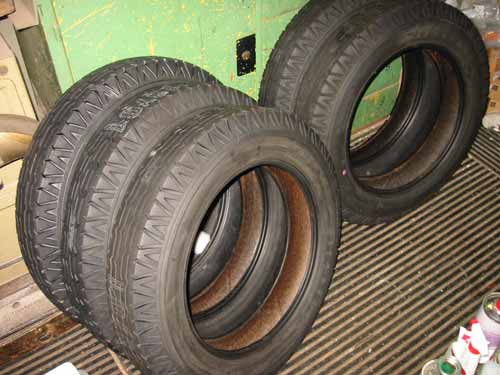
In the front row far left this is the spare tire, the other four are the tires that I bought new a few years ago and they will be used on the car.
Copyright © 2001-2024 Markus Maurer - all rights reserved
 Creation Date: 30.09.2012
![]()
![]()
![]()
