
| Ford Model A |
![]()
![]()

Ford Model A Pickup Restoration - Install windshield - Assemble / install doors (July 2014)
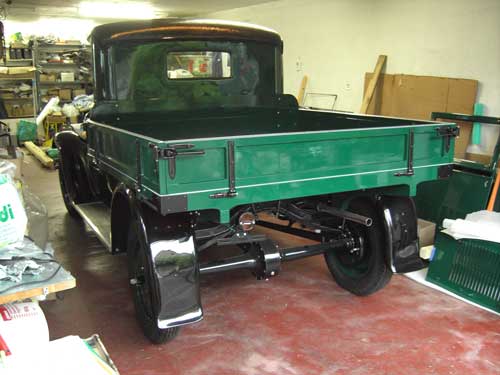
The assembly of the car is making progress and a first ride around the block I already made. It was the first time with mounted cabin and wooden flatbed.
The running boards are ready to mount. It still requires some work to make the fender welts fit, which are located between running board and sheet metal.
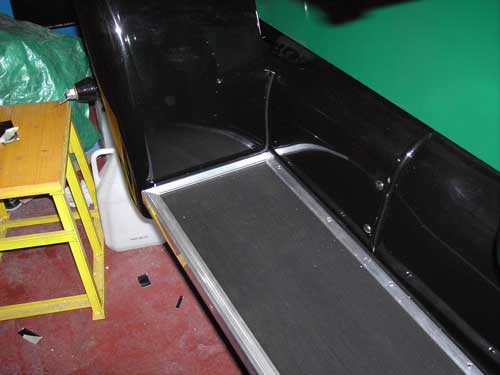
The running boards are mounted.
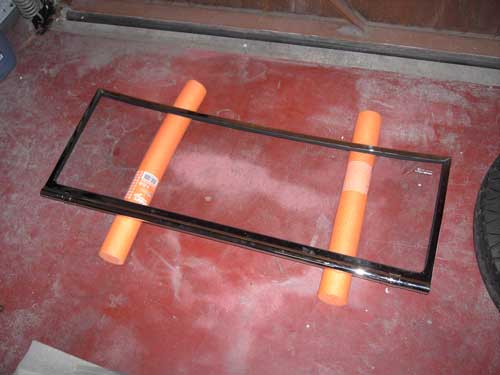
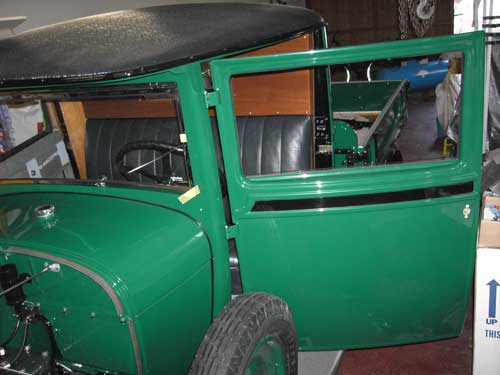
Now it's time for the windshield.
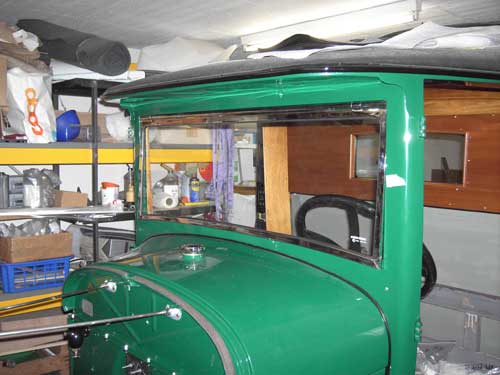
After painting the cabin, I have never verified if everything fits and the windshield can be easily moved forward (substitution for the not existing air condition …)
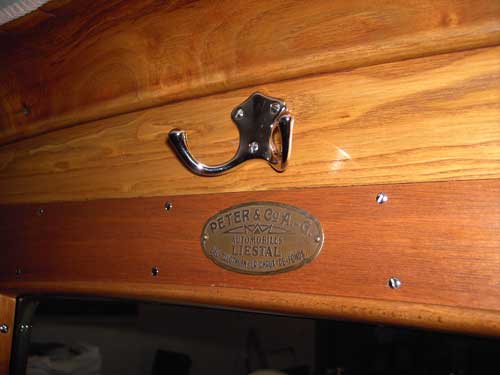
Two important parts which is the nameplate of company Peter & Co from Liestal.
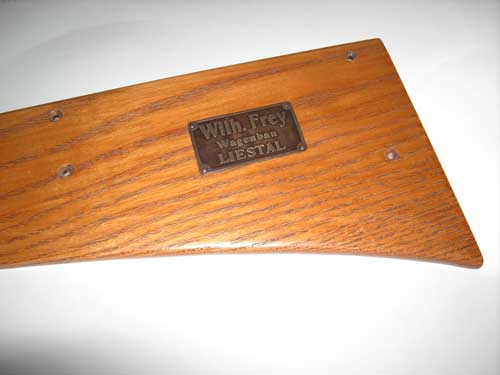
The second one will get the best place on my dashboard. It represents the company Wilhelm Frey also from Liestal, which has made the entire wooden structure (cabin and flatbed). The nameplate is a little older than the Ford and it is a present from Mr. Wilhelm Frey, the son of the builder of he car. He visited me some years ago.
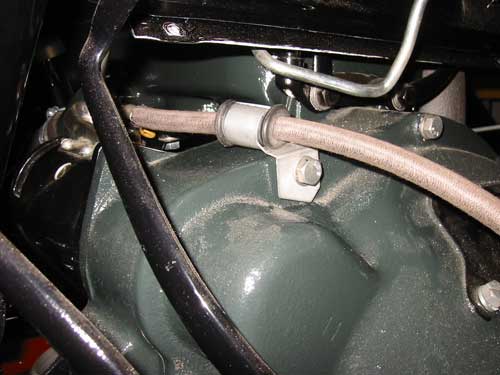
Now the thick starter cable can be fixed in the final position.
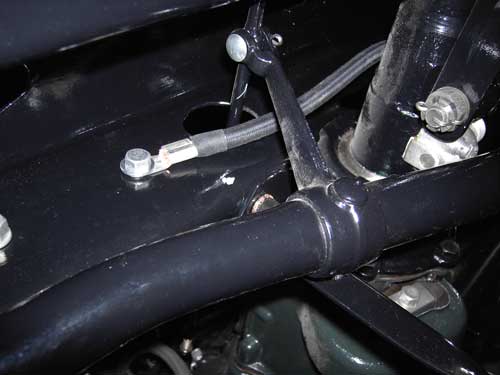
This is a view from under the car. In order to get a good connection between the engine and the frame, I installed another cable between the crossmember and the transmission.
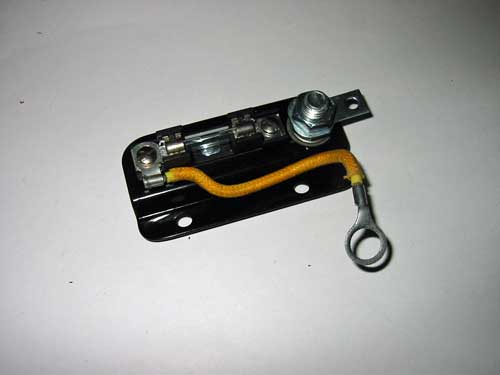
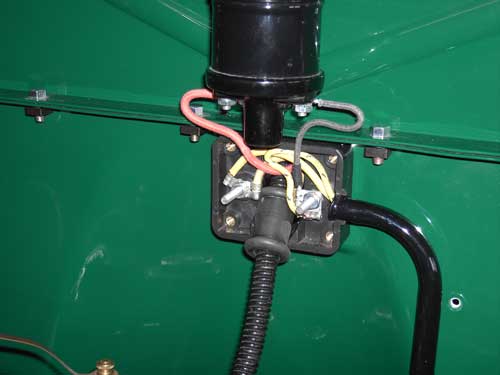
The main fuse which is bolted to the starter is slightly modified. I have rounded the corners and painted it black. This way it is more subtle beside the black starter.
The transmission between drive shaft and speedo cable was not mounted yet.
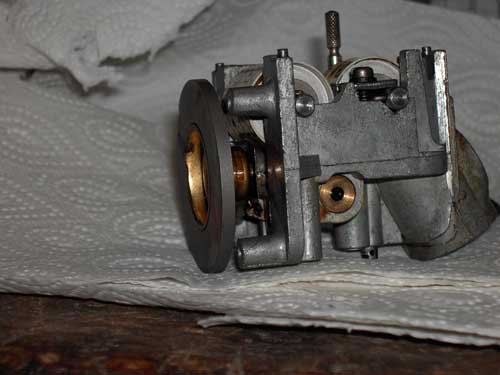
Unfortunately, I have an unplanned issue because the main shaft of the speedometer dos hardly rotate, so this unplanned work has to be done later …
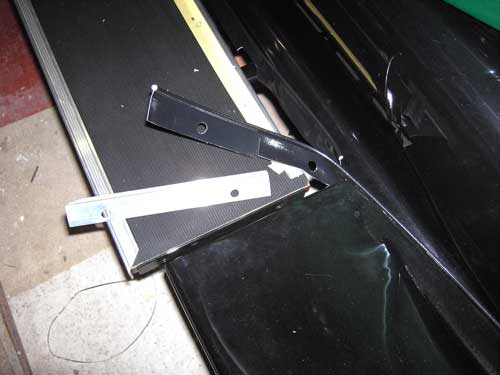
All door parts do already fit, they only must be mounted.
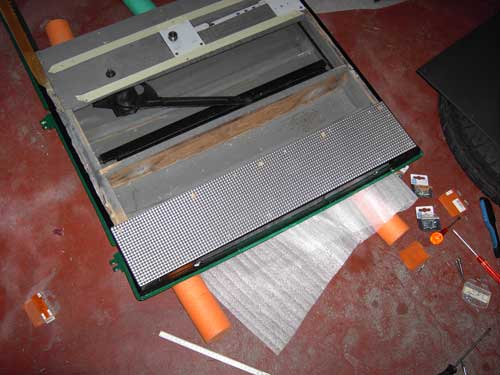
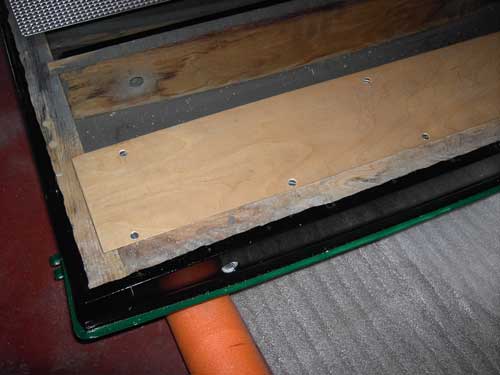
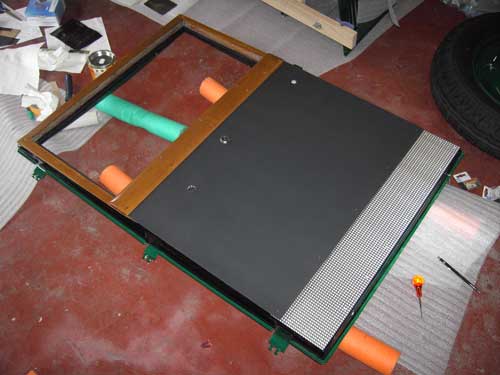
The aluminum plate is now bolted to the door.

The side panels are made from 3 mm hardboard and will now be covered with my dyed leather. When cutting the edges you will get a clean finish when you first cut at a 45 degree angle. Keep a distance to the corner, slightly less than the plate thickness. Then cut out the small corner as it is done on the picture.
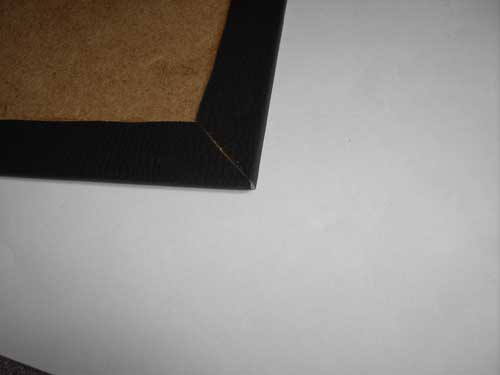
After gluing it looks like this from below …
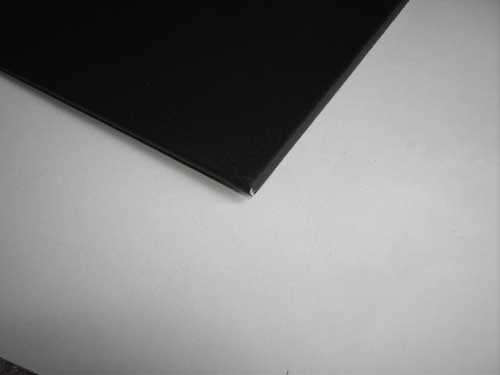
… and from the top it is clean too.
The side panels will be mounted later.
Fortunately, the new hinge bolts are 0.3 mm larger in diameter than my old ones, so I could dill out the worn hinges and now everything fits.
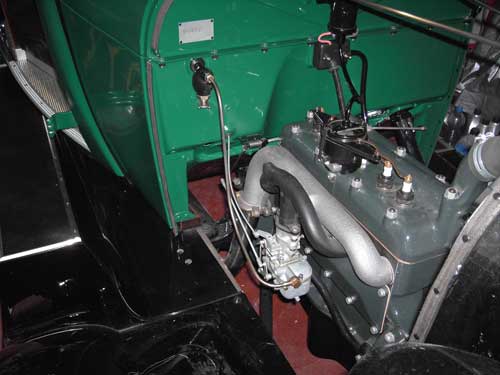
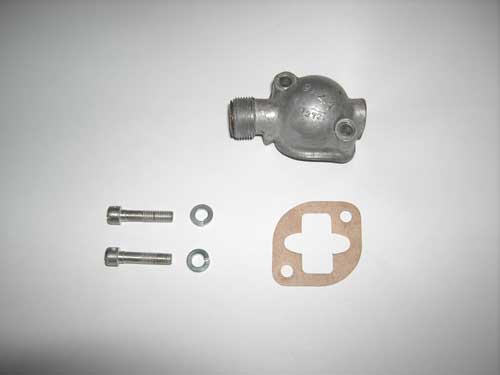
The fuel line to the carburetor is in place.
The wiring of the ignition is also made.
Now it is time for a little drive, but first I had to fix a small ignition problem. I do not
want to go into details, but it turned out that the ignition wire between coil and distributor
was slightly loose …
I can see the end but I still have some work to do.
This month I also have a new video from the
'Indianapolis' Oerlikon 2014 .
In fact it is not comparable with the real Indianapolis it is more like a
tiny Bristol racetrack …
Copyright © 2001-2024 Markus Maurer - all rights reserved
 Creation Date: 07.08.2014
![]()
![]()
![]()
