
| Ford Model A |
![]()
![]()

Ford Model A Pickup Restoration - Assembling / Installing the running boards - Assembling the floor panels (June 2014)
All parts are back from the electroplating and I can continue with assembling the car.
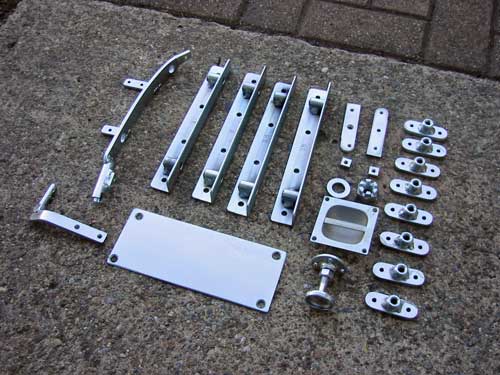
All are galvanized, but a lot of them (running board) I will treat with POR 15 too.
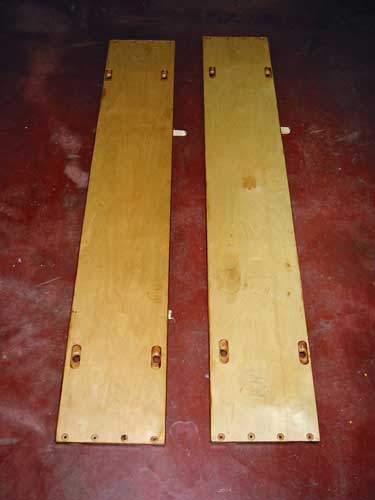
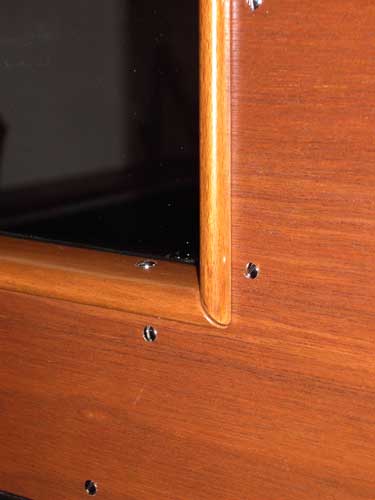
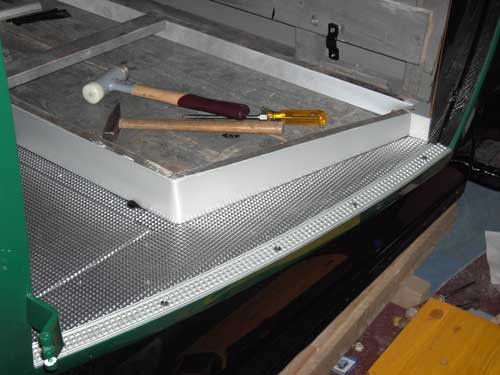
Both running boards have been varnished some weeks ago.
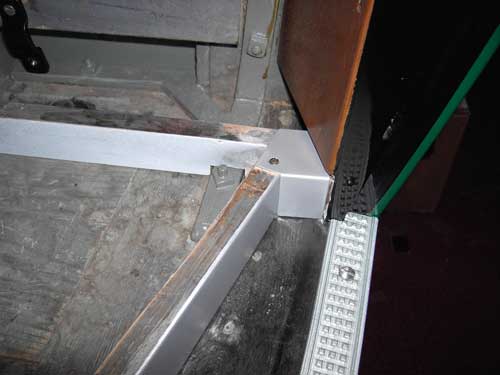
The parts for the front end of the board can now be screwed.
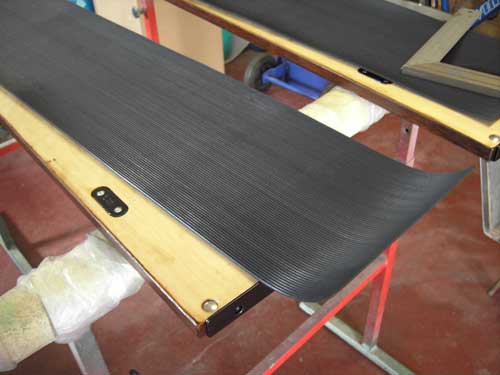
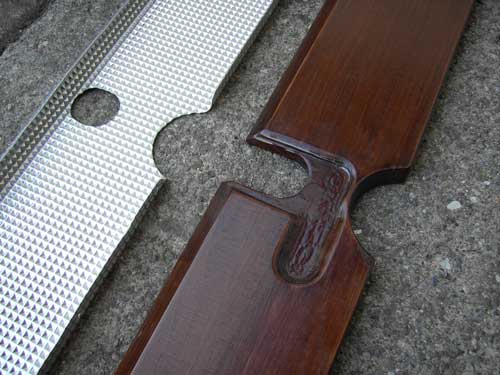
Then the rubber profile is glued to the upper side with some contact adhesive.
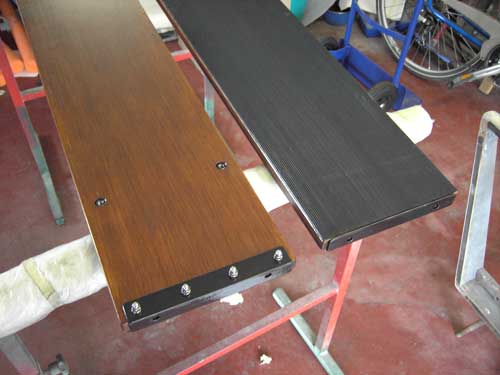
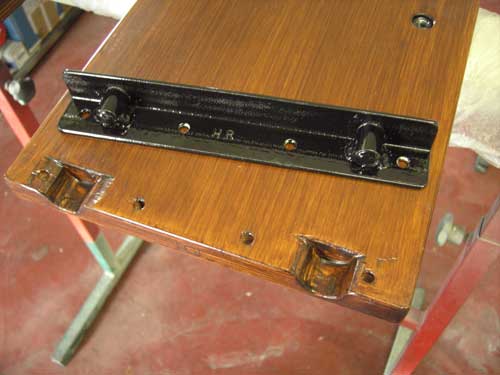
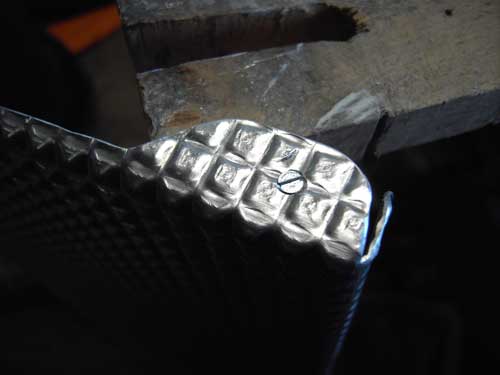
What is still missing are the aluminum profiles.
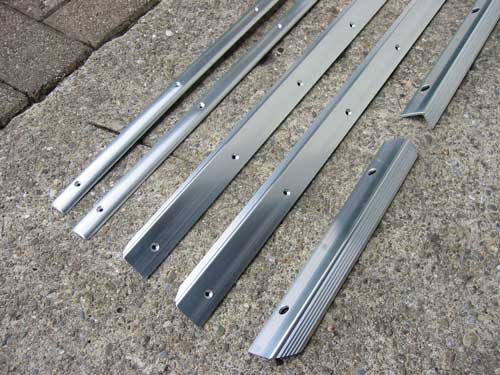
Since they had minor stains, I had to polish them a little bit. For this purpose, never use chrome polish as it results in a mirror shine which does not look really good on my board. I've used ordinary paint polish and slightly polished the pieces manually.
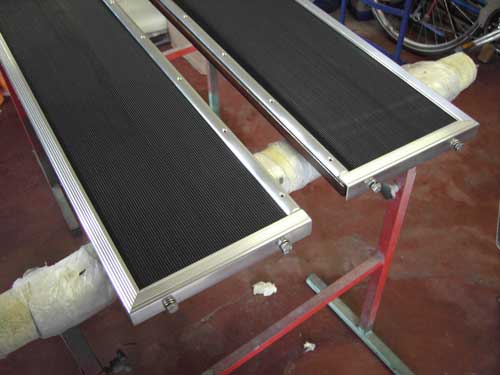
The two running boards are ready now.

The rear window glass is fixed by the inner frame and sealed on the outside with a liquid rubber. I treated the edge of the glass with black color (POR 15). Now I'm sure that you see black only at the corners from inside the cabin. If you have no suction cup available, adhesive tape can be folded like you see it on the picture and can easily lift and mount the glass.
These are all bright nickel plated brass screws where I have previously polished the head of each one - that was not question for me, they must shine!
These screws are all used for the windscreen frame and paneling.
The previously bent aluminum sheets are now ready for the final assembly.
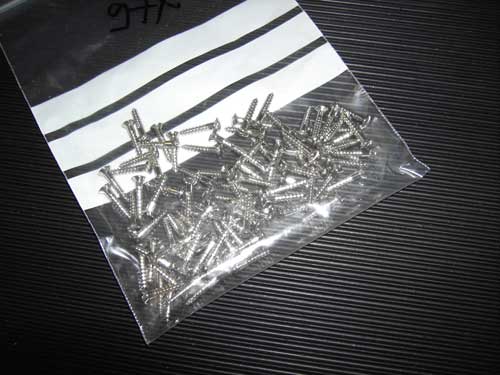
I decided to use screws for this job and not nails. These are very small wood screws which are hardly visible and I have the option to disassemble the aluminum sheet.
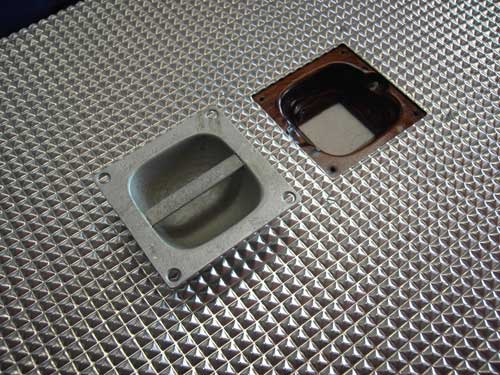
The handle has been previously fitted.
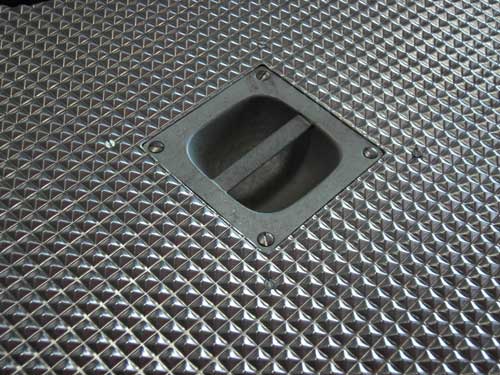
I had to secure it with 4 screws only.
This is the luxury version of my cover. Initially wood screws were used but they were completely worn out and so I decided to use normal screws.
Now I can easily remove the plate.
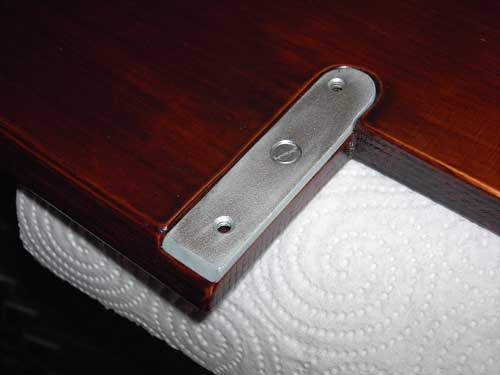
For the footrest I had to press in the newly-built rubber.
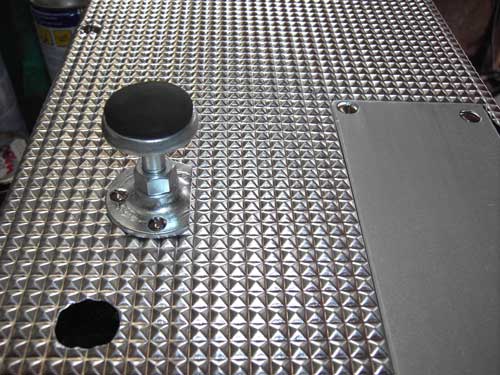
And this is how it looks like mounted on the floor board.
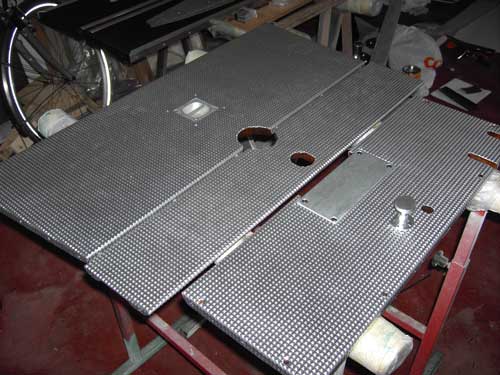
All three floor boards are ready now for installation.
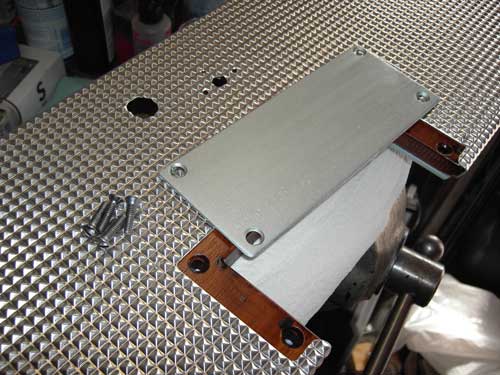
Some of the aluminum sheet metal is directly mounted to the cabin floor. But first I have to mount 2 corners made from sheet metal. This is my version of course, originally they were wooden and had been fixed with long nails - not good enough for my needs.
Everything fits.
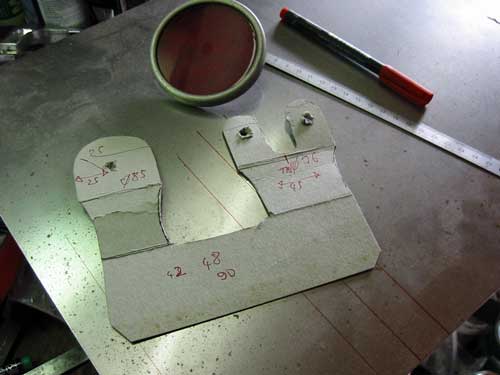
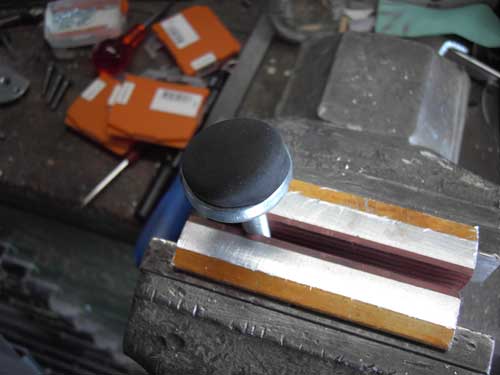
There is still a few sheet metal work which I have to do. It is the holder for the number plates (front / rear) and one for the tail lights. All are made from 2 mm sheet steel. My first step is always to create a small model in order to get the correct size.
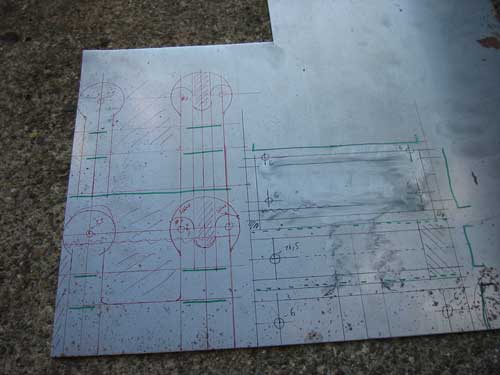
Then I transfer everything to the sheet metal.
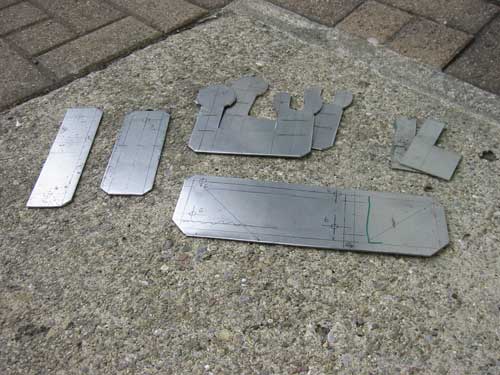
After cutting and filing I get the desired shape.
Copyright © 2001-2024 Markus Maurer - all rights reserved
 Creation Date: 20.07.2014
![]()
![]()
![]()
