
| Ford Model A |
![]()
![]()

Ford Model A Pickup Restoration - Speedometer revision and calibration - Assembly of door stops and small parts (December 2014)
Now I'm very confident that the car will run on the street as soon as the snow has disappeared and when it's getting warmer :-)
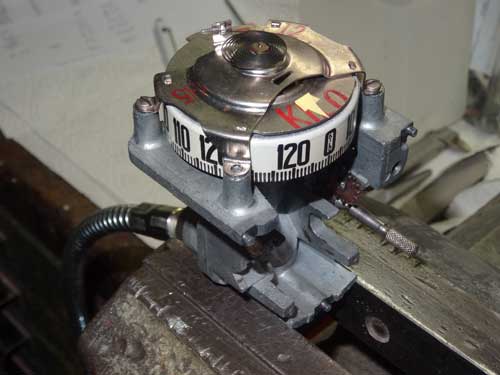
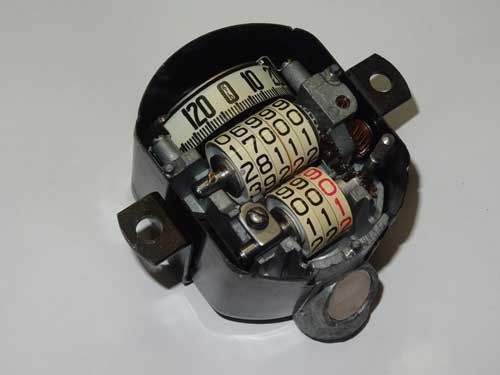
I could also complete an old task regarding my speedometer. Its main shaft could hardly be turned and I had to find a solution for the problem. Luckily it was not necessary to remove it completely. With some pressure in the axial direction I could loosen the stuck bearing that the shaft rotates again without resistance. But what I also wanted to make was the final adjustment. I have calculated how fast I must turn the speedometer cable at different speeds. The rotation of the cable can be done with a battery powered drilling machine where the rpm can be measured with a laser speed counter.
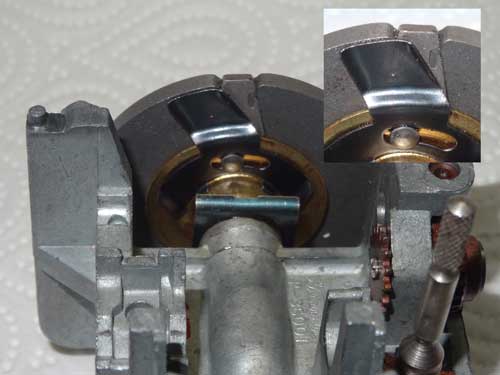
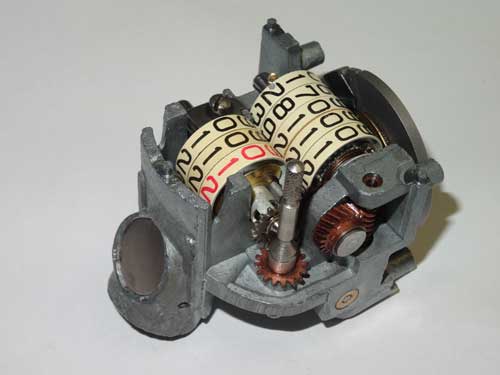
When I measured the rpm at different speed, the speedometer displayed about 5% less than it should. To correct this deviation I had to shift the slider below the magnetic wheel counterclockwise. The small image section to the right shows the original position, in the big picture you see the position after my 5% correction. A little hint on how to deal with the magnetized disk. Never place it on a metal surface, which could damage the magnet and eventually must be re-magnetized. Most preferably is when using a wooden base.
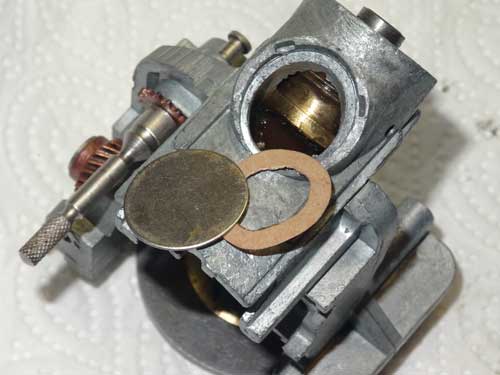
Now that everything is running as it should, I will start assembling the speedometer. I can mount the bevel gear where the speedometer cable is connected to. Finally the cover and gasket can be mounted.
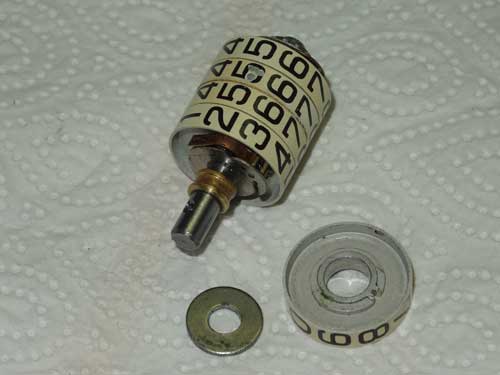
The individual wheels on the km display did not turn very smooth. The problem is when a change takes place where lots of wheels are involved (e.g. 09999 to 10000). In this case, the first wheel is extremely loaded and this can cause a damage. The individual wheels are held in place with pressed-rings. I did only remove the first wheel and got the other ones afloat with little heat and a lot of turning the wheels manually.
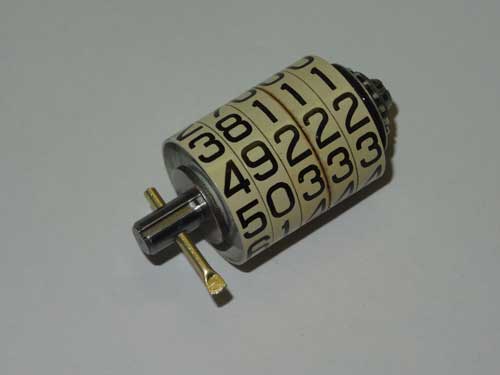
The shaft was originally riveted and I have taken a thin brass tube, squashed it on the bottom and squeezed on top of the shaft after installation with a side cutter. Finally I cut the rest above.
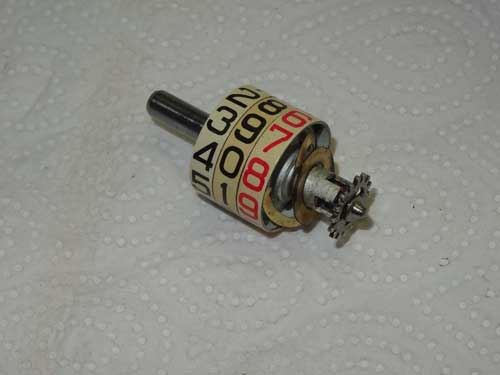
The trip mileage counter was smooth enough because that was frequently moved.
To reset the trip mileage counter you cannot only press a button. First you have to pull the trip stem out and then turn it as long until it displays 000.
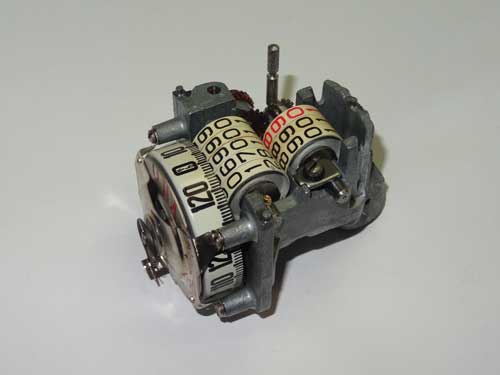
What's missing on top of the magnetic wheel, is the bell housing for displaying the current speed.
Now it can be installed in the case …

… and put the front cover on top of it. I haven't set the speedometer mileage to 0 as other people do. I set it to 17'000 km which is 25 km above the 16'975 km which the car had in 1971 when it stopped driving and I will continue at that point.

The doors doesn't look finished inside and that needs to be changed.
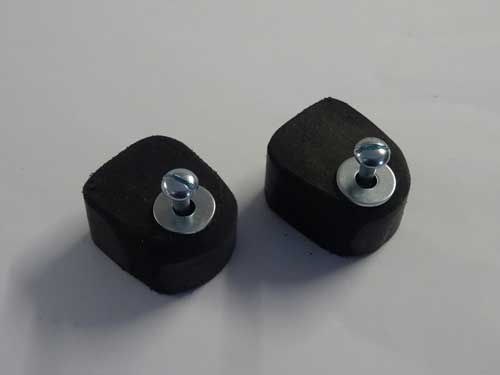
First I must make two rubber blocks which are the stoppers for the side windows.

The metal rail which is mounted below the window glass is lying on this rubber when the side window is fully open.
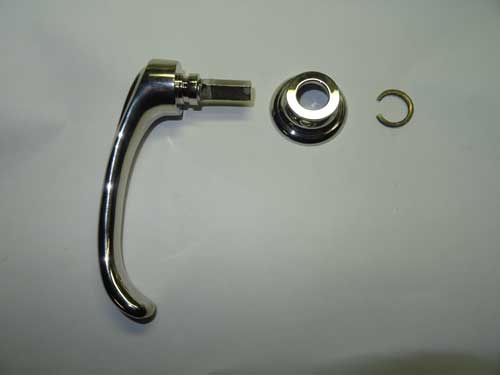
Door handles and window cranks can be assembled.
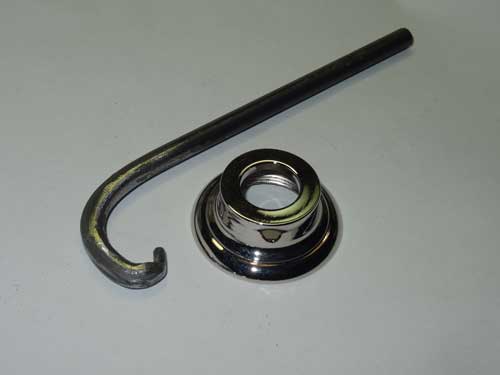
For tightening and loosening this ring I have made this tool from a 6 mm steel rod.
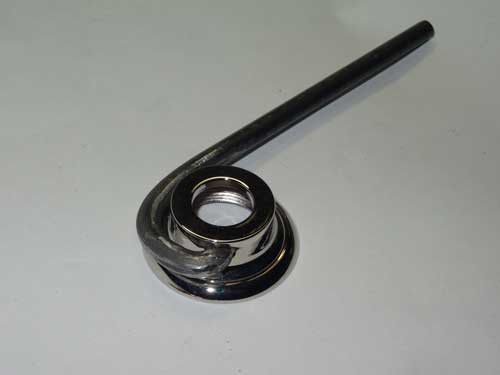
Now I can plug the end into the whole of the ring and turn the ring very easily.
Wooden parts, interior trim and fittings are mounted.

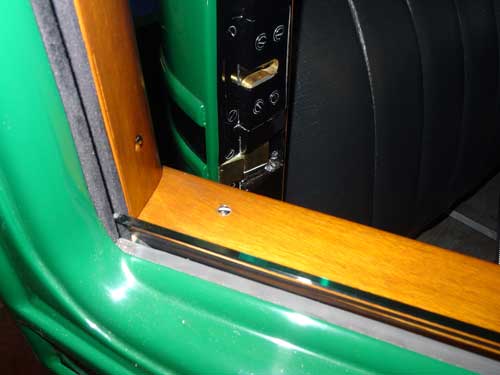
The end stop is missing and this is my new solution made of thick leather, and two nickel-plated steel sections.
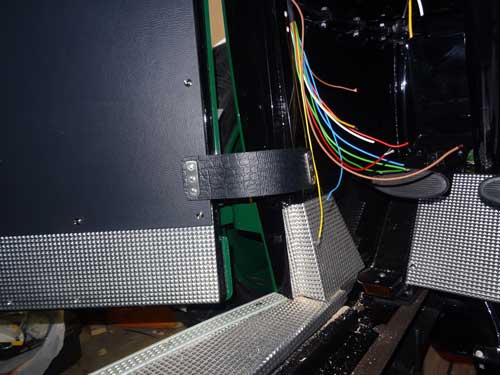
It is mounted in the lower part of the door.
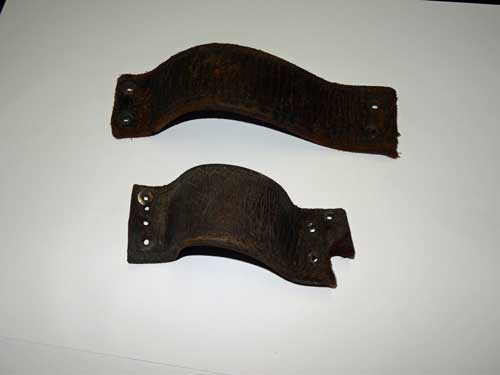
These are the original leather straps. The condition is not very good and the one from the driver side is so short that you could hardly get into the car which is better now with my new versions.
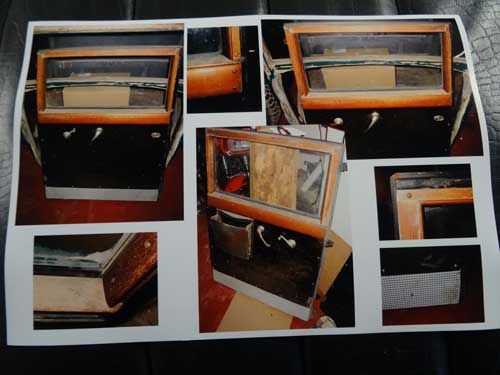
These are old pictures before the doors were restored.
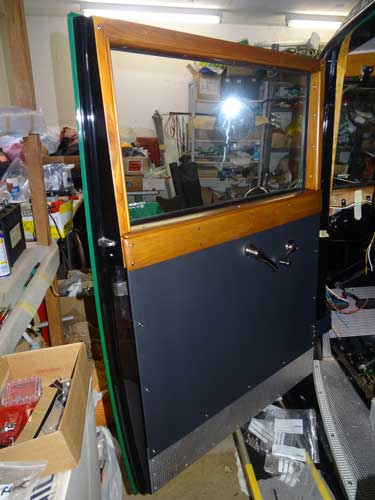
And this is how it looks today.
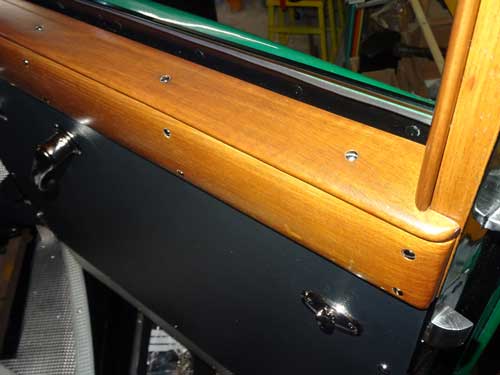
The wood is still the original one, just a little bit sanded and stained.
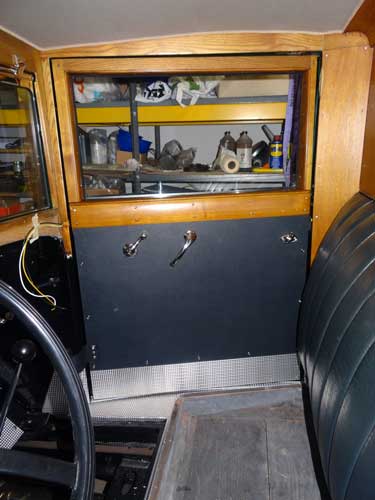
One can see that the seat is missing and the reason is that I am already working on the wiring of the electrical parts - read more next year …
Copyright © 2001-2024 Markus Maurer - all rights reserved
 Creation Date: 31.12.2014
![]()
![]()
![]()
