
| Ford Model A |
![]()
![]()

Ford Model A Pickup Restoration - Sanding small parts - Painting old hubcaps with chrome spray - Dyeing artificial leather (May 2014)
In April, I was able to complete all painting jobs - I hope that I have not forgotten something …
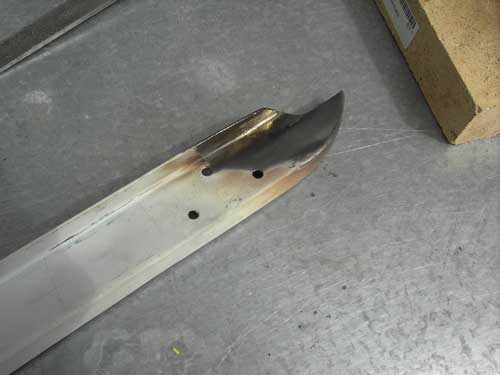
This is one of the hood shelves which is mounted on the left and right sides of the hood. I had to close a 2 cm long crack in the sheet metal with silver solder.
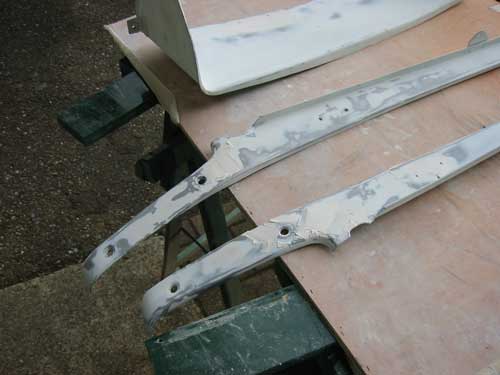
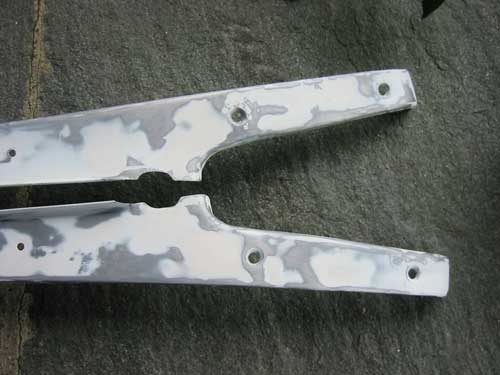
Then followed primer, sanding, primer, … until no remaining dents are visible.
The shelves had heavy dents all over, but are now ready for the primer and filler.
All parts got the last layer of filler, now I can do the final sanding and cover the parts with black paint.
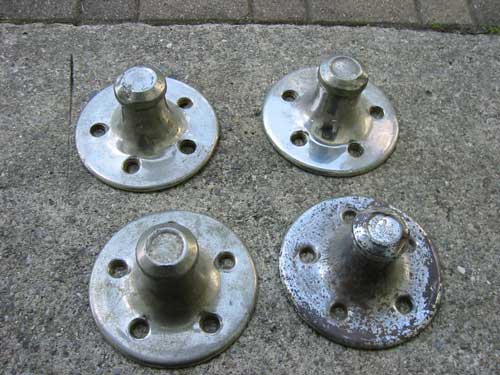
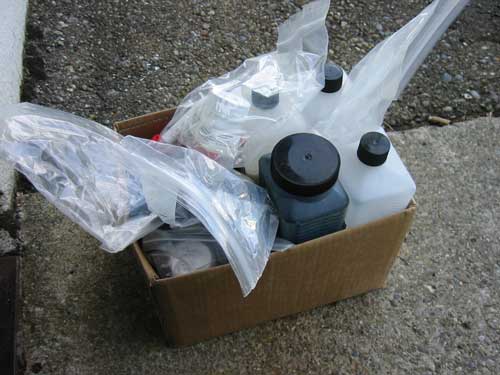
These are the original hubcaps, which have touched many walls and corners in their live. To repair them makes no sense, so I'll make them new from scratch. Since this cannot be done in one day, I'll do this work later and at this point take a little shortcut which you see on the following picture.
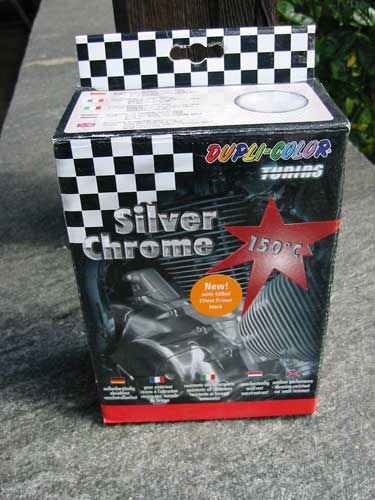
This is chrome spray I wanted to try out and my first objects are the hub caps.
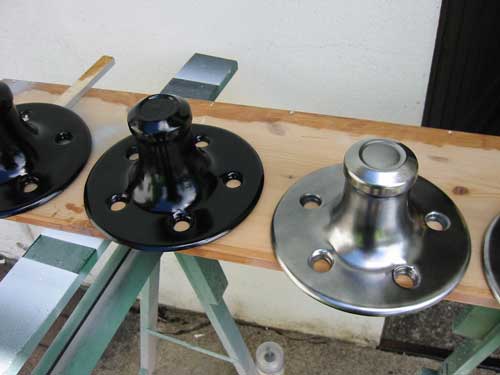
First, everything must be painted with black color and then follows the chrome spray.
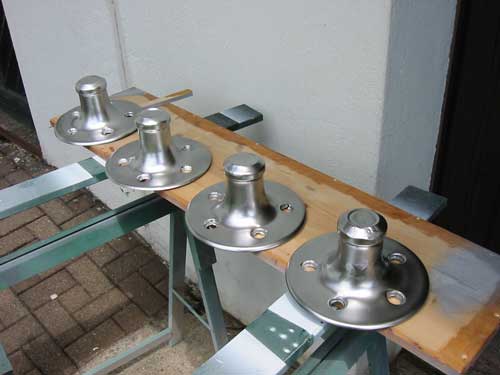
It is not a perfect result, but enough for this temporary purpose. My final versions will look much better …
I will finish all open paint jobs, so I continue with painting my artificial leather with anthracite color. This is the same color which my seat already has.
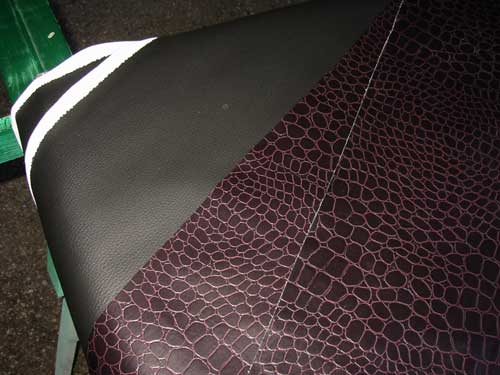
The black artificial leather on the left is for the interior lining of the door. Because I found nothing in anthracite, I'll color it as I did it with the seat. First degrease the leather with mineral spirits, then make the surface a little bit sticky using a primer. Then you can apply the leather color. What follows is the final finish (Top Coat + binder). At the end comes the sealing to finish my leather coloration.
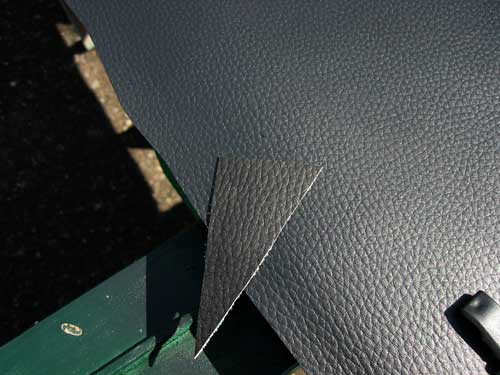
The large piece of leather is colored, the little snippet has the original color.
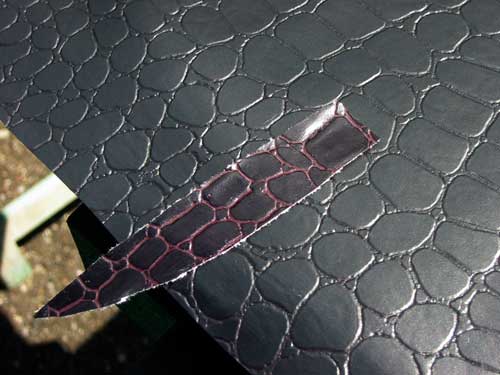
The crocodile leather is colored too, but I'm not sure if I'll need it later.
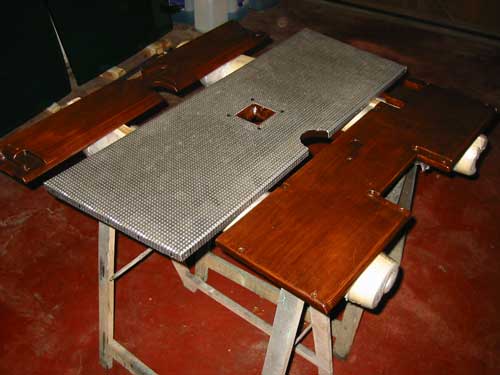
The aluminum sheets were not finished yet, I had to drill holes for the screws.
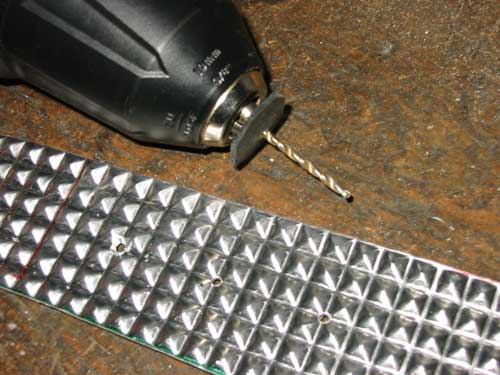
During the drilling work, I have mounted a rubber washer to my Dremel which protects the surface from scratches.
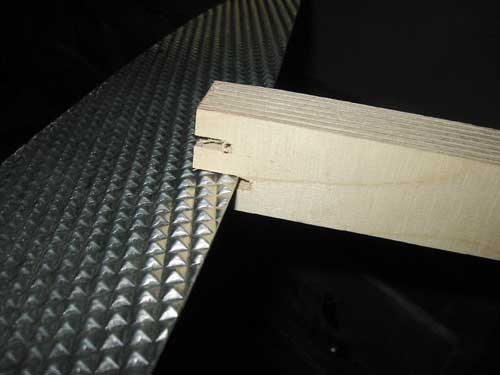
Since the floor of the cabin is slightly buckled to the door, I had to bend the aluminum sheet slightly at the edges. In order to not scratch it, it is best to take a piece of wood, saw a notch into the wood and bend the aluminum down by moving section by section.
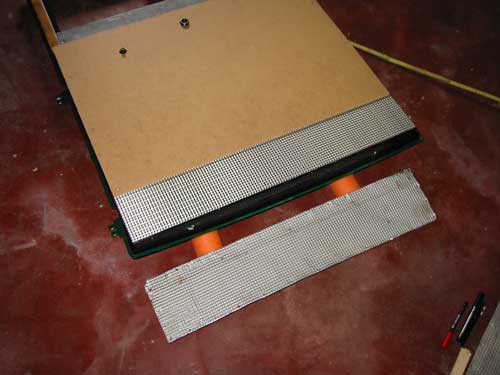
At last comes the cutting of aluminum sheet which is later attached at the bottom of the door (inside).
Copyright © 2001-2024 Markus Maurer - all rights reserved
 Creation Date: 29.05.2014
![]()
![]()
![]()
