
| Ford Model A |
![]()
![]()

Ford Model A Pickup Restoration - Building New Wheel Covers Part 8 - Rebuilding Ignition Distributor (November 2017)
Before I started re-assembling the ignition parts, there were a few minor modifications on my list, which I now want to show you.
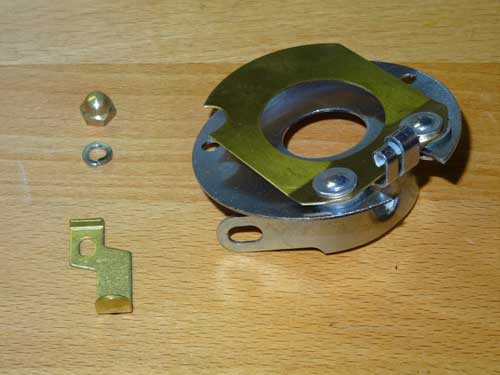
First, I wanted to have a fitting tool to tighten the 2 nuts of the ignition coil. I started with this nut which only needs to be modified a little bit.

With a Dremel and a cutting disc, I have slightly modified it at the bottom. Now I can easily mount the cable lugs with this special nut.
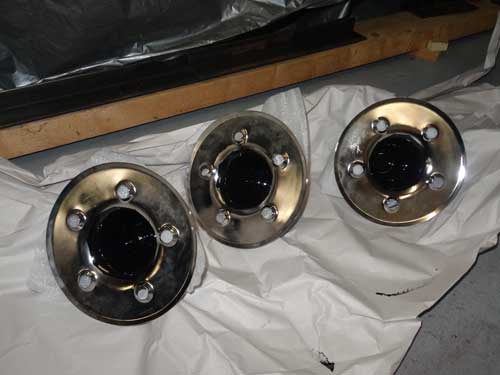
The next work are my new nickel-plated wheel covers. These have already tarnished and are without protection. I wanted to protect them for the winter and painted them inside with POR15.
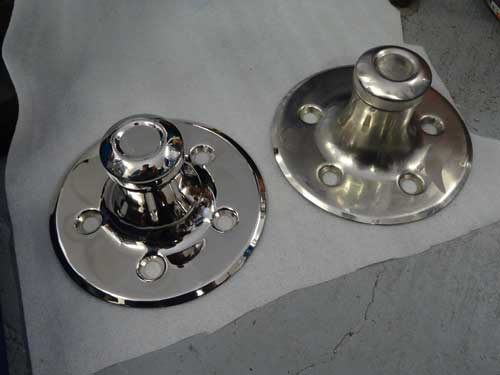
Then I polished the nickel surface and treated it with Swissvax polish. On the right cover, the polish is applied and the left one is already polished.

While browsing the current Snyder's catalog, I have seen a conversion kit that eliminates the cable leading from the ignition cable to the base of the ignition.
I ordered it and that's how the conversion kit looks like. The cable is replaced by a sliding contact.

First I cut off the flap which is only used for the the original capacitor. It is not needed in my case, it is just a potential problem for a short circuit and I don't need an insulation.
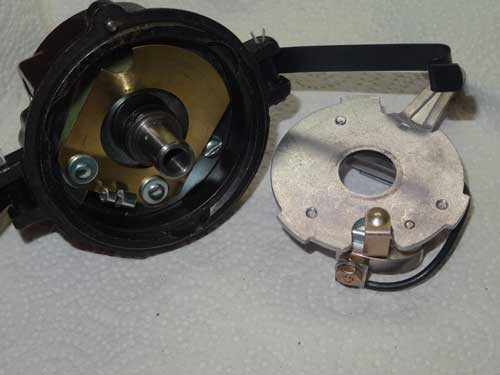
Everything is ready for assembly, the new lower plate with the sliding surface and the contact on the base plate which can glide on the lower plate.

Here you see it in mounted position.

I have replaced the faulty breaker with a new one but measured as contact resistance 50 ohms! This is really too much for a simple contact. That's why I sanded the contacts with fine sanding paper and now I measure 2.5 ohms which is fine.

Now comes my own ignition conversion. Every time I had trouble removing the distributor and replacing it. Reason was the armored Pop-Out cable between terminal box and the distributor. This is made of a solid spring and without loosening the nut on the cylinder head, it can only be removed with difficulty. That's why I made the following conversion. Under the Pop-Out cable clamp my new armored cable is separated in 2 parts and the cable inside I have protected against any damage with an additional protection and shrink tubing.

This short piece is only 2-3 mm under the clamp and can now be easily removed.t

Now I can put the distributor on top of the cylinder head where with the original cable constantly a tension is working. Inside the terminal box, the cable is free, which means that I can pull it out of the spring for 2 cm.

In mounted position you will not see that the spring is modified.

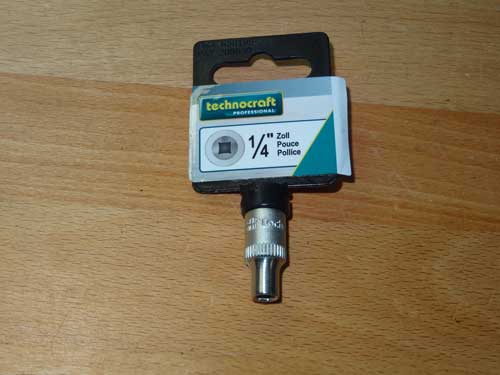
This little key chain was also on my shopping list. You can simply position the engine on the top dead center of the 1st cylinder.

Screw in, turn crankshaft and wait until the bolt jumps inwards. It is more precise than with other tools.
Copyright © 2001-2024 Markus Maurer - all rights reserved
 Creation Date: 29.12.2017
![]()
![]()
![]()
