
| Ford Model A |
![]()
![]()

Ford Model A pickup restoration - building new wheel covers part 2 - further tests, first successes (February 2017)
I am still working on my wheel covers. Two steps forward follows one step back, but I'm on a good way to reach my target :-)
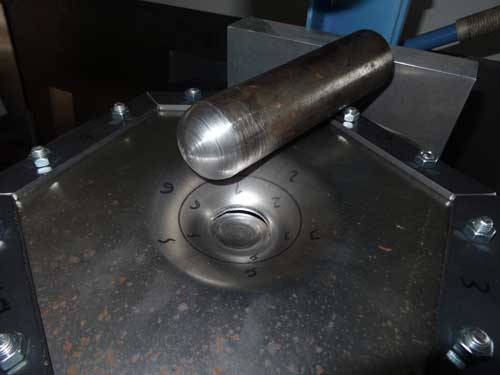
Regardless what kind of stamp type I'm using, I'm not able to stretch the sheet metal as far as I would like.
Therefore, I need a larger stamp diameter for the 2nd stage …
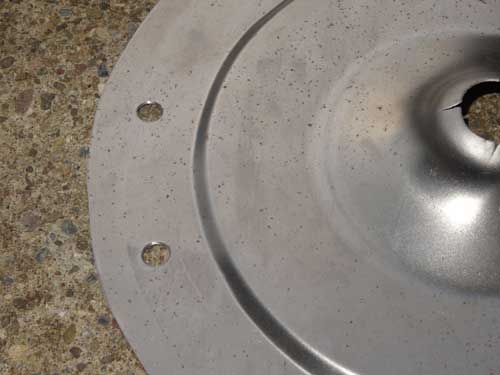
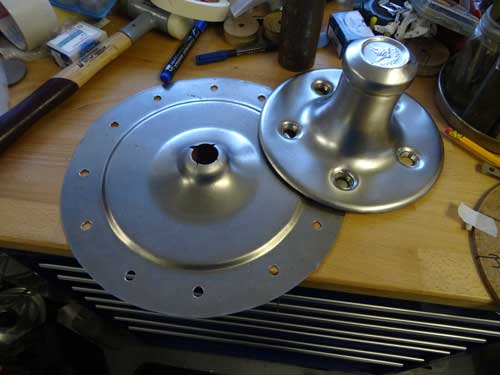
… I also got a hole, but the shape of the sheet metal is perfect.

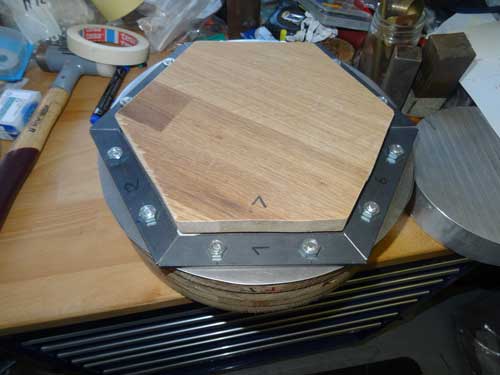
View from the outside, everything fits and I can go to the next step, the small edge.
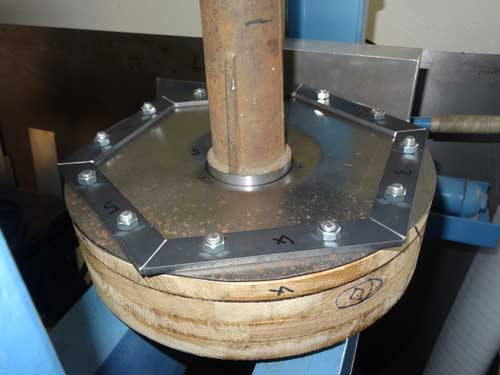
For this I use a 5 mm MDF panel and cut a ring out of. This ring is already mounted under the sheet metal. On top of the sheet I place a disc which is 10 mm smaller than the inner diameter of the ring. The exact alignment is very important here, because you will see any asymmetries very well.
This additional work was not planned, but since I have no steel disc in the right diameter, I had to gain some space to use a larger steel plate.
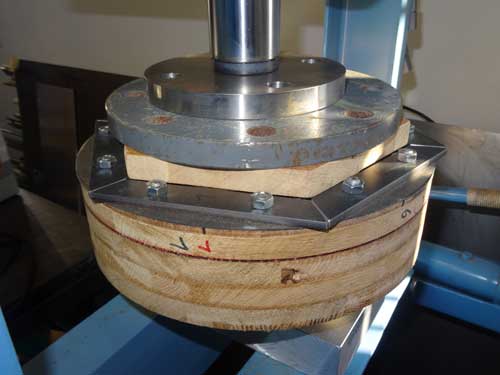
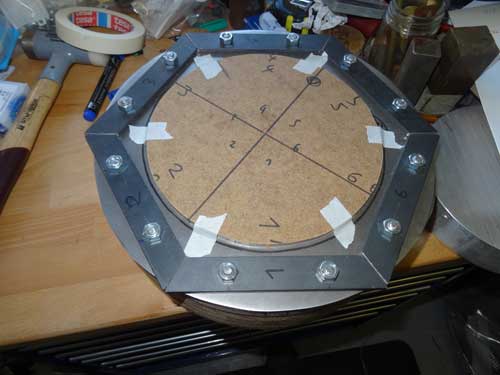
Everything is ready for the first try. Press with 300 bar pressure and see what's coming out.
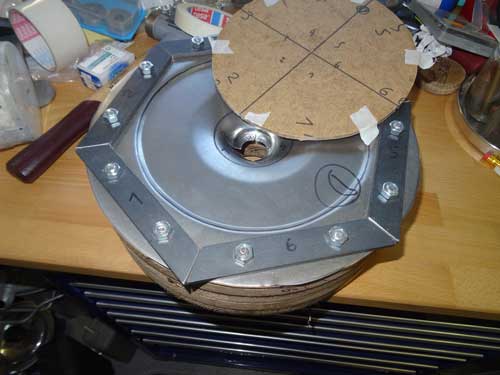
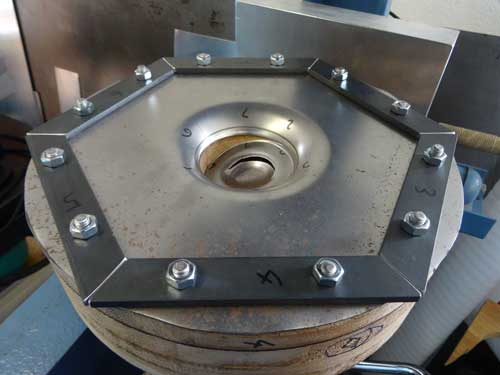
The MDF disc is removed … at first glance it looks not bad.
After checking everything I got the right angle, radius and diameter. So there is no need for a second try with a different setup.
With some imagination you can see what it is going to be in the end.
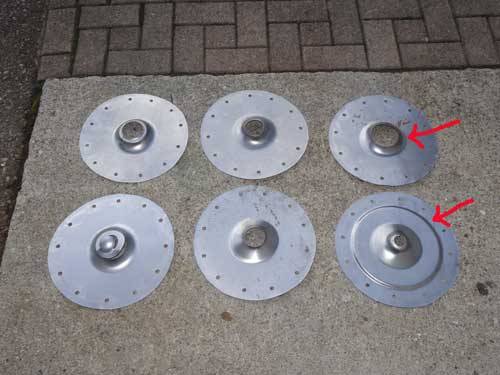
Actually, I did test No. 6 and the red arrows on the picture do mark the points where the pressing is already perfect. Next comes the hole circle with the 5 holes for the wheel nuts.
Copyright © 2001-2024 Markus Maurer - all rights reserved
 Creation Date: 09.03.2017
![]()
![]()
![]()
