
| Ford Model A |
![]()
![]()

Ford Model A Pickup Restoration - Auxiliary device to install hood - Problem with radiator assembly (February 2013)
Because of a problem with my radiator I have lost a lot of time this month. Beside, it costs me a new radiator too.
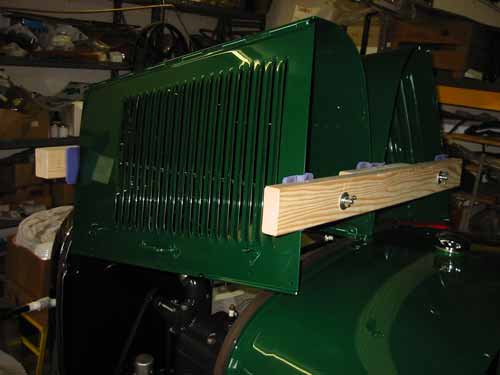
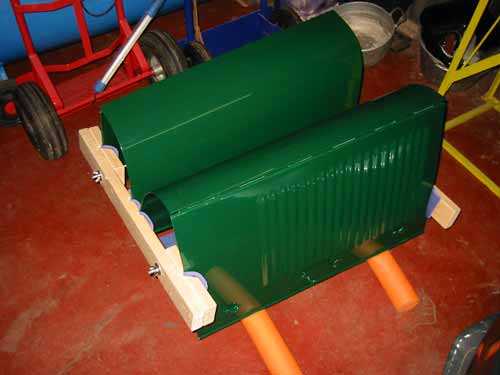
Since I have to align the radiator and the radiator shell and therefore mount and remove the hood, I constructed this wooden tool. It is made of two timber sections (padded) with notches. It will fix the hood in position and the hood can now be mounted easily and without any risk of damage.
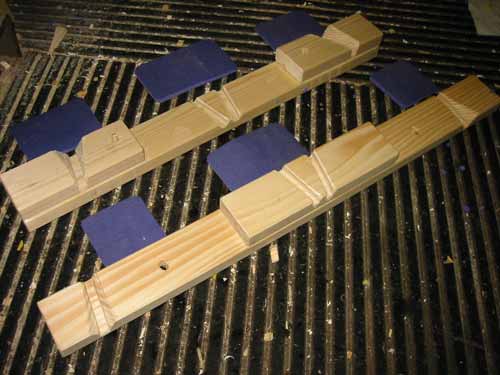
At first I have taken two 4-square wood and glued some additional pieces of wood. Them marked the position of the hood edges and made there 10-15 mm wide grooves.
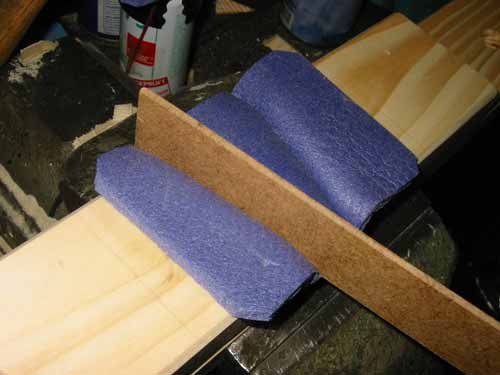
Once everything fits, it can be upholstered. I've padded it with the foam found in the camping equipment. Just press the foam down to the ground when gluing it.
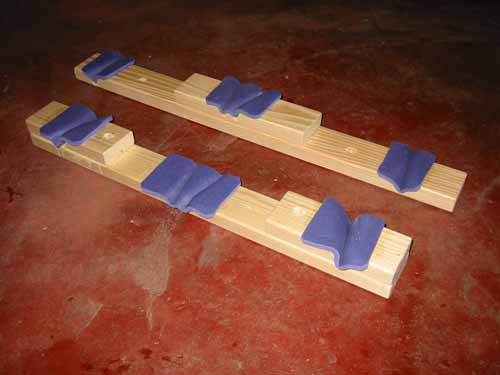
The parts are made very quickly and simplifies the mounting of the hood.
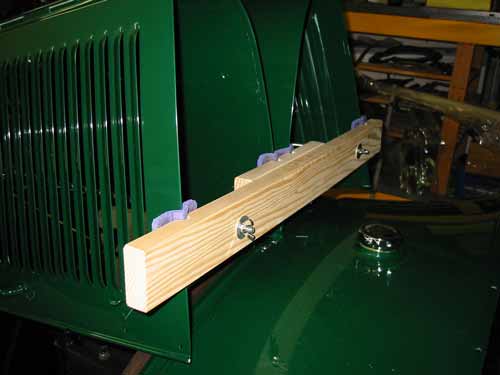
Then I drilled 2 holes for the mounting studs and used wing nuts to secure.
With this little tool, the hood may simply be placed in the edge of the garage without any risk of tipping over.
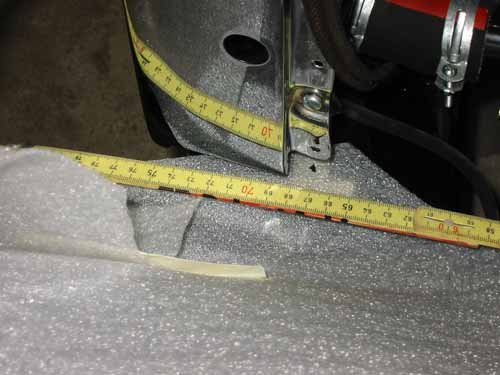
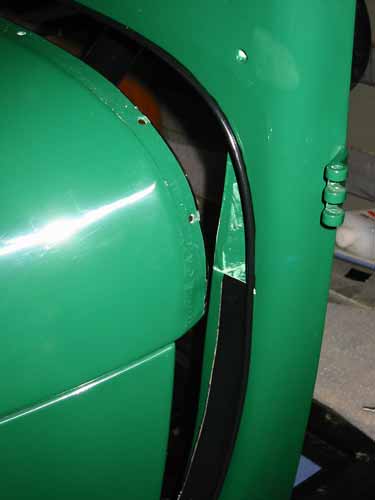
Back to my real problem. Even after several attempts to get the same mass gap, nothing matched …
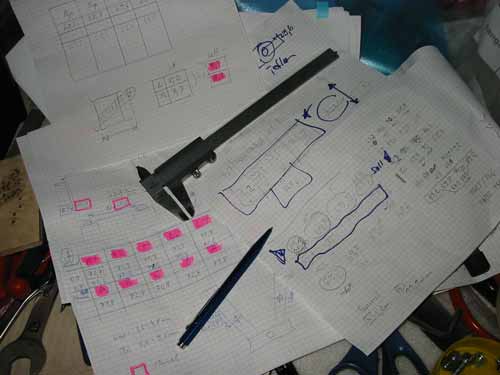
I have written down my measurements to see the changes, but either on the left side everything was ok but then it did not fit right or vice versa. That the cooler is not 100% Ford blueprint I knew, but that it is massively twisted, I just realized now :-(
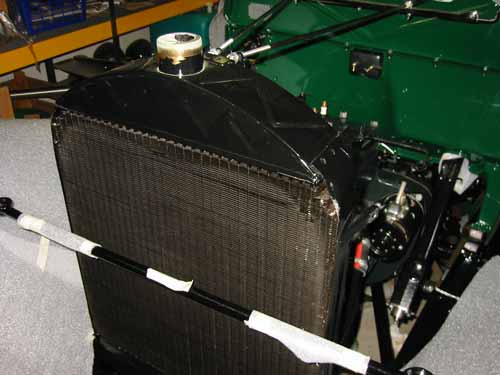
The upper left side to the right side has 10 mm difference and so I had no chance to set up the hood. For me, there was only one solution, the radiator was turned up (by brute force …) to compensate this 10 mm. Finally, the 10 mm I could compensate but the radiator is now leaking! This radiator is definitely garbage. In the meantime, I have already ordered a new and better one at 'Brassworks' - should arrive in March.
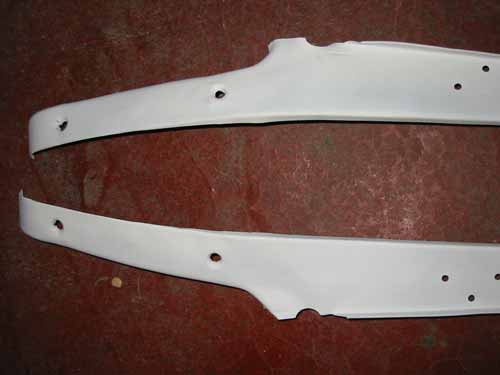
What I'll do as next are these sheet metal parts. They are both badly dented and I have to fix it.
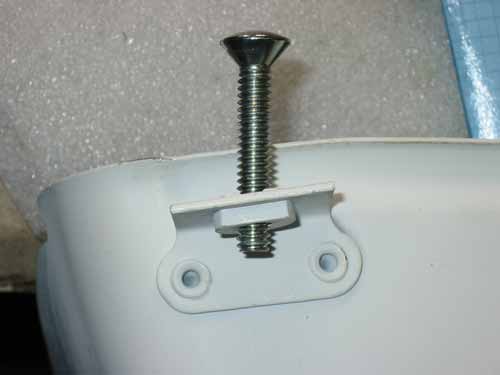
Also threaded holes were not drilled in a right angle (this did Ford in 1929!) - I'll just bend it a little bit to get a right angle.
Now everything fits and can be painted later. One last verification I'll do when the new radiator is mounted.
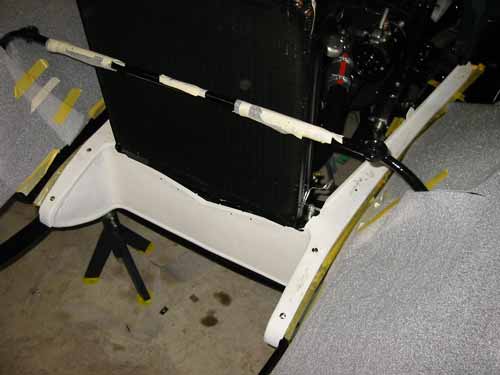
After the radiator disaster I go further with the cabin. This is not the final place yet, since I have to mount the welt first.

Now, the cabin can be moved to the final location. All four screws that hold the cabin on the frame are mounted. So this was not a very successful month, I hope that the next month will be more successful.
Copyright © 2001-2024 Markus Maurer - all rights reserved
 Creation Date: 03.03.2013
![]()
![]()
![]()
