
| Ford Model A |
![]()
![]()

Ford Model A Pickup Restoration - Assembling tool case - Pressing numbers and letters into sheet metal (May 2016)
This month I'll assemble my self made toolbox.

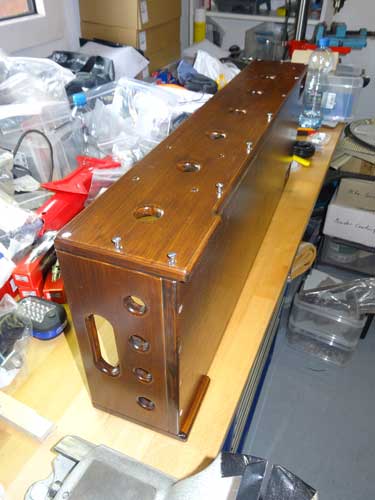
All parts are glazed (3 layers) and ready for assembly.
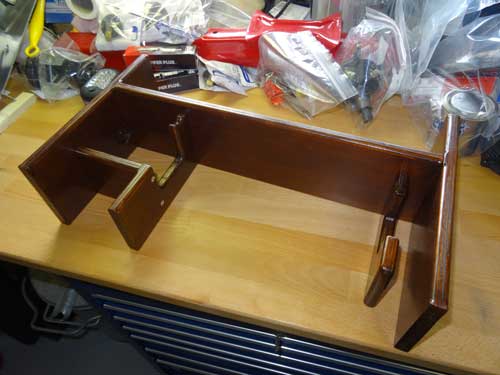
I start with the interior parts.
Thereafter, the outer walls can be mounted.
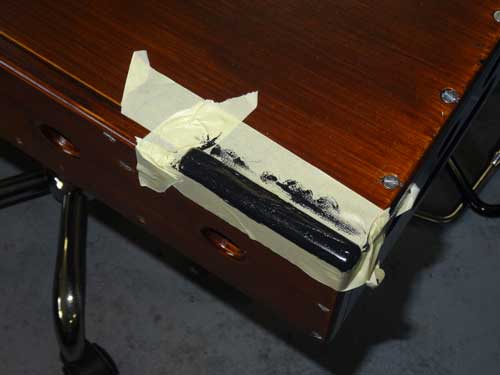
At the bottom, I put some 'Weicon' rubber to the surface - this will prevent the box from moving around in my boot.
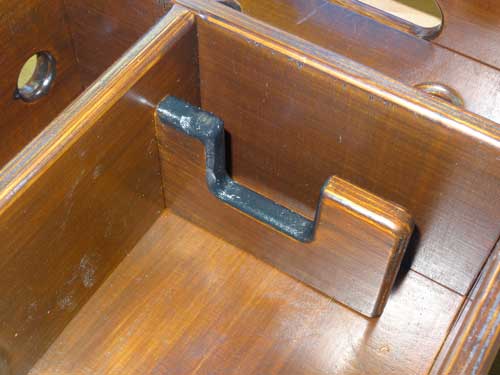
I do this also where the jack is lying, so it will not rumble in my box.
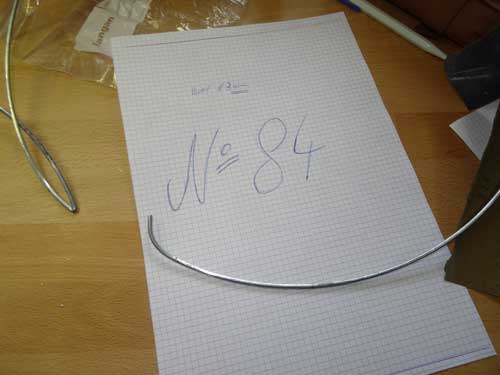
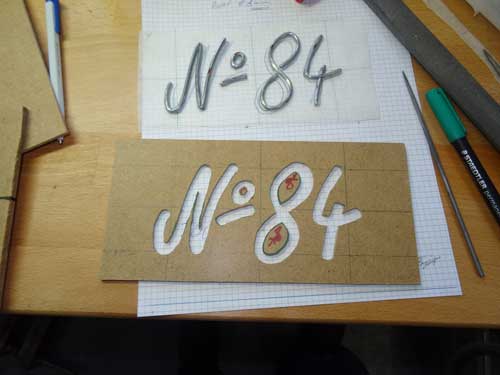
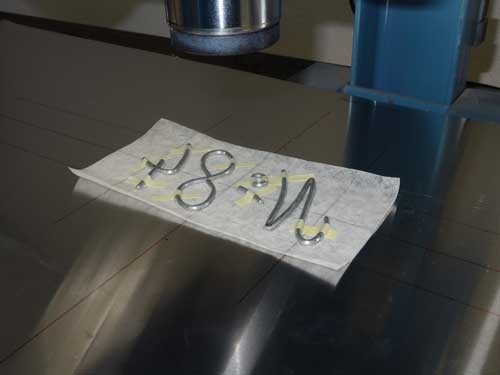
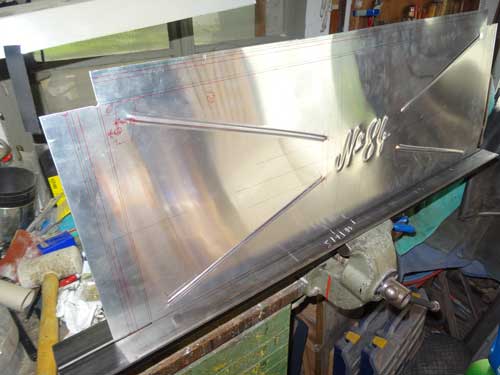
The last missing part is the lid of the box. I take some 1.5 mm aluminum sheet and I want to put 'No 84' on top of it. All of my wooden parts are marked with this number (hidden side) and I guess that this was the 84th car (coach) which was made at 'Wilhelm Frey' in Liestal. First I make a 1:1 sketch of the logo in the same shape as it can be found on the wooden parts.
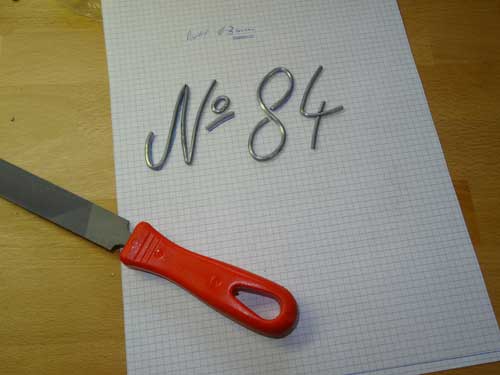
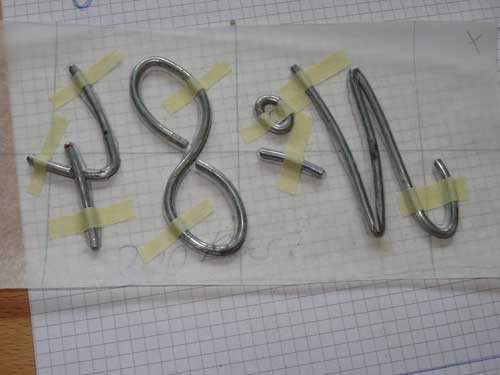
Then I have bent the letters and digits out of 3 mm steel wire. The sharp corners of the 'N' was a little bit tricky and I had to use my file.
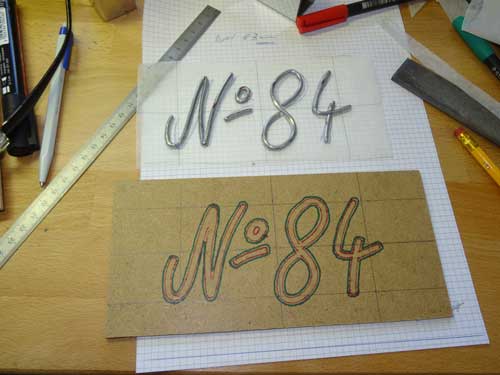
Now, I make the transfer to a 3 mm MDF plate (red line). After that, with a distance of 1,5 - 2 mm to the red line, I draw the green line. The green line marks the cutting line.
But before you begin with sawing, all lines must be transferred to a transparent paper. Don't forget to transfer also the vertical and horizontal guide lines. These are extremely important later for the exact positioning!
Now you can saw out the whole thing with a coping saw.
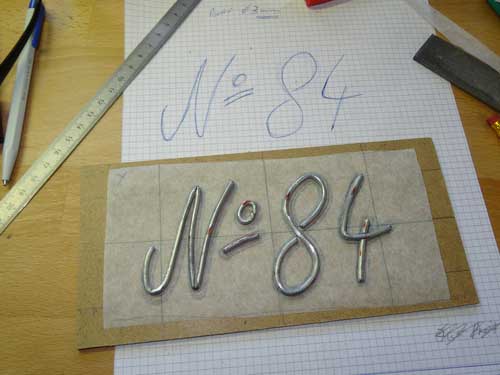
From now on, everything must be mirrored. Turn over the transparent paper and fix the wire digits with adhesive tape.
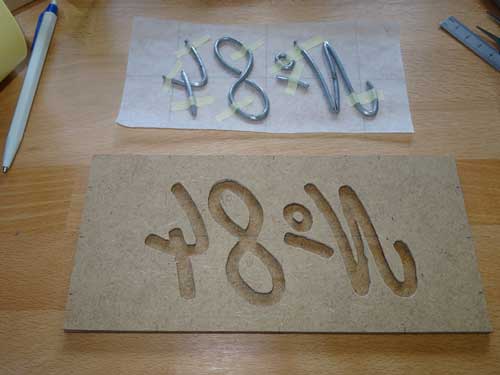
The MDF panel is also turned over and glued to a second MDF panel (same size). Mark all guide lines on the side of the panel that they can be easily transferred to the back after the glue has dried.
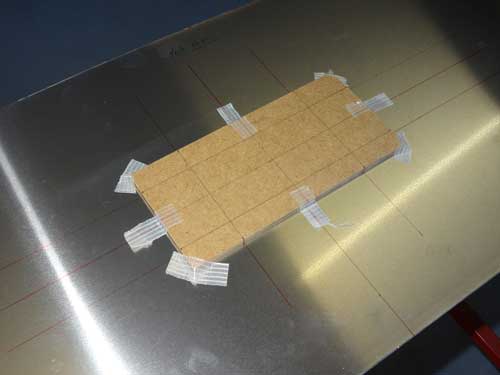
Now you see the reason for these guides lines. They help for exact alignment in the front and back of the aluminum sheet metal. Therefore these guidelines must also be drawn on both sides of the sheet metal. Now you can align the MDF panel and fix it with tape.
Now place the aluminum under the press and align the transparent paper with the numbers on top also with the guide lines.
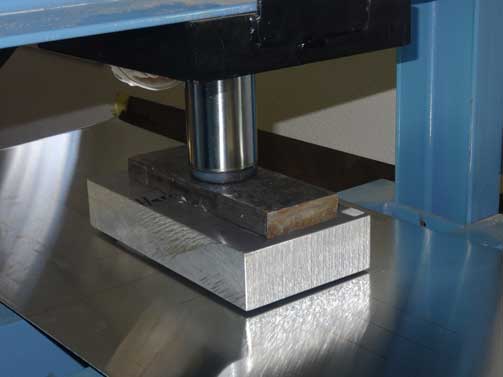
Then put a thick plate on top of all and squeeze it.
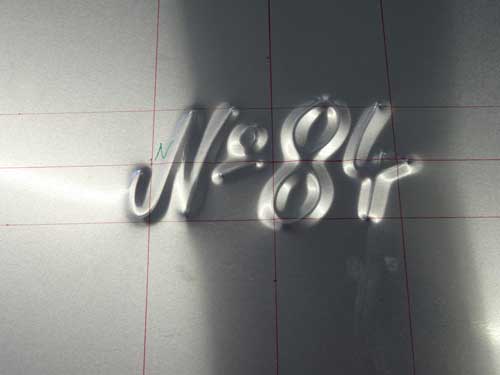
And this is the final result. I recommend to do some previous tests before you ruin a new aluminum sheet. You will get different results depending on the thickness of the wire or the MDF plate. You can also take 2 mm sheet steel for the shape of wider letters.
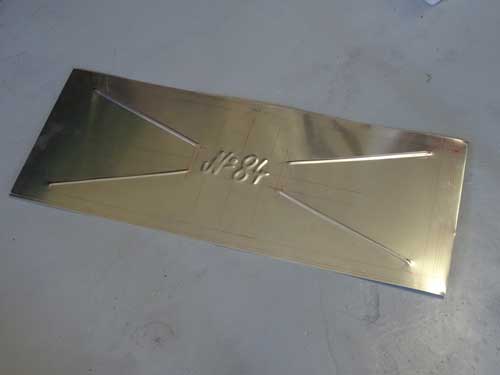
The rest was made with a swaging machine. It gives more stability and visually it also looks better.
To bend the edges I'm using 2 solid angle sections of steel.
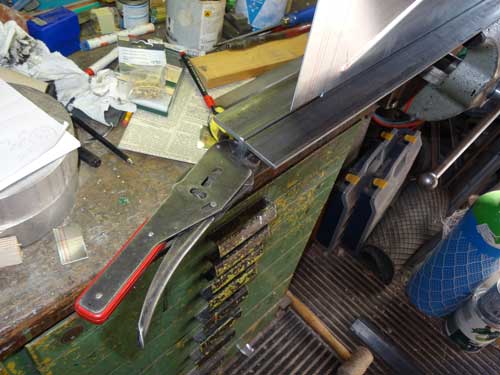
On both sides I fixed it with pliers.
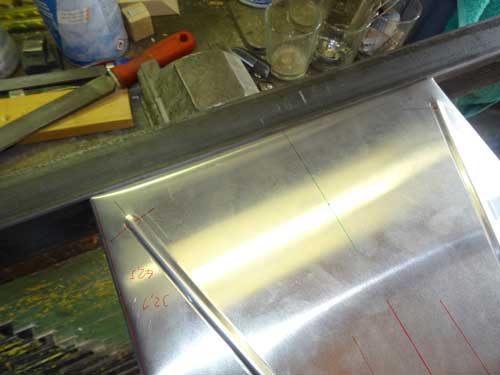
For bending the short side I used a shorter angular profile.
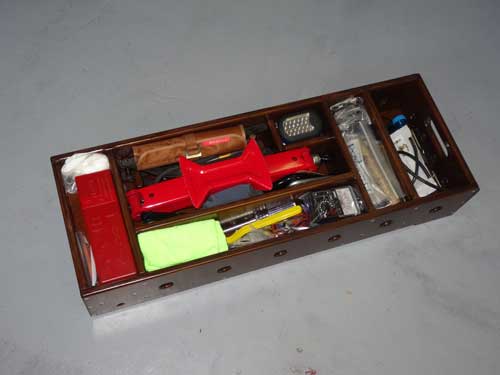
Now the tool box can be filled with tools.
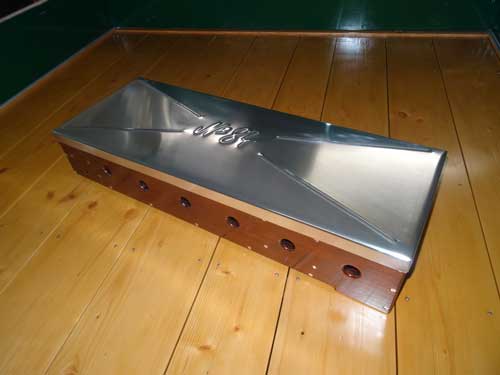
I have slightly polished the aluminum lid. Too shiny for hiding in the trunk … ;-)
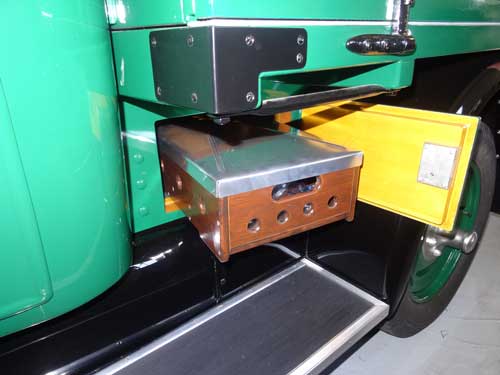
Now I want to make the test if it fits into my trunk. So far I can move it easily on the wheels.
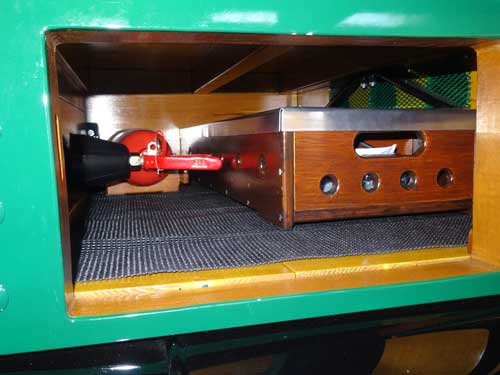
On the right hand side is my toolbox, on the left the CO2 fire extinguisher and I even have a little bit free space for a small backpack … :-)
Copyright © 2001-2024 Markus Maurer - all rights reserved
 Creation Date: 30.06.2016
![]()
![]()
![]()
