/ford_a/ford_a_restore_2013_10.en.html
![]()
![]()
The powder coating from last month is not finished yet, some more small parts have to be done.
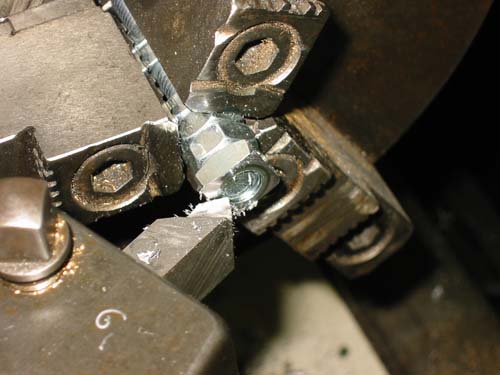
But first I have to slightly turn off various nuts on the inside. They are flat and would scratch the surface with the sharp corners. For this reason, I'll give them a little bit rounder shape at the edges with a lathe.
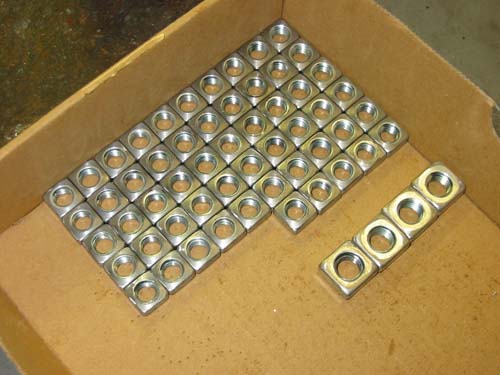
All nuts are finished.
Now they are powder coated too.
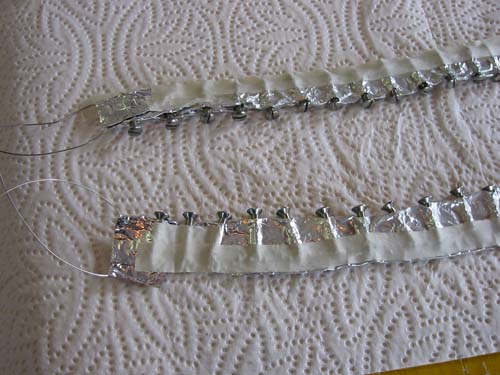
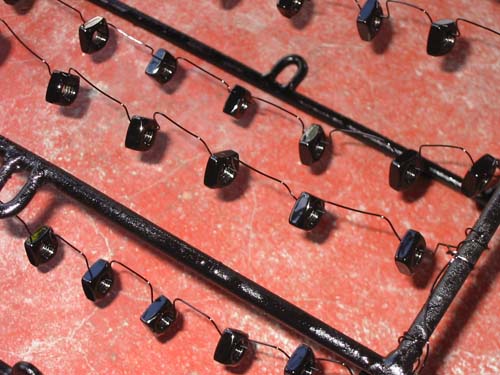
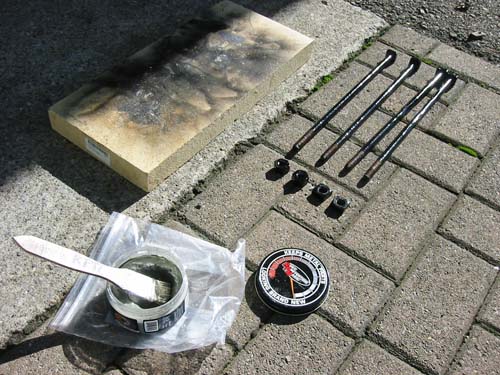
These pan head screws will get a black colored head, so that they will better match. For this I wrap the bottom of the screws in aluminum foil and fix it with heat-resistant adhesive tape. Now I can easily fix it in my rack for coating and burning.
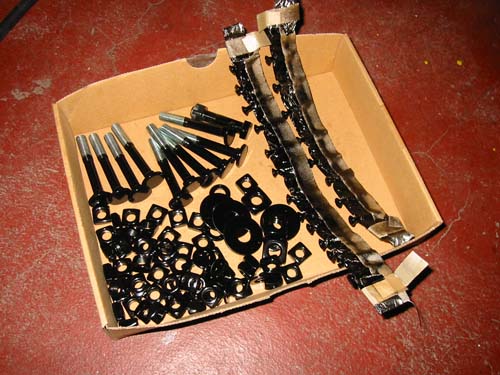
All these small parts are ready for assembly.
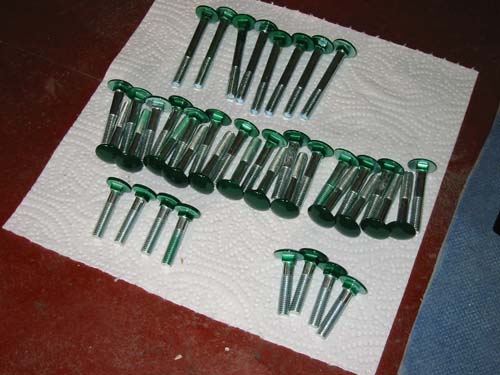
On these carriage bolts I have painted the head with green color. The heads are visible and must have the same color than the rest of the wooden bed.
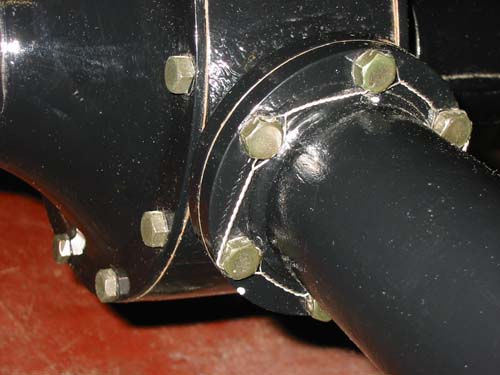
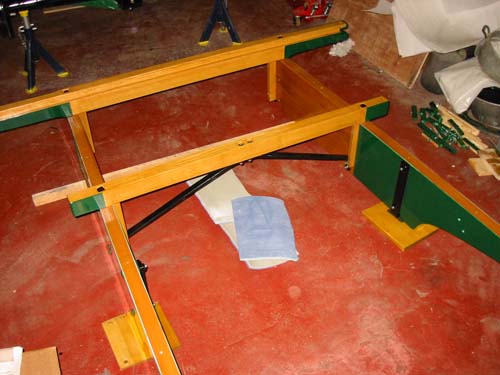
Before I can start reassembling the bed, I need to attach a wire lock at differential first. It is better to do it now as long as I have better access to it.
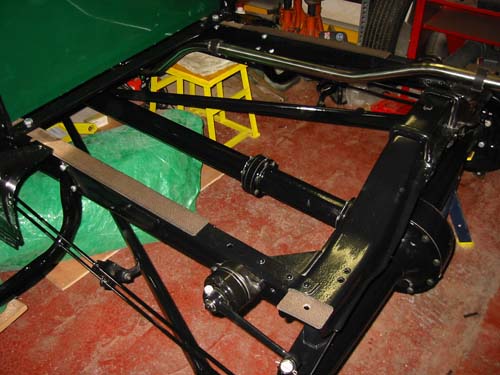
The anti squeak must not be missed. This prevents squeaks when the frame is twisted.
The two main supports are this bolt at the back and 3 screws at the front near the cabin.
So far everything fits.
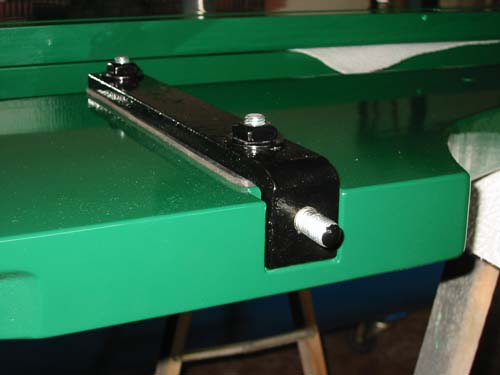
Now I can mount the cross bar at the back side of the cabin.
The two cross bars are both fixed with these long screws. In order to protect the threads from rust I have all treated with RPM against rust.
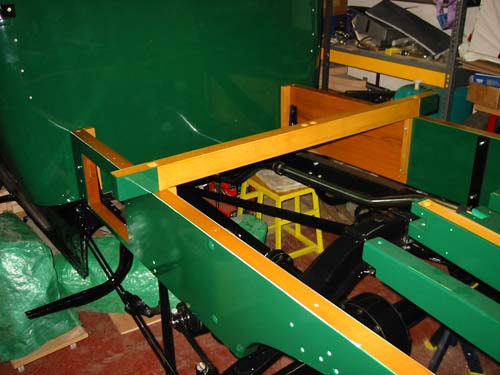
Unfortunately, my plan did not work because the screw nut could not be mounted because of its limited space. I had to lift off the whole frame and now I could I attach the nut.
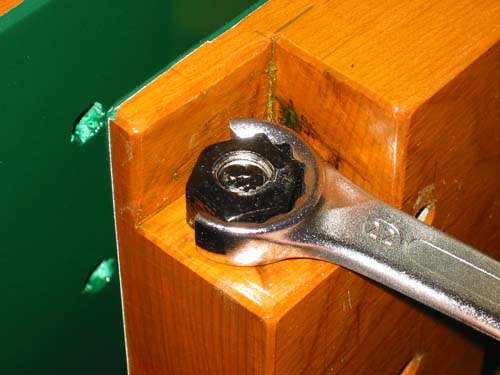
This is the view to the bottom where I have used my modified box wrench.
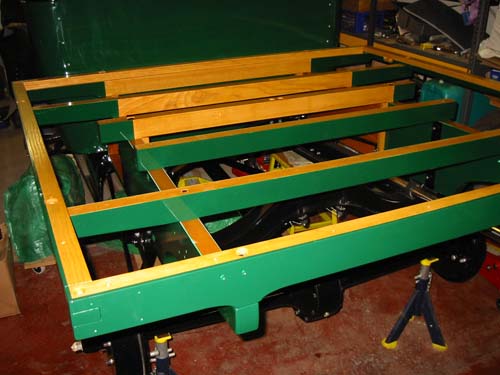
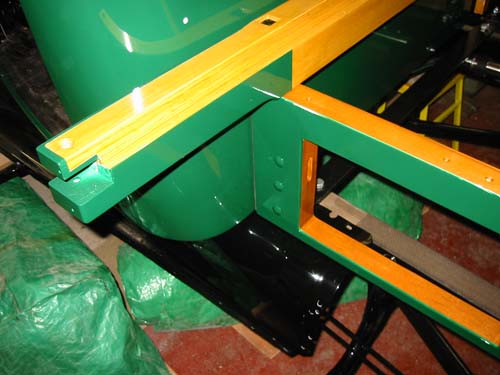
The basic frame is together. Now all I need to do is aligning everything, tighten all screws and then continue with the rest of the assembly.
Copyright © 2001-2024 Markus Maurer |
Creation Date: 06.11.2013 |
Last Modified: 05.12.2024
![]()
![]()
![]()