
/ford_a/2023_01_kleinteilemagazin_fahrbar.en.html
![]()
![]()
I wanted to bring some order into my small parts, mainly screws. Therefore I'll build something, which should be enough in size last for the coming decades …
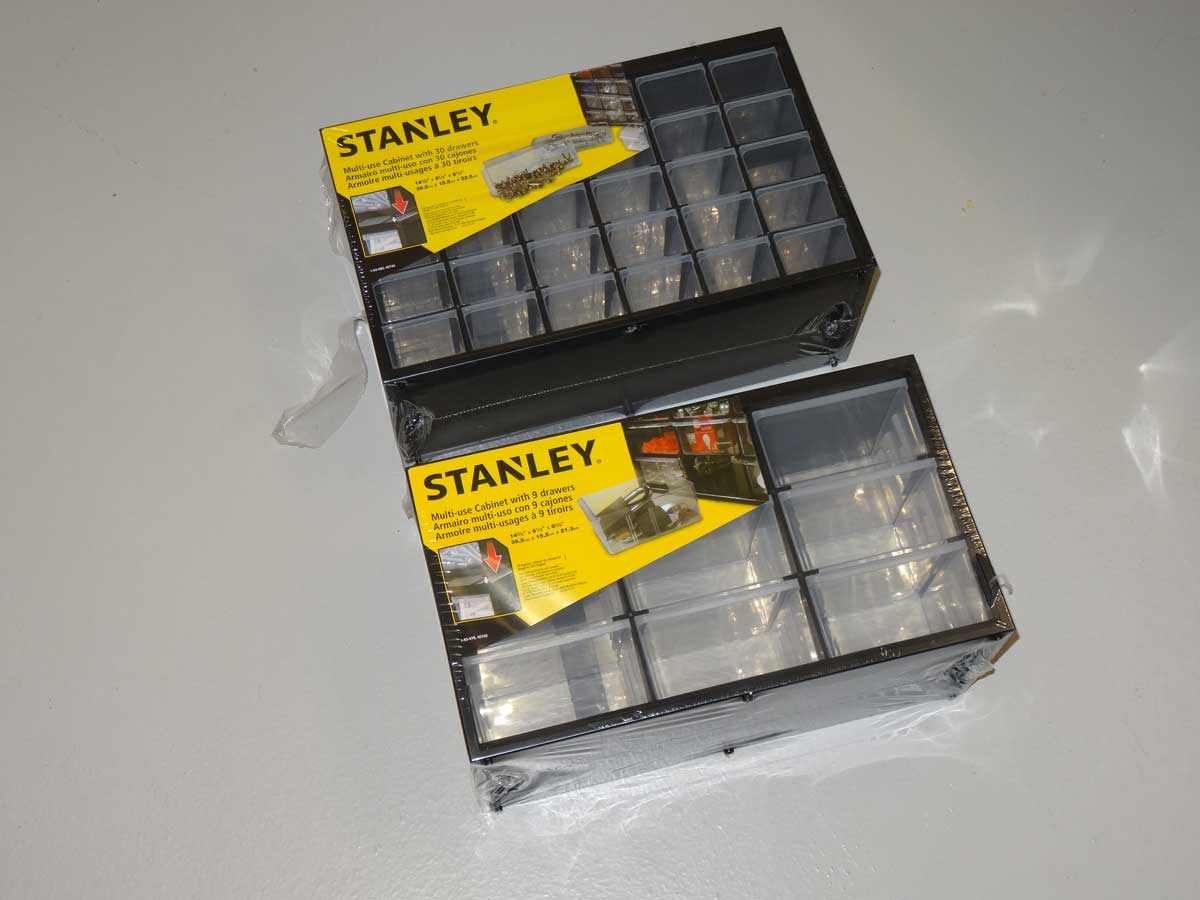
As a base I bought these compartments from Stanley, but I don't want to nail them to the wall. The whole thing should be placed in a rack and this should also be mobile.

This is how it should look like with compartments on the front and back. In total I have 396 drawers (12 X 30 plus 4 x 9 compartments) and so I should have some reserves for the future ;-)
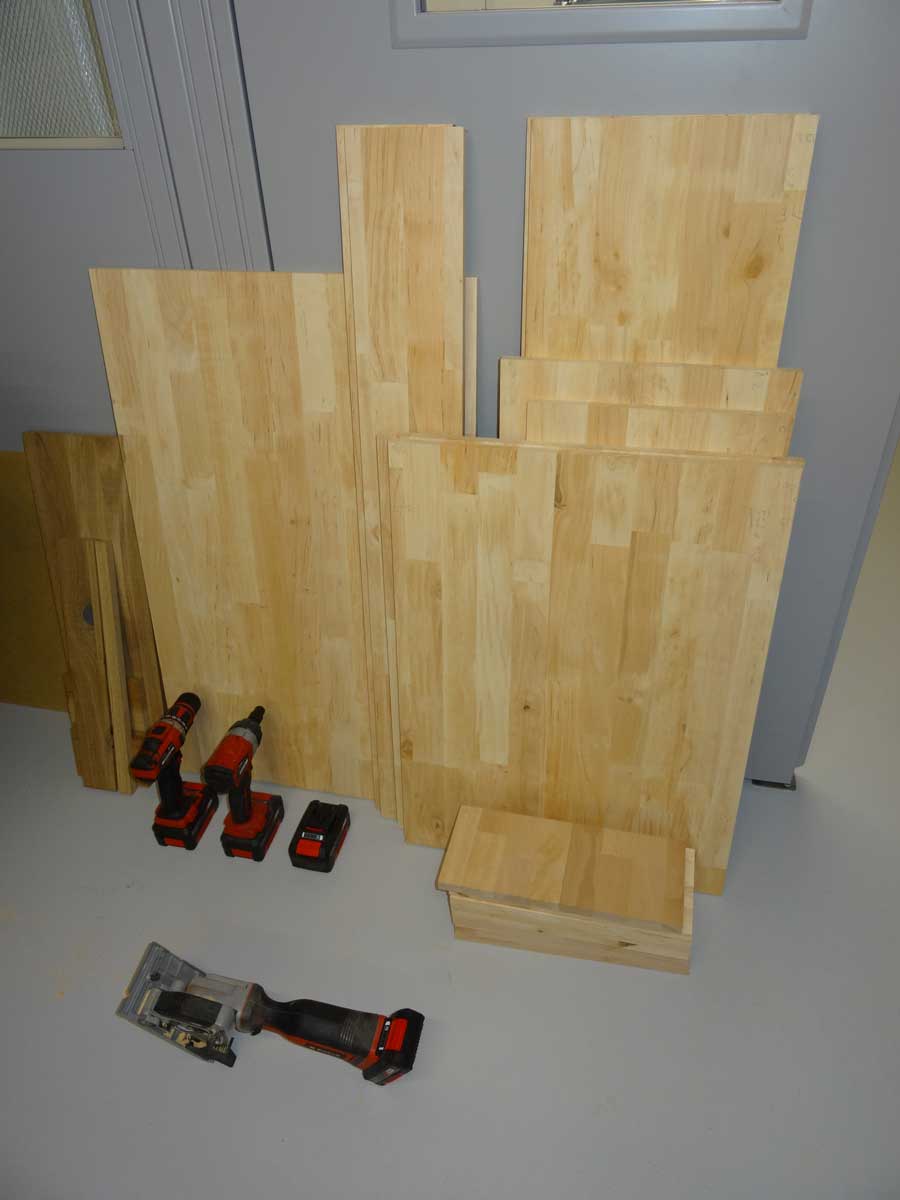
First I sawed all the wooden boards.
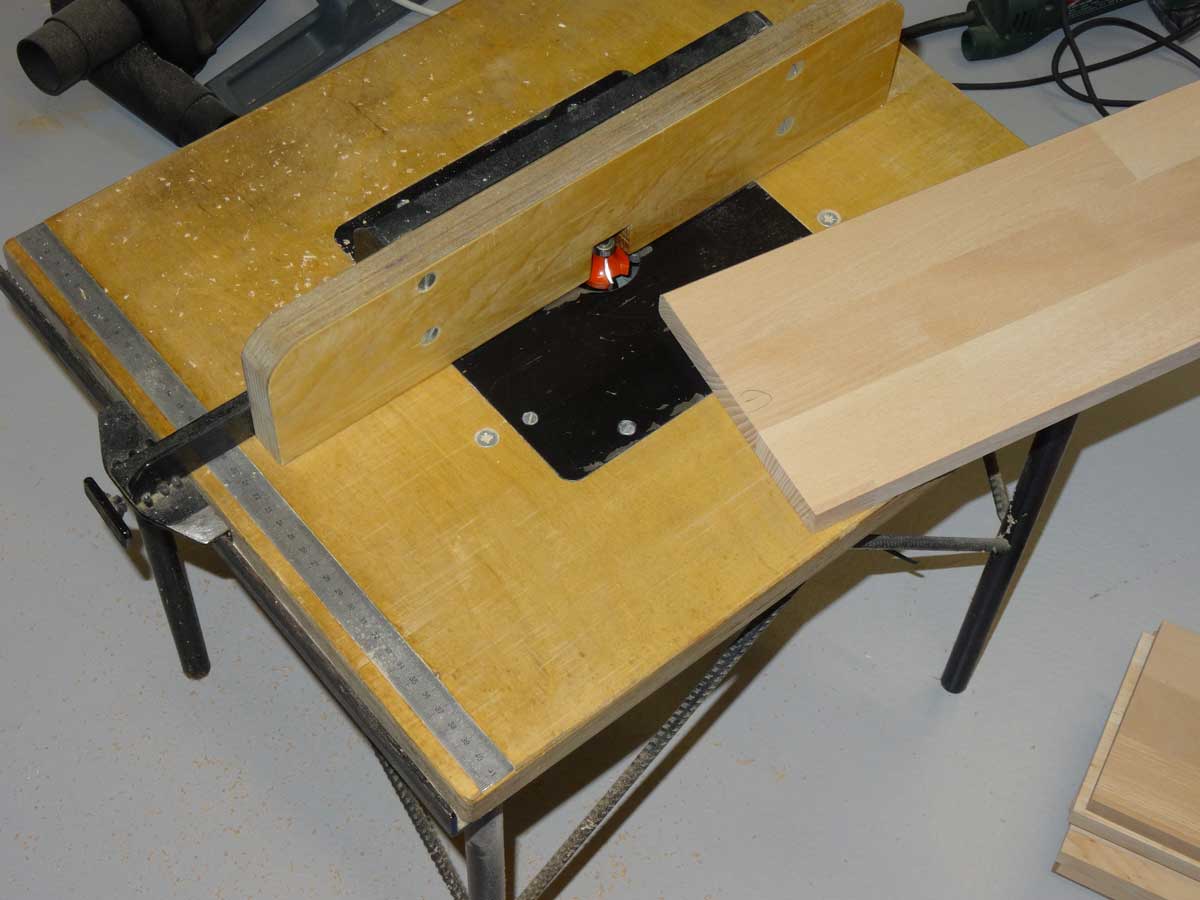
After that, I used my self-made router to break all edges.
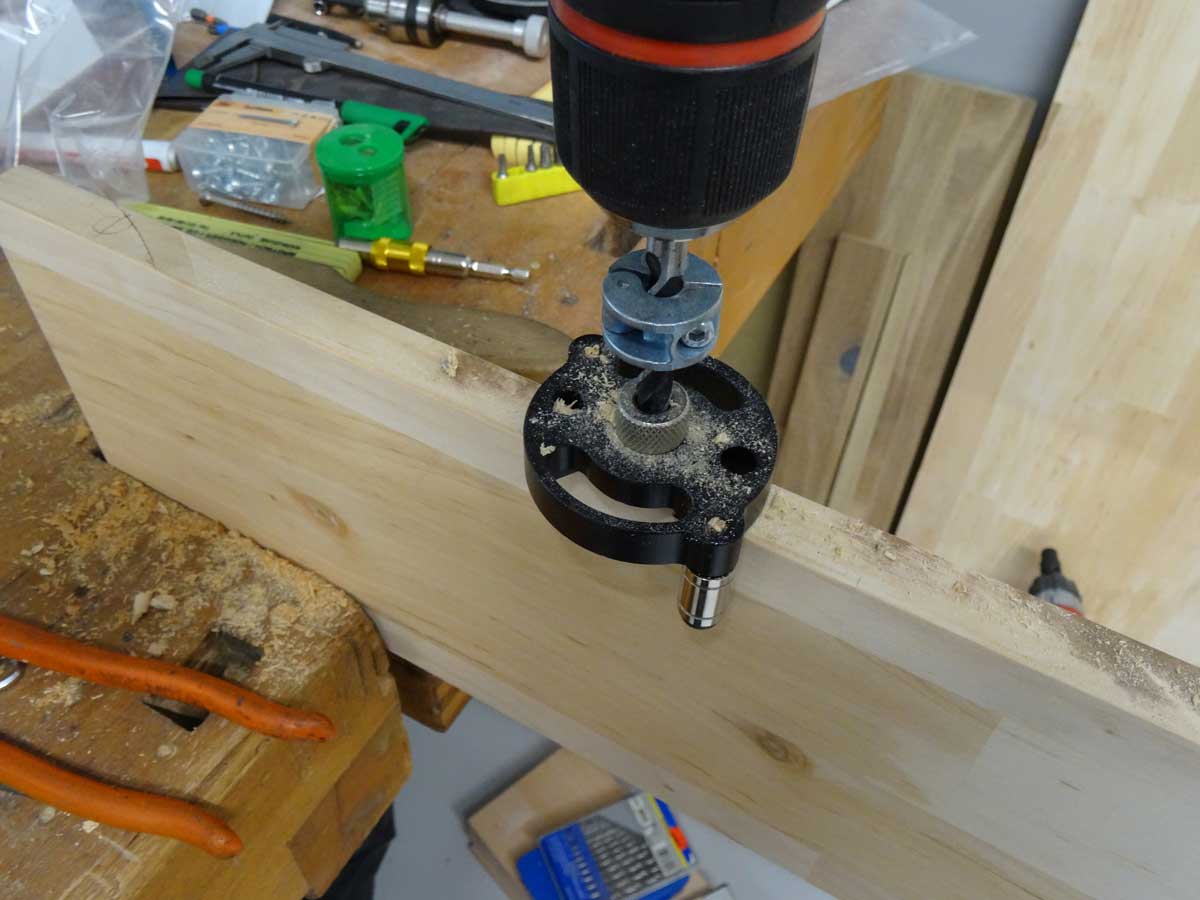
With this tool I can easily and quickly set the dowel holes.

The middle panel consists of two boards, which I screwed together temporarily during assembly.
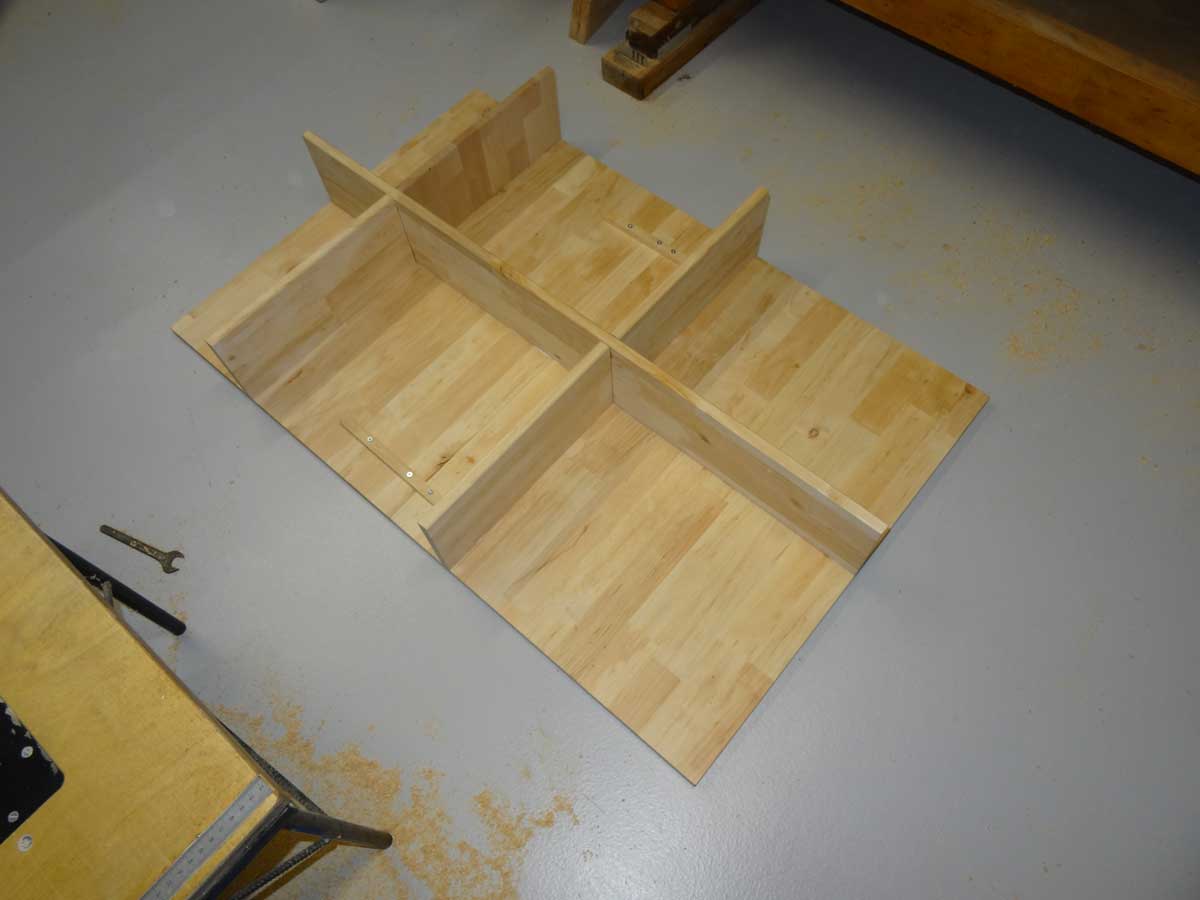
I doweled and glued all the shelves and vertical boards together.
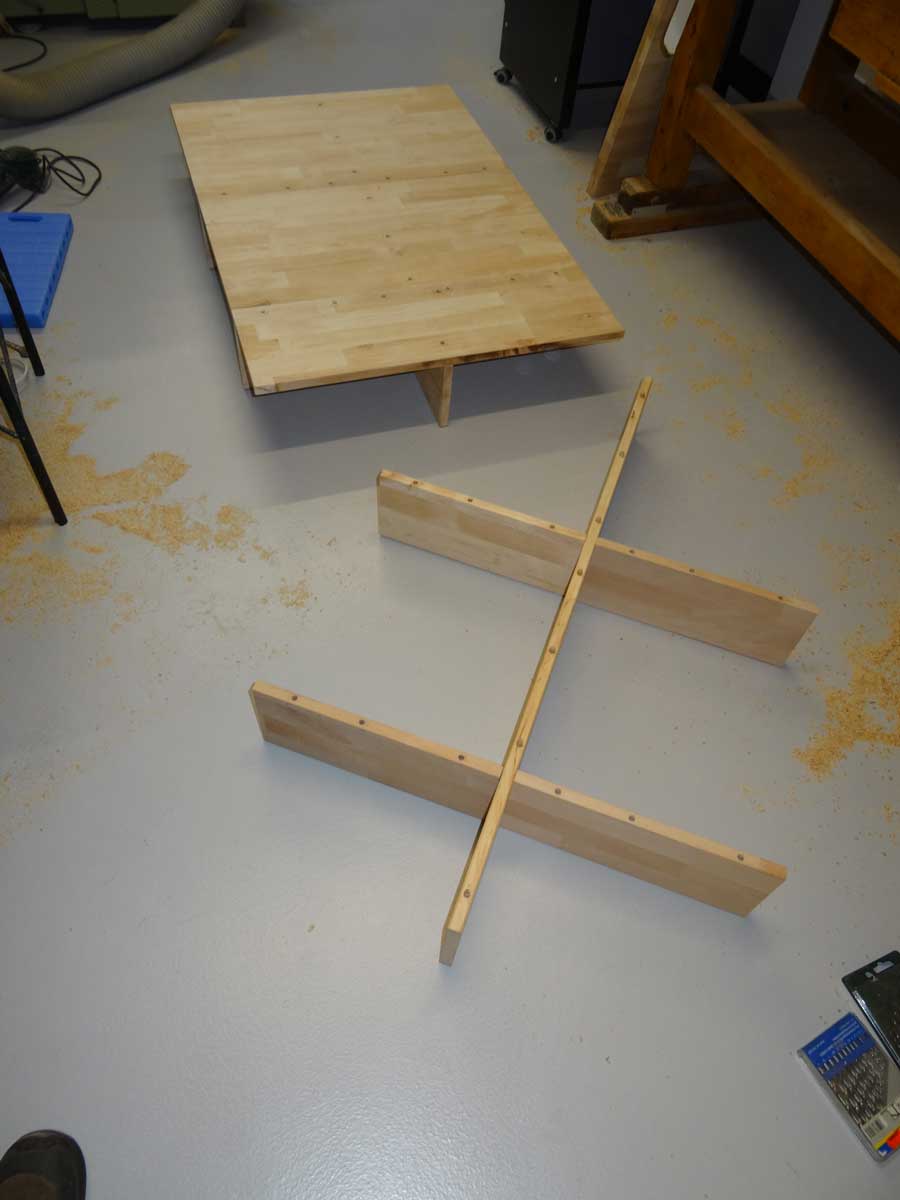
After one side is finished, it's the turn of the back.
Now the side boards follow.
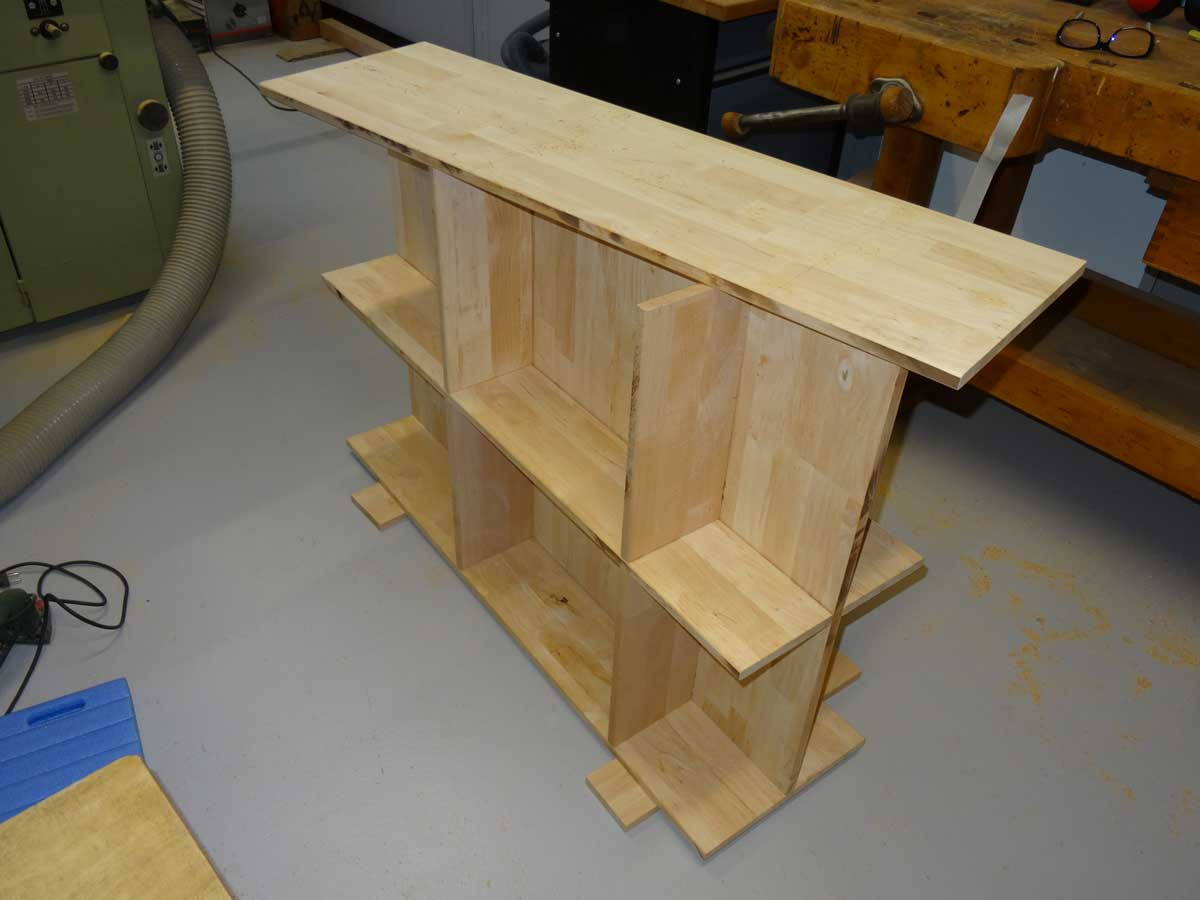
And finally I screwed the lid and foot base.
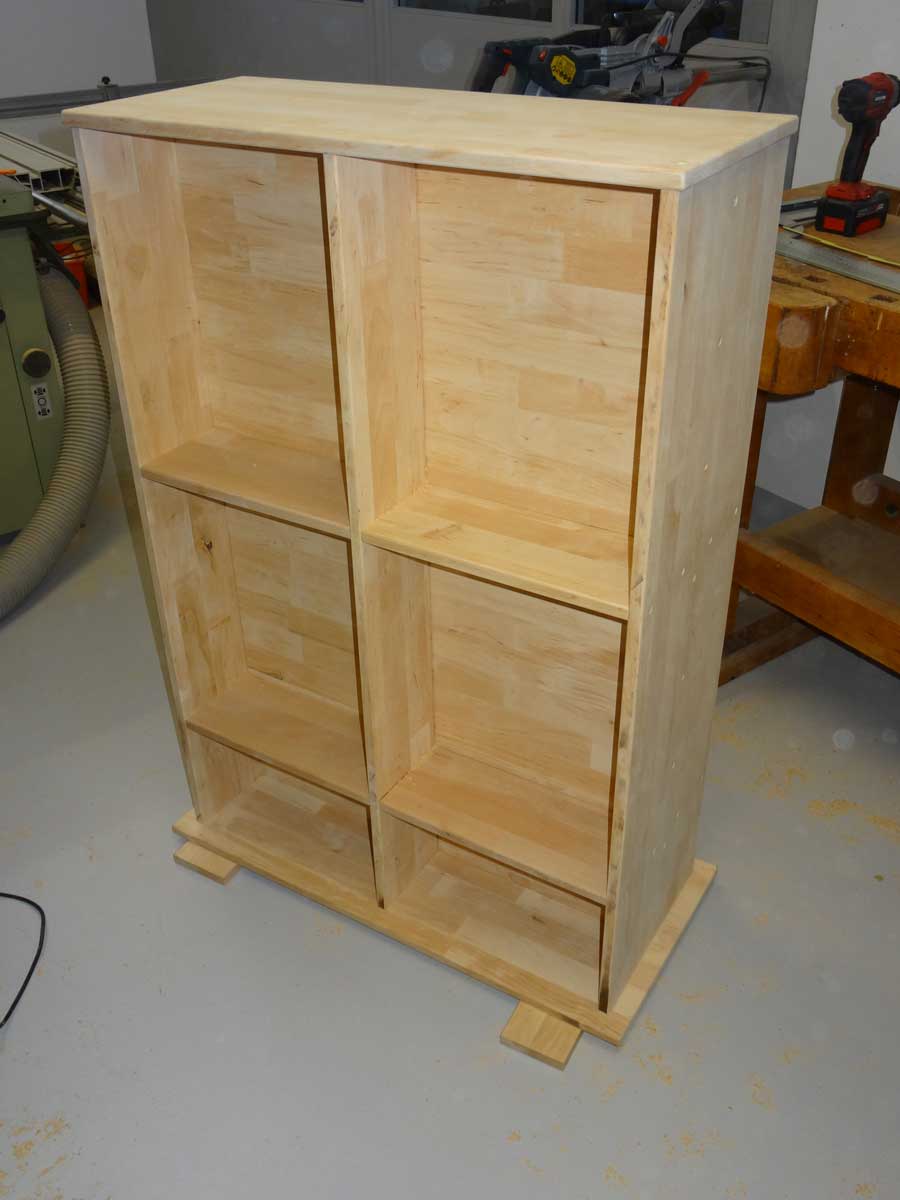
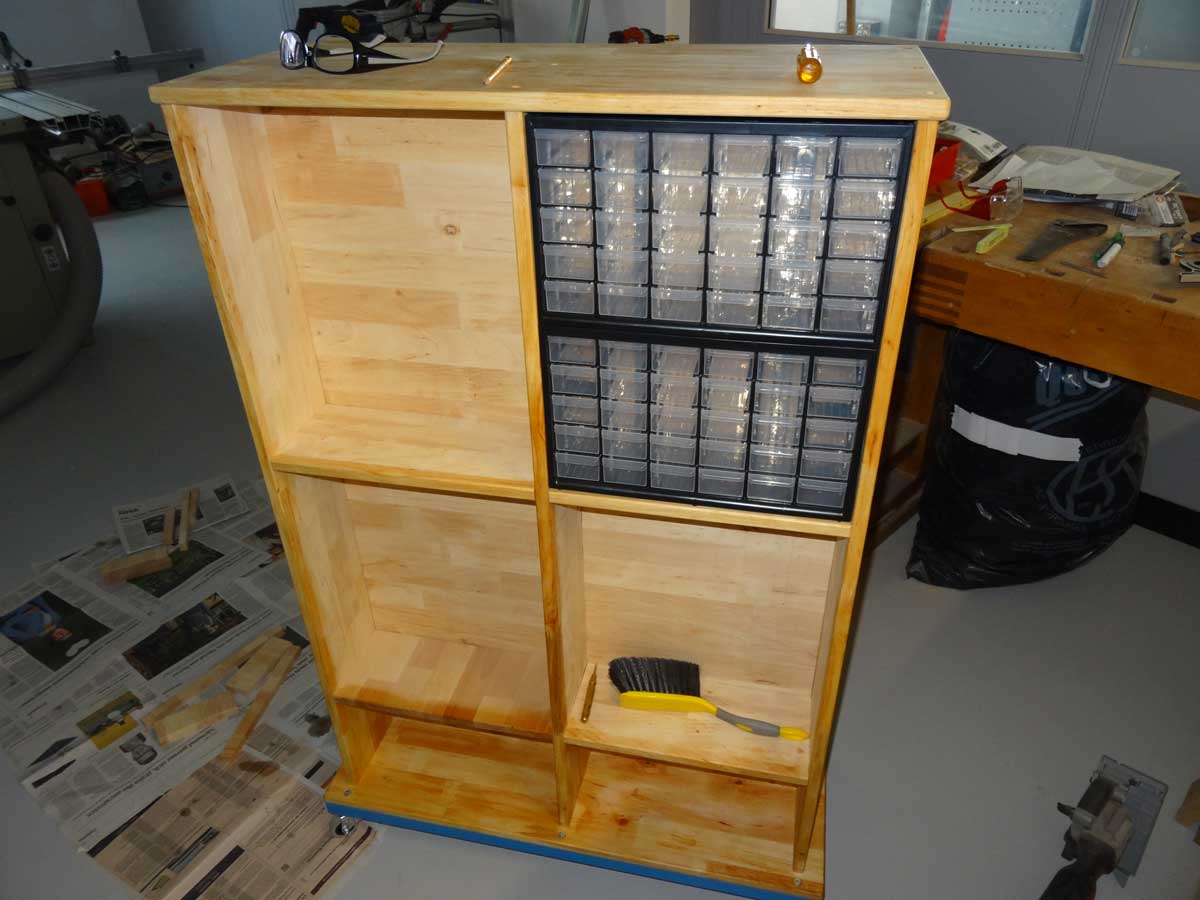
It looks good already.

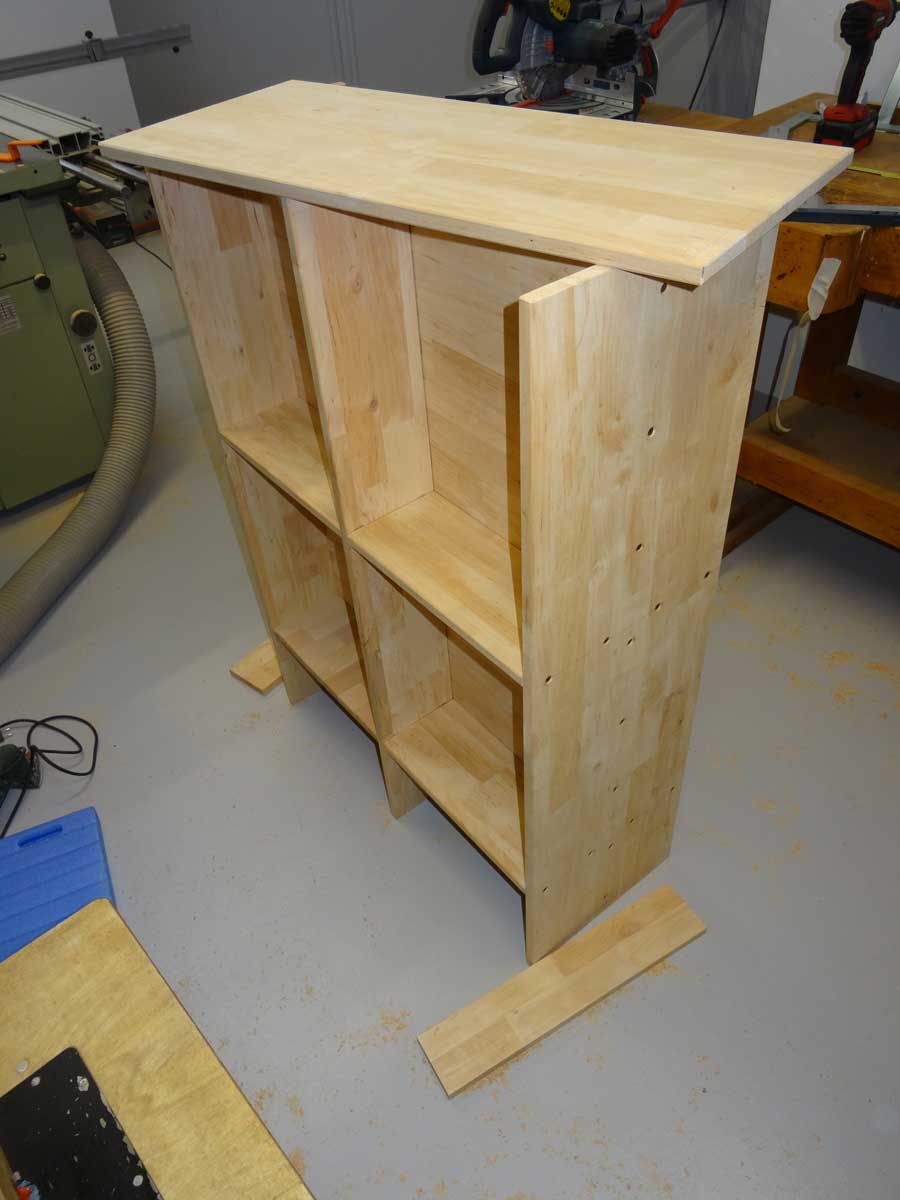
Before I continue, I test if the compartments fit into my rack … so far everything fits.

After lightly sanding the wood, I will oil the visible parts.
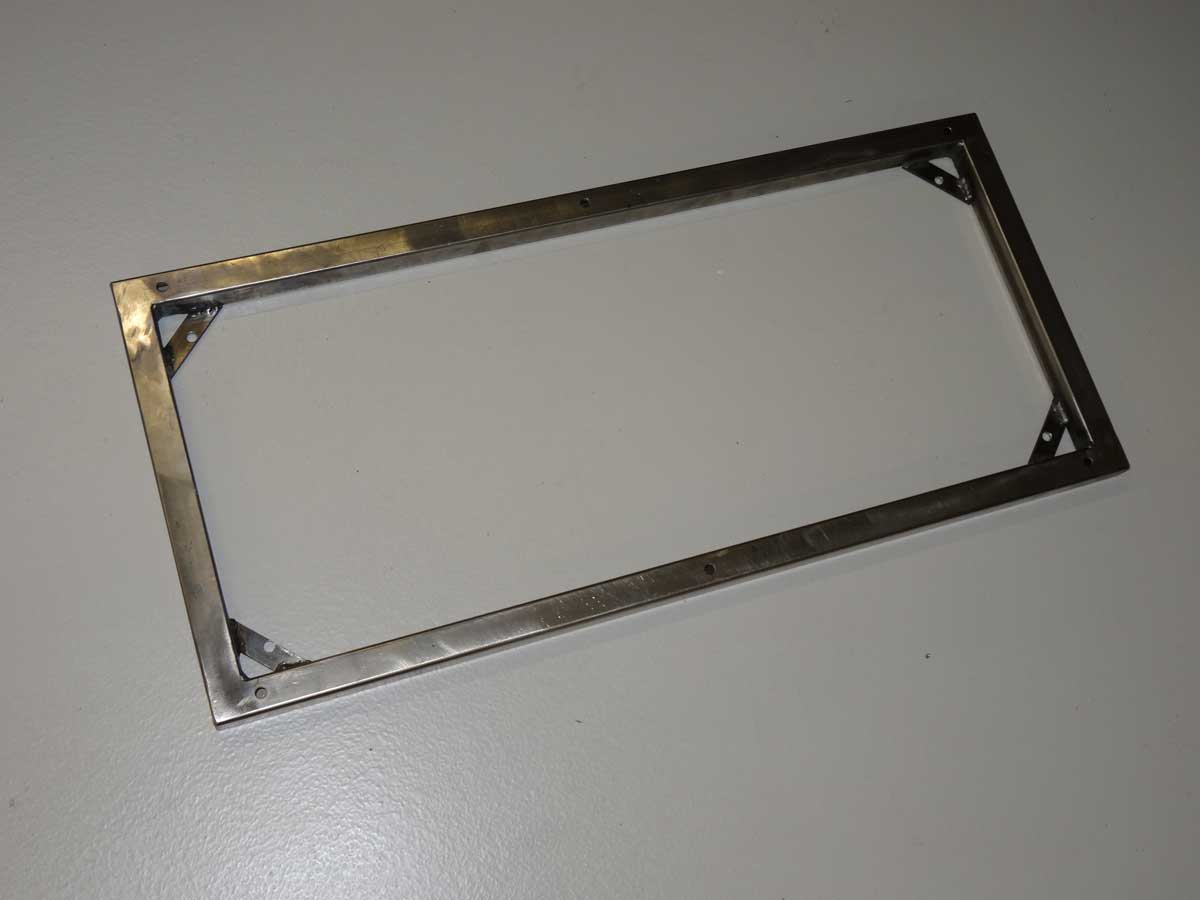
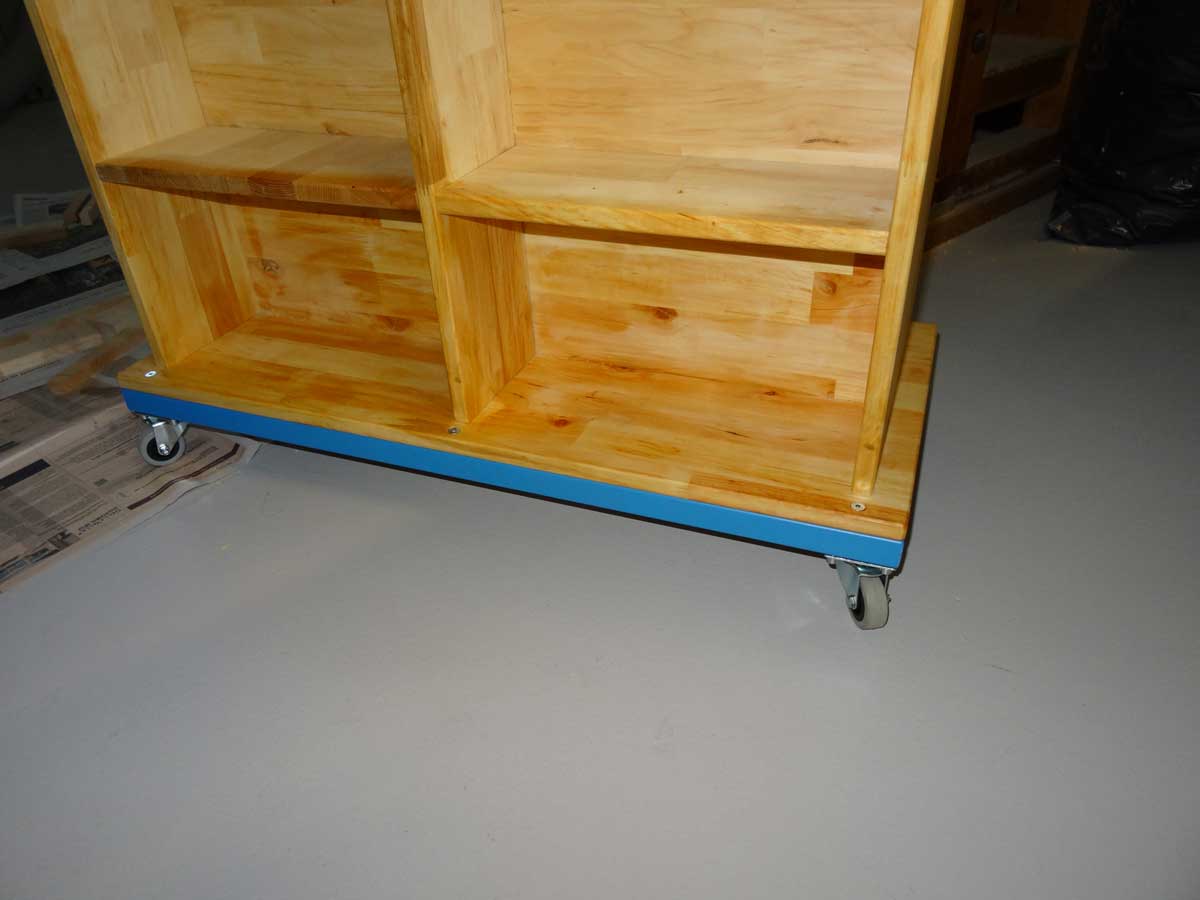
What is still missing is a chassis, which I can screw underneath. I have welded this from a square tube.

I have already painted the frame and now only the thread on the bottom is missing. I put blind rivet nuts into the drilled holes. The principle is the same as pop rivets but simply with an internal thread.

They look like this one and are swagged (pulled together) with special pliers.
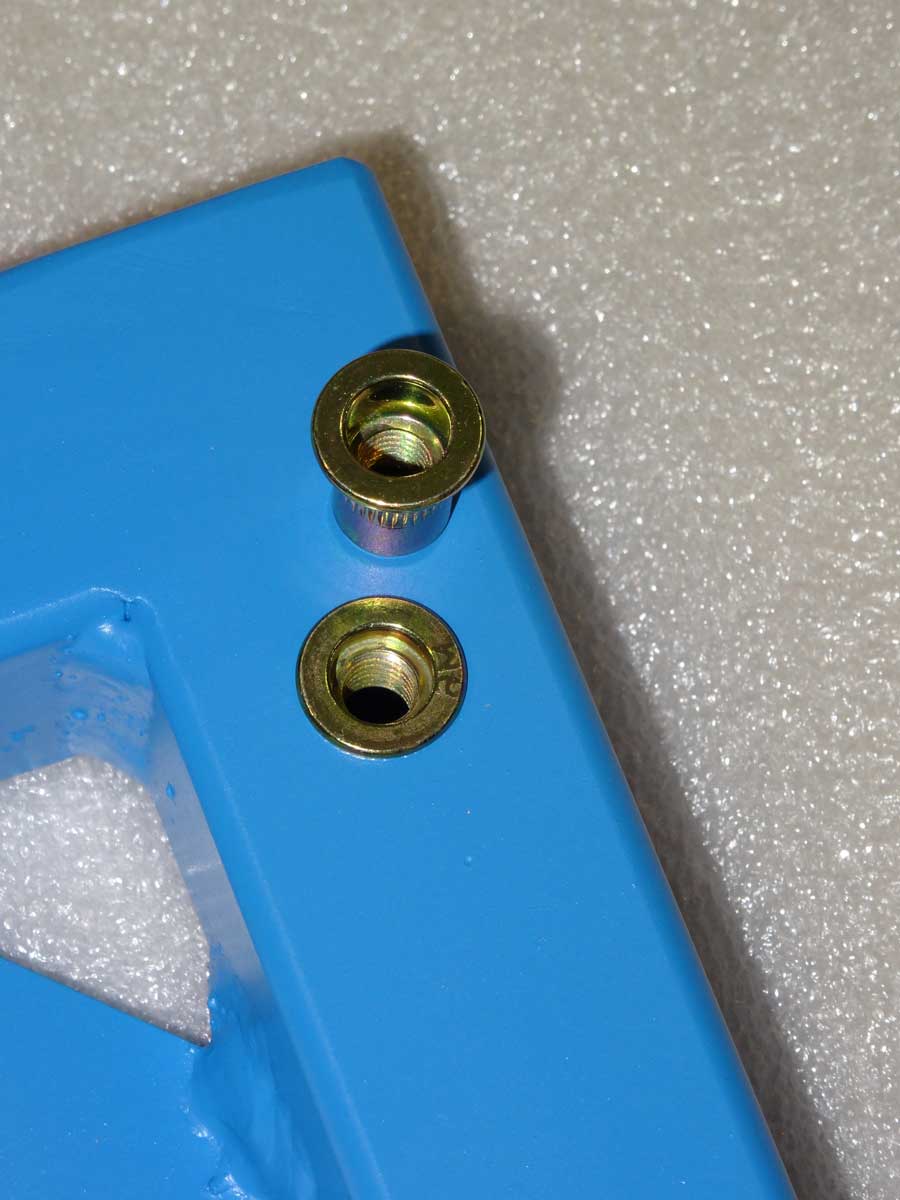
The top nut in the picture has the original shape, the bottom one is already set and you can see the shorter distance between the base of the thread and the top edge. This is a quick and easy solution when you need a thread in a thin walled sheet.
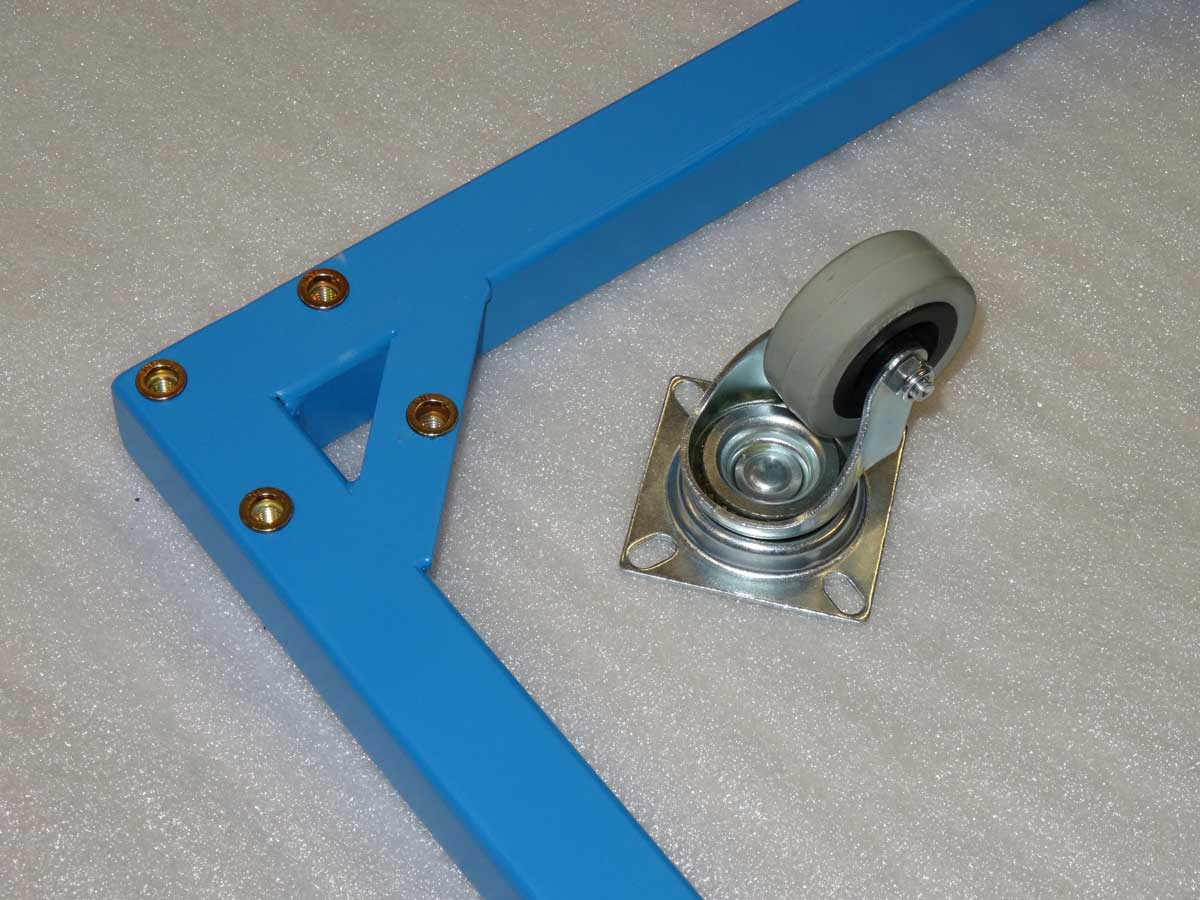
For the transversely welded steel profile with 5 mm it is almost too thick to use such a nut, because it can no longer be neatly upset, but I was too lazy to cut a thread …
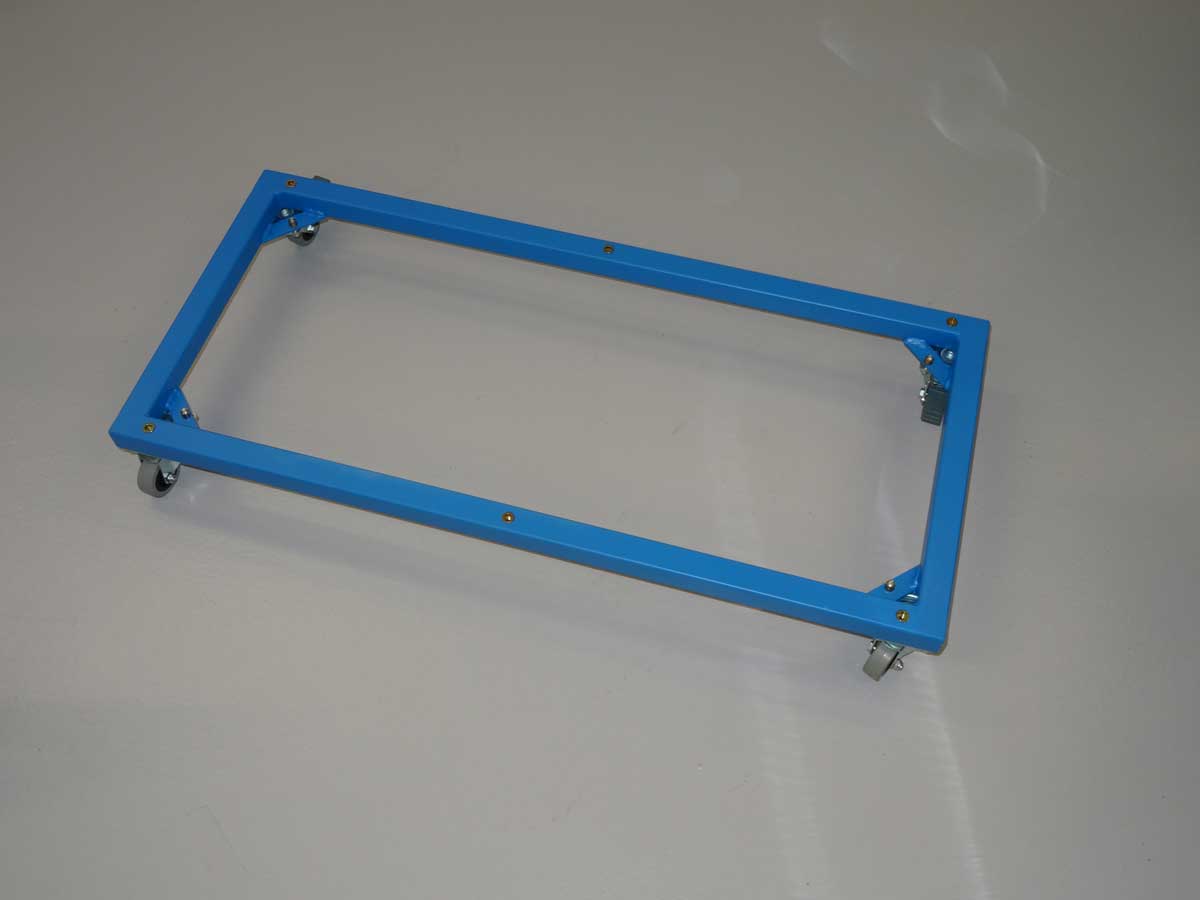
The frame is up and on the top I have already put the 6 threads to screw the frame down.
The holes fit and I can attach the screws.
Now I can screw all compartments into the wooden frame.
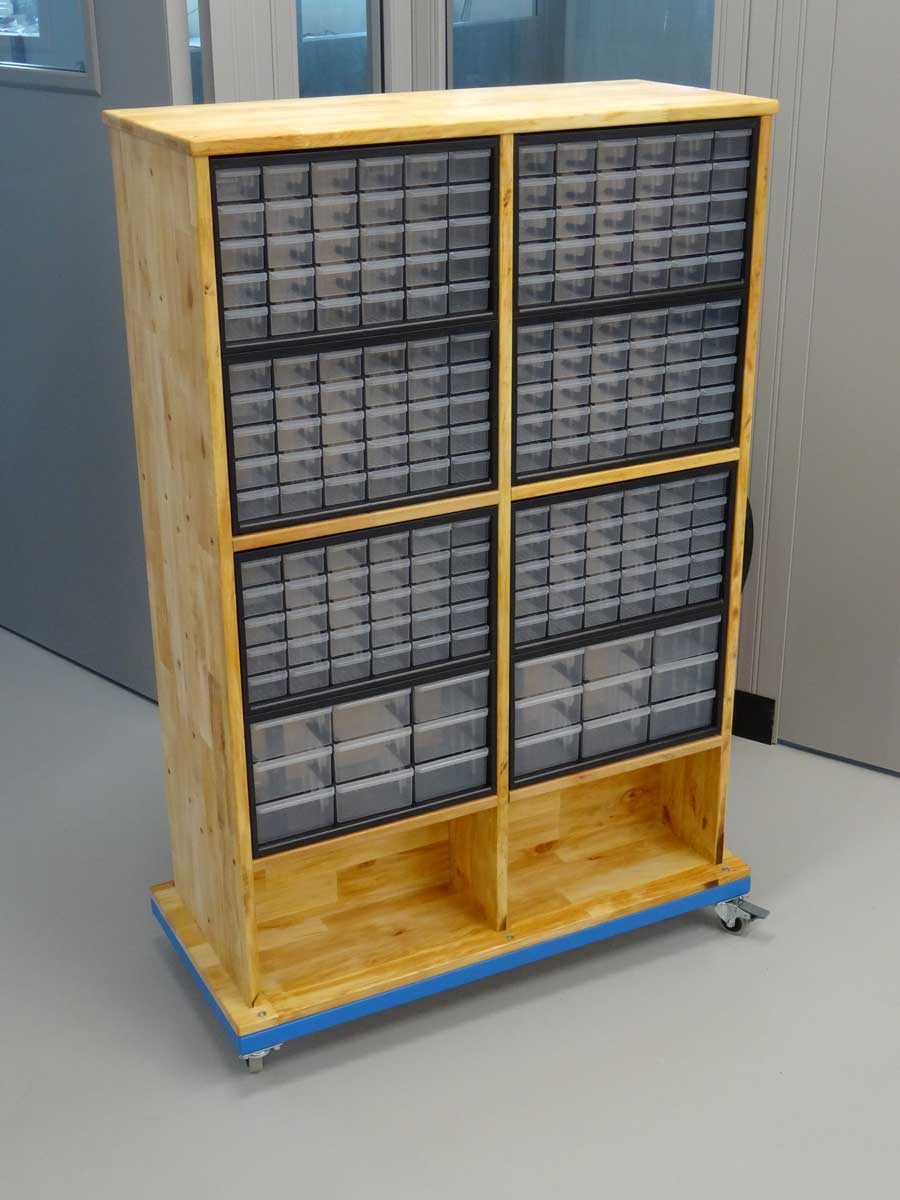
And this is how the good piece looks with compartments on both sides. I can put the rack against the wall and easily rotate it when I need parts from the back. I will fill the compartments later.
Copyright © 2001-2024 Markus Maurer |
Creation Date: 02.02.2023 |
Last Modified: 05.12.2024
![]()
![]()
![]()