
/ford_a/ford_a_restore_2013_12.en.html
![]()
![]()
After the flatbed, the interior of the cabin is next to finish.
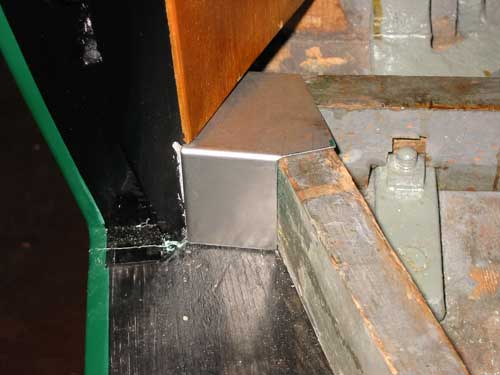
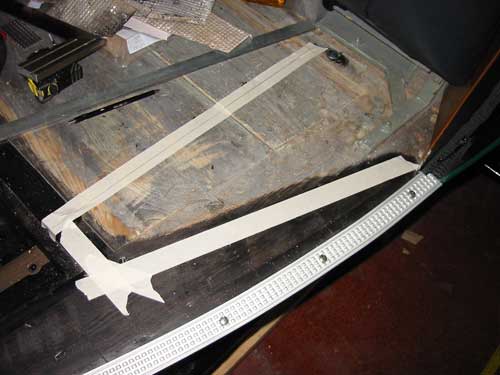
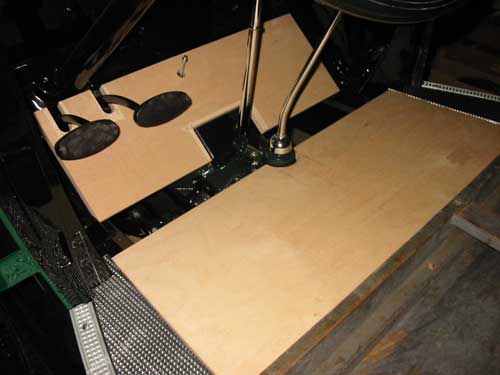
In order to get started, I have to do some other work first like closing this corner.
Original, a wooden wedge had been nailed to the ground and could not been removed without destroing it. My version is a sheet metal profile and fixed with a screw.
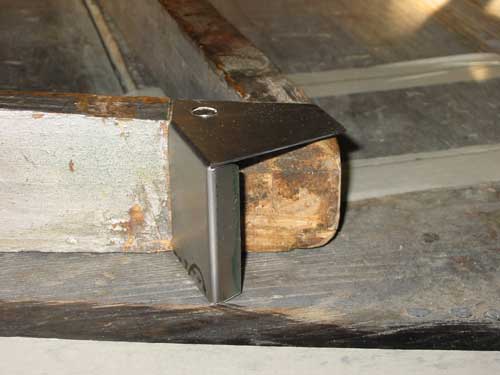
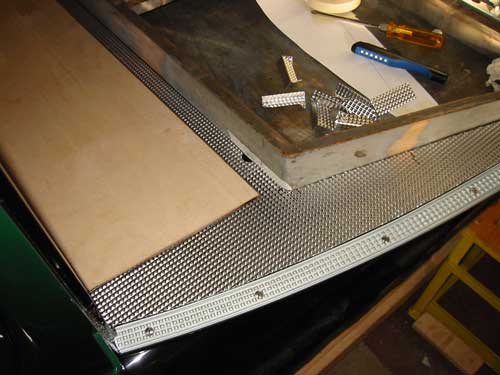
To cut the bottom plates in the correct size, the edge protection must be installed first.
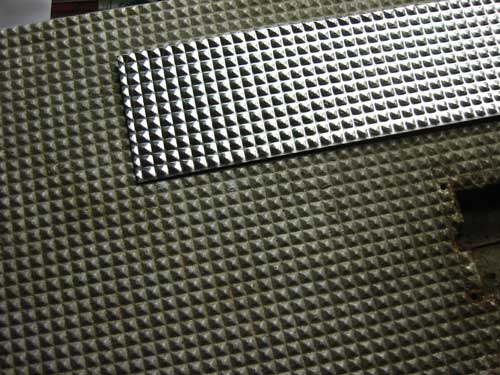
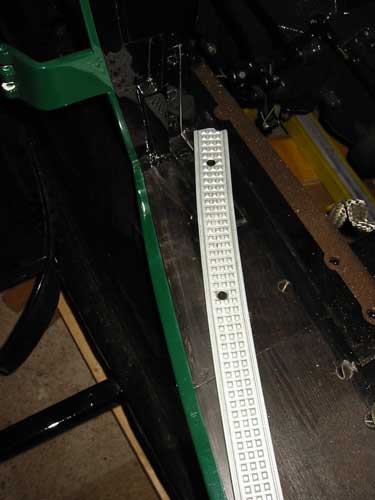
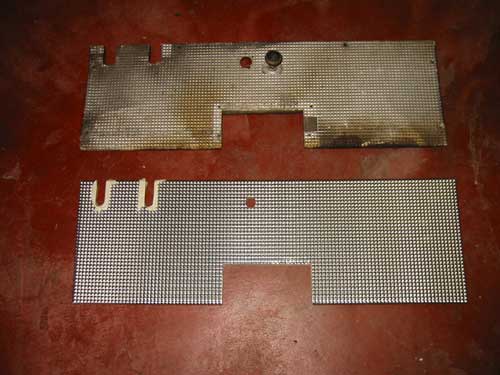
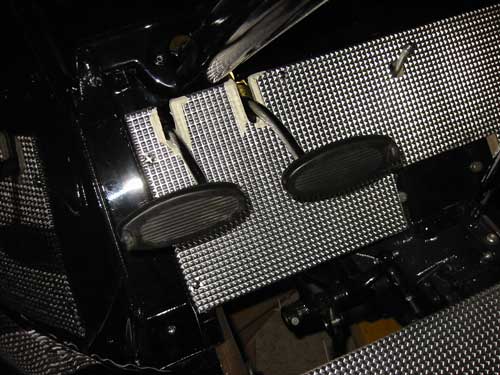
This is the aluminum sheet used for the entire floor. For comparison, the original material and the nice shiny new version. The new material visually is a 1:1 copy with a small but significant difference - it is much stronger than the old one. The old one was so soft that it could be easily damaged with dents. This does not happen any more with the new material.
First I have to drew a few guide lines since the pattern of all parts should look into the same direction.
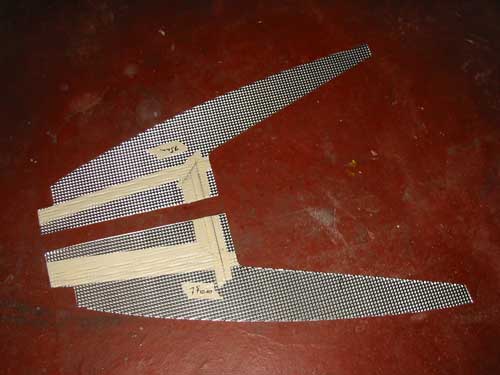
A first cut has been made.
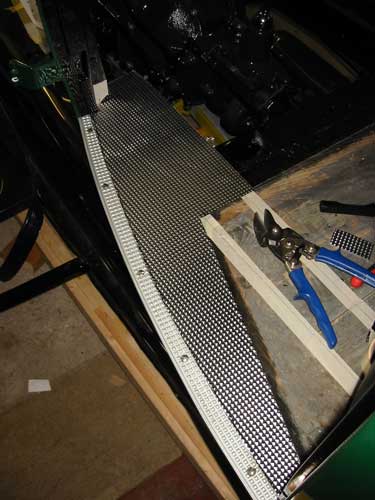
Then some more customizing steps follow.
When everything fits I have to mark the bending line to bend it inside down.

As soon as everything fits, the aluminum sheet will be glued to the wood.
As next, the new floor boards are sawn. Everything has to be adjusted individually because the angle on the left is not the same one than on the right hand side.
The second board fits and the next step will be the aluminum sheet cladding.

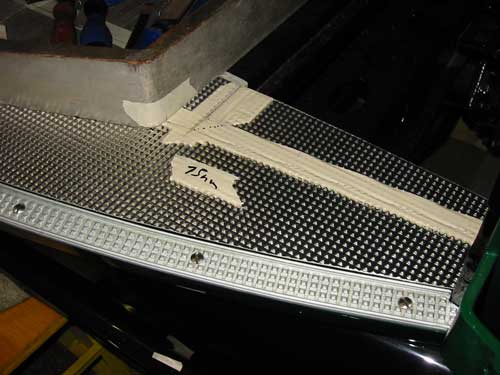
The best way to do it is when you first fix the Aluminium sheet to the board. Then use a plastic hammer to bend the edge down. Make sure that something heavy is put on top so the sheet can not bulge upwards.
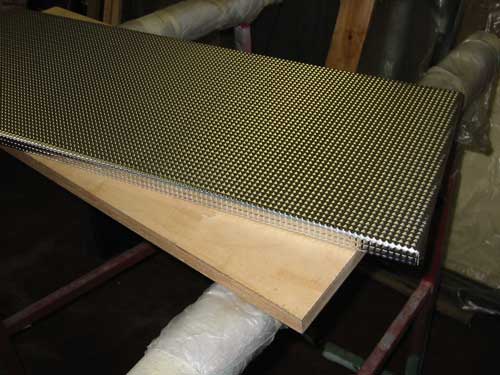
The first Aluminium sheet is ready.
And the second sheet is finished too.
Just driling some holes for the screws and I can mount the plate on it's place. As you can see there is still missing the last board . Also the wood needs to be stained and the aluminum glued and nailed to the wood. I will not make it this this year but I'm still on schedule.
Copyright © 2001-2024 Markus Maurer |
Creation Date: 29.12.2013 |
Last Modified: 05.12.2024
![]()
![]()
![]()