
/ford_a/ford_a_restore_2015_09.en.html
![]()
![]()
Except from the metal housing, everything on my rear view mirror is self made. I will show you how to rebuild such a rear view mirror so it will become more useful, i.e. you see more what's going on behind you. Most mirrors of pre-war cars have flat mirror glasses and I wanted my mirror change to a convex glass shape as it can be found on today's cars.
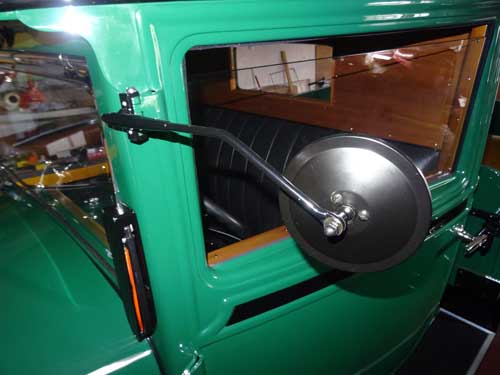
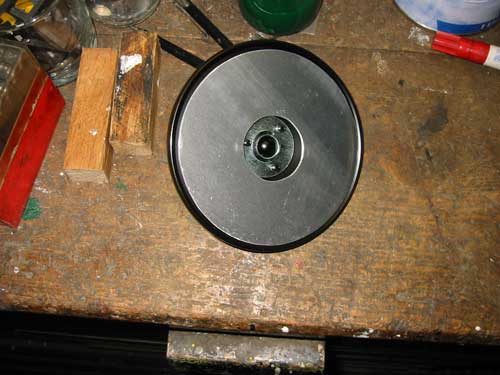
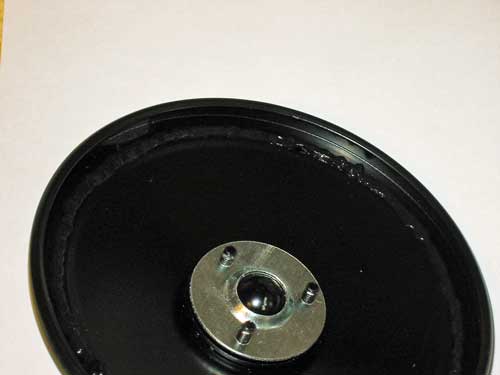
This is the mirror I have modified.
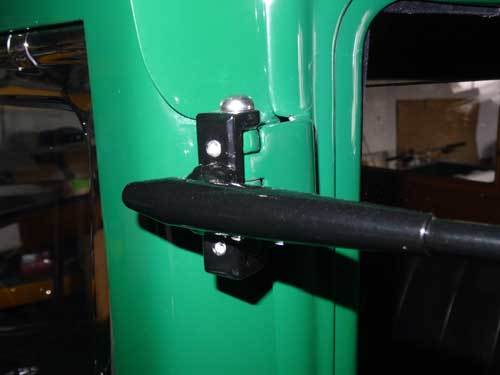
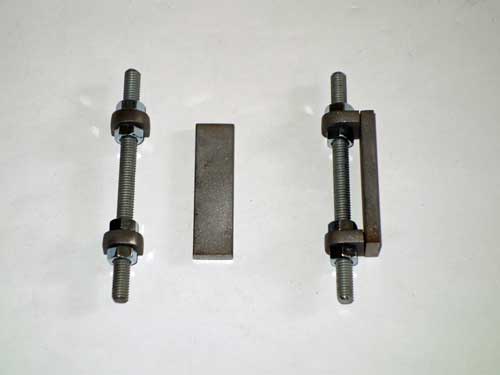
The construction of the hinge-fixing I already have shown in September 2014 report but I have missed some details which are following now.
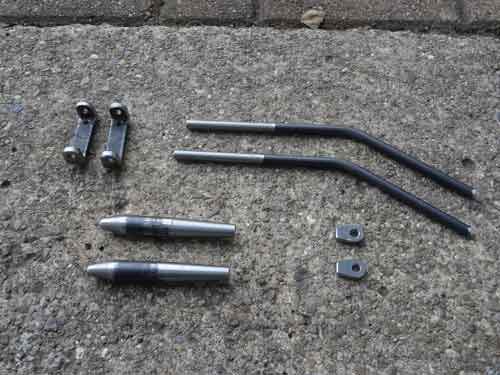
These are the needed items, wherein the U-shaped profile is already welded.
The U-shaped profile consists of 3 parts.
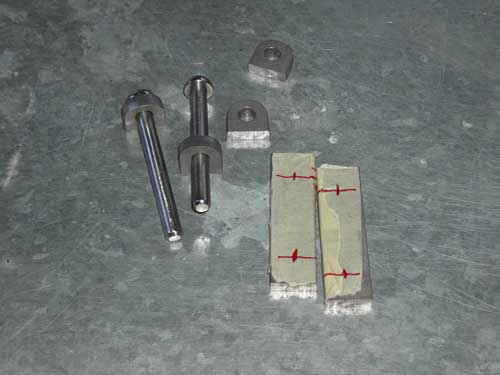
In order to fix the tiny parts in the exact position, I mounted them on a threaded rod for welding.
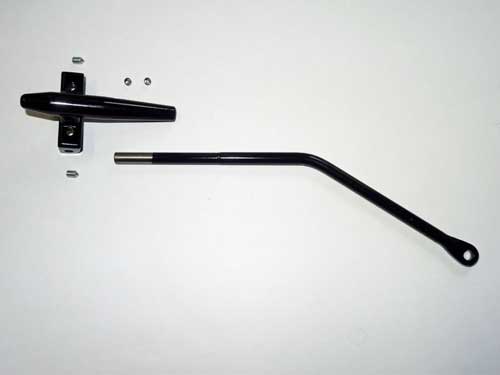
The two main parts are held together with two grub screws. At the door hinge it's being held with a slightly longer hinge pin and secured in position with two additional headless screws.
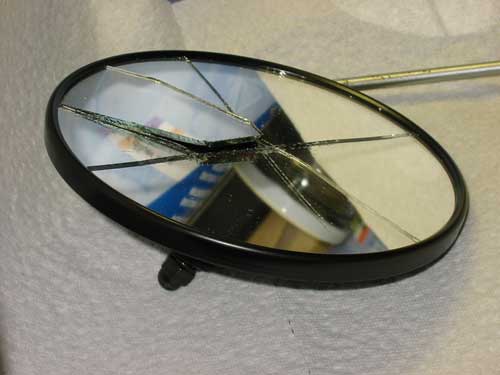
As a next step, I have to remove the old glass and there is only this way … Since the edge is crimped and I will let that untouched, I'm going to mount the new glass in a slightly different way.
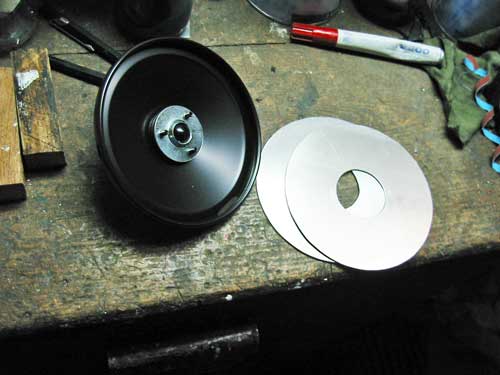
I made an aluminum disc, 1 mm thick, which is a bit smaller than the crimped edge to be set into the mirror housing.
The hole in the middle is necessary that the 3 screws from behind don't touch the back of the disc. Since the new mirror is curved outwards, the screws are also no problem for the new mirror.
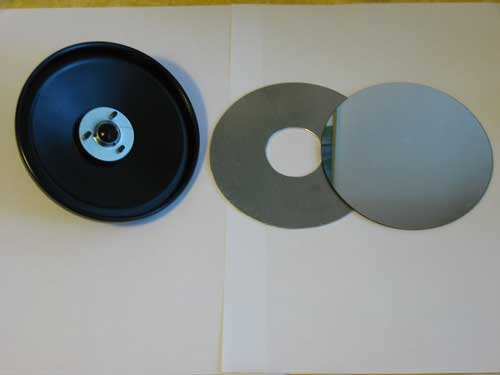
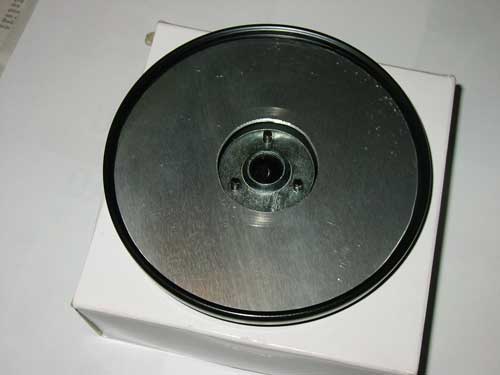
Now it comes to the new mirror glass. I have made two attempts to cut it by myself. But since it is curved, the chance is very, very low to be successful … I was not! Then I found a company which made a glass with the size I needed (same diameter size as the aluminum disc).
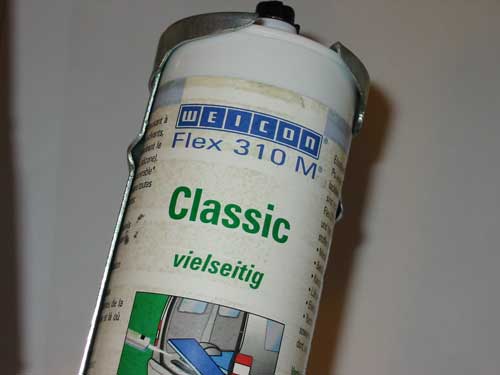
With all parts together I can start with assembling. As for other tasks, I used the 'Weicon Flex 310 M'. It can also be used for bonding and remains elastic.
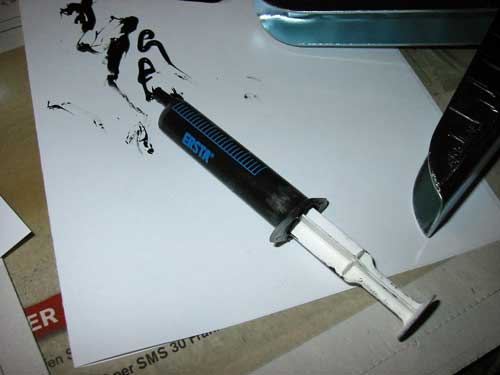
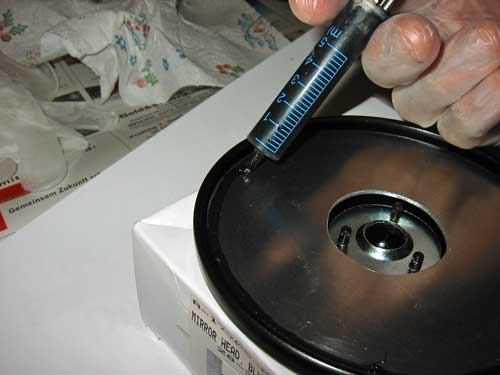
Because I need not very much of the 'Weicon' material, I filled it into a small syringe.
A first bead I made in the mirror housing.
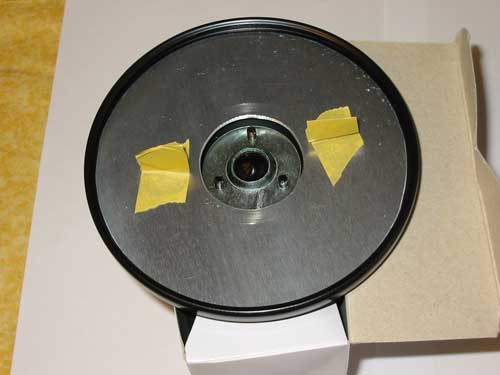
Thereafter, the aluminum disc can be put on top and slightly pressed. The two adhesive tapes facilitates the insertion.
The hole in the middle of the disc is the also for the equalization of the pressure behind the mirror during summer heat.
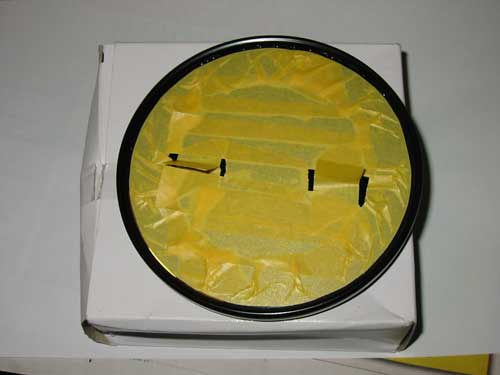
Here I have already taped the mirror in such a way, that the edge still has a 1 mm wide strip which remains visible.
After the bonded aluminum plate has dried out, I can prepare the glass mount by a further bead 'Weicom' on the edge of the aluminum disc.
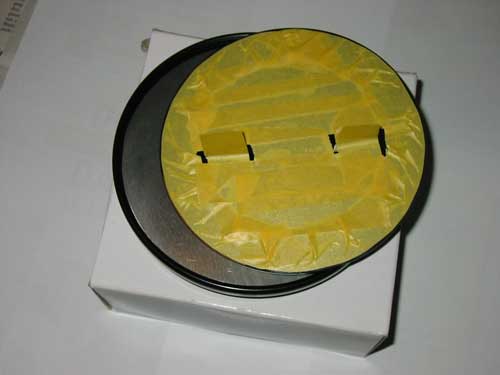
Now you can insert the mirror and let it dry.

As a final step fill up the cavity behind the crimped edge with 'Weicon' and make a smooth transition between mirror case and glass, as you can see on the picture. Next time I'm going to clean my dirty mirror before I start with the photo session …
Copyright © 2001-2024 Markus Maurer |
Creation Date: 18.10.2015 |
Last Modified: 05.12.2024
![]()
![]()
![]()